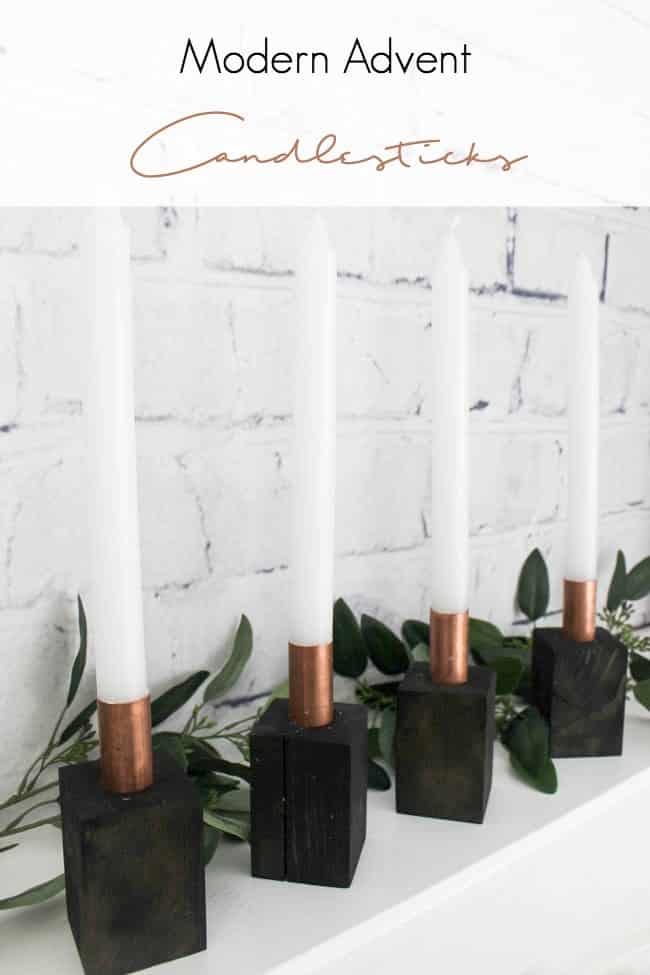
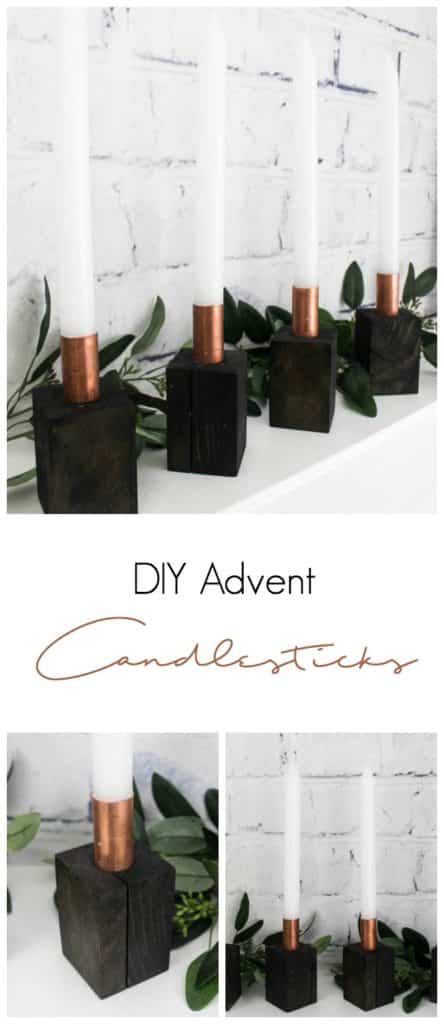
Hey hey! It’s Friday! The best day of the week. Work is ending. The weekend is coming. And our Modern Holiday Home series is back with another great week of DIYs! I’ve never had my own advent candlesticks, but I love the tradition of having advent candles burning in the weeks before Christmas. Just thinking of it makes me want to dim all of the lights and turn the fireplace on. But I’ve never had my own advent candles, so I decided to make some this year.

*This post was sponsored by Minwax. It may contain affiliate links. When you buy a product through one of my links, I get a commission at no cost to you! For more information, please see my disclosure page.*
I have no doubt that the other talented bloggers that are part of this Modern Holiday Home are going to share some great wood projects this week. My project consists primarily of wood, copper pipe, and wood stain. So easy!
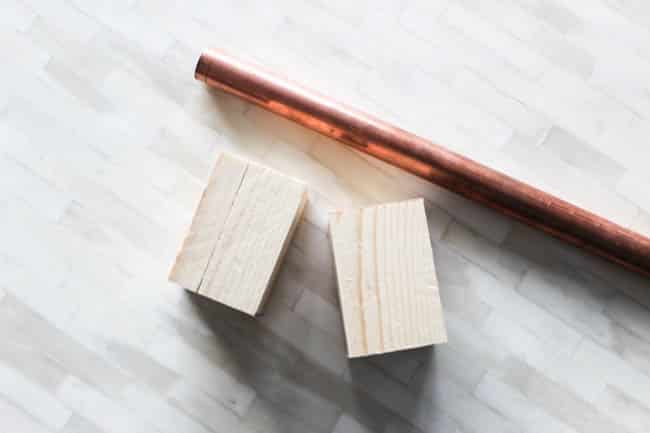
Here’s everything you need to make your own advent candlesticks:
- Scrap wood
- 3/4″ copper pipe
- Ebony wood stain
- Sander
- 7/8″ spade bit
- Drill press (or drill)
- Ratcheting tool
How to Make Advent Candlesticks:
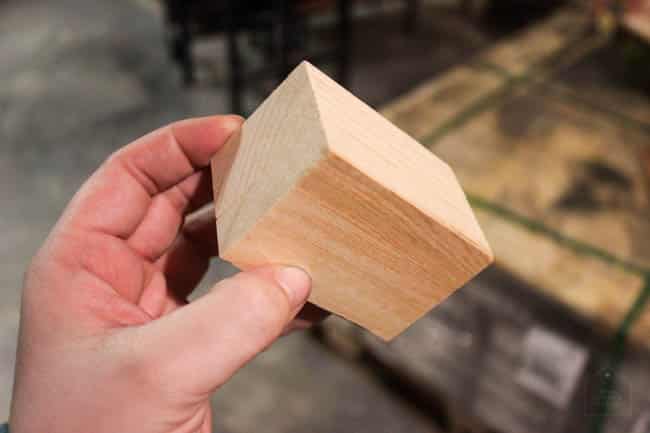
Start by cutting your wooden blocks so that they are 2.5″ by 2.5″ square at the top, and 3″ tall. You will need four of these.
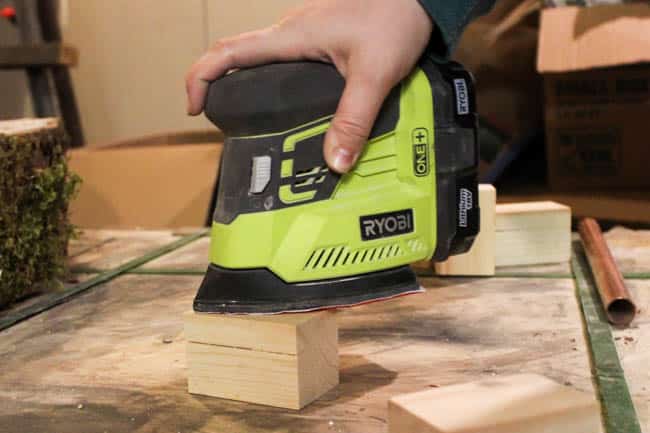
Sand down your blocks so that they are smooth on all sides.
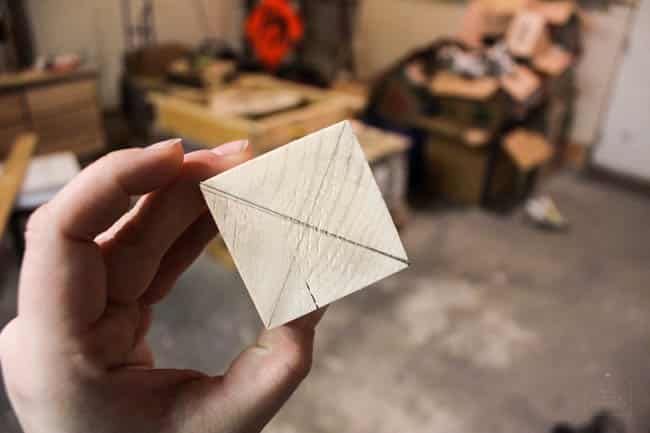
Draw a pencil line from corner to corner to find your center point.
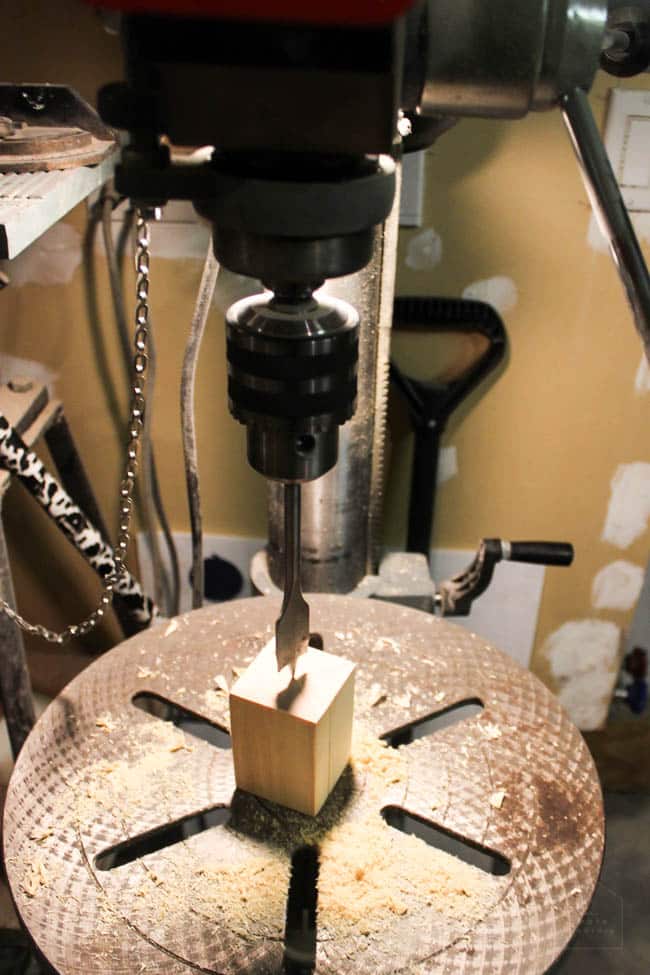
Using a drill press and a 7/8″ spade bit, drill a hole into the center of your wooden blocks. The hole should be approx. 1″ deep. You can set your drill to the correct depth before you start.
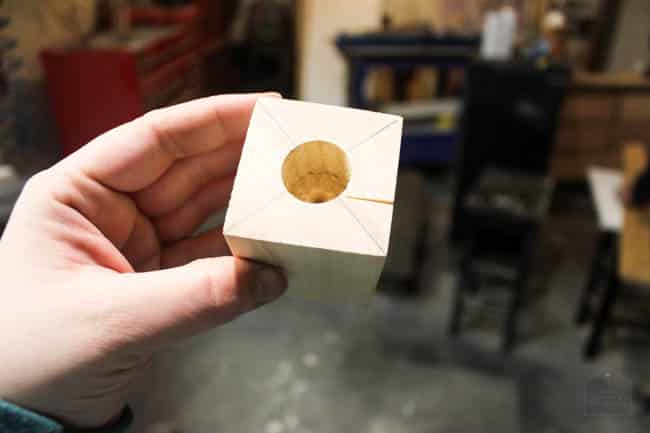
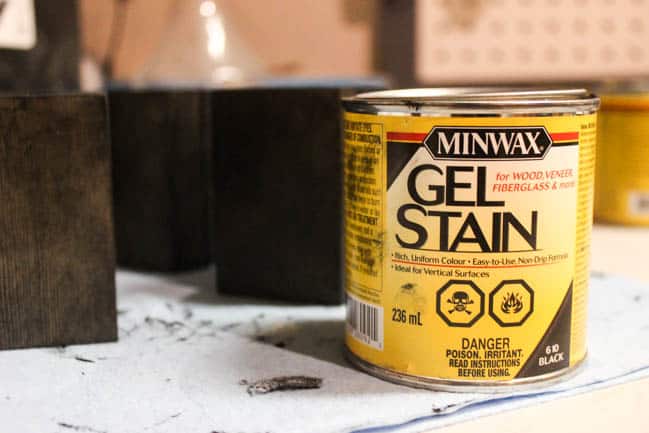
Once you have the hole cut, stain your wooden blocks. I used the Ebony Gel stain which is my absolute favourite. I was going to use the regular stain in Ebony (not gel), which is also beautiful, but just doesn’t give you that rich, deep colour, unless you do several coats.
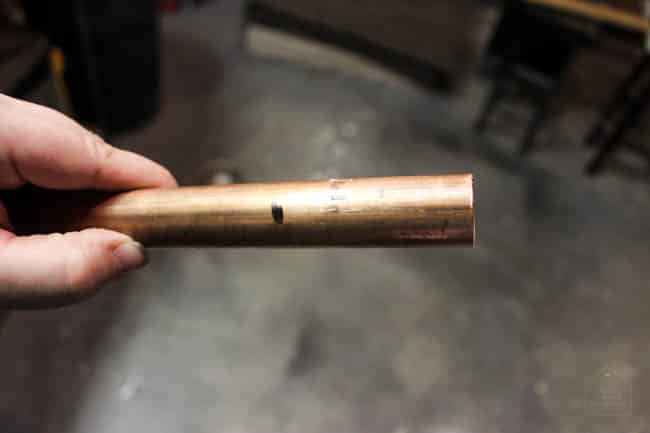
Next, measure your copper pipe. I made a mark with permanent marker 2 1/4″ from the end.
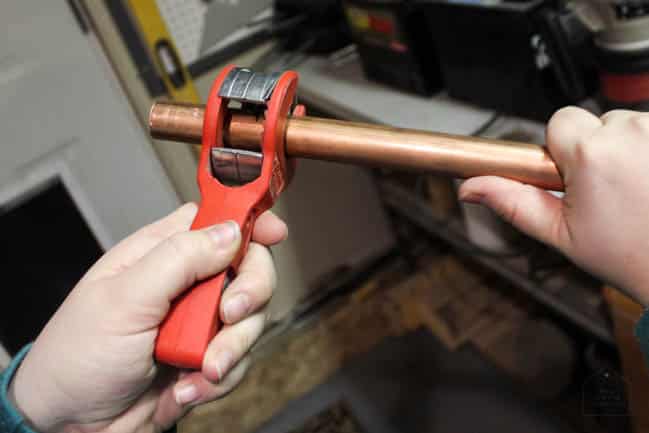
Using the ratcheting tool, twist and cut the pipe until it breaks. The 3/4″ pipe should fit snuggly into the 7/8″ hole in your wooden block. No need for glue!
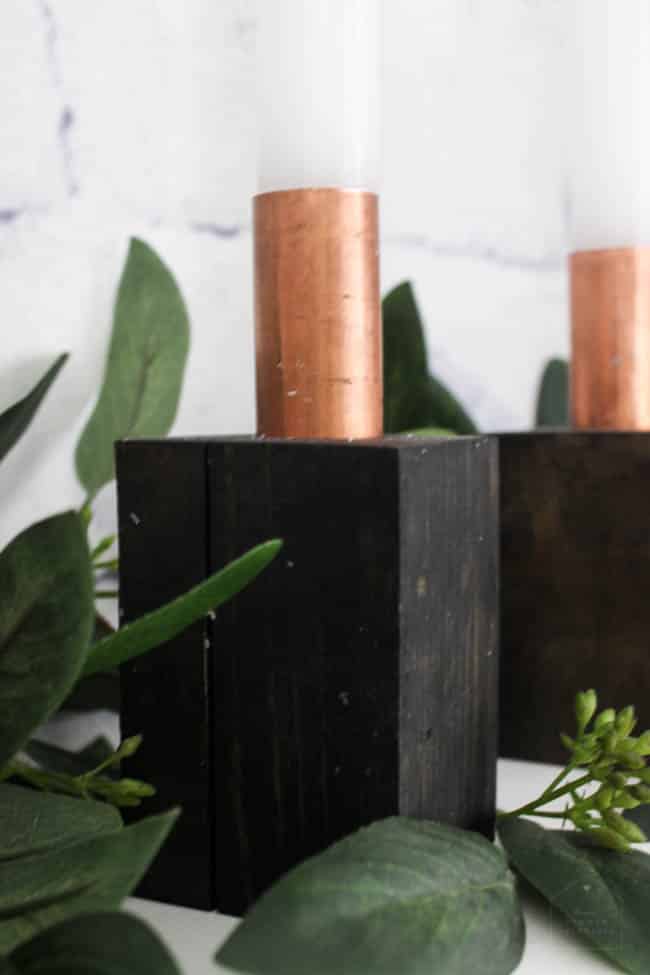
Now you have your own set of advent candlesticks! I honestly cannot wait to light these with my children this year. I promise to share some photos on Instagram of them lit up!
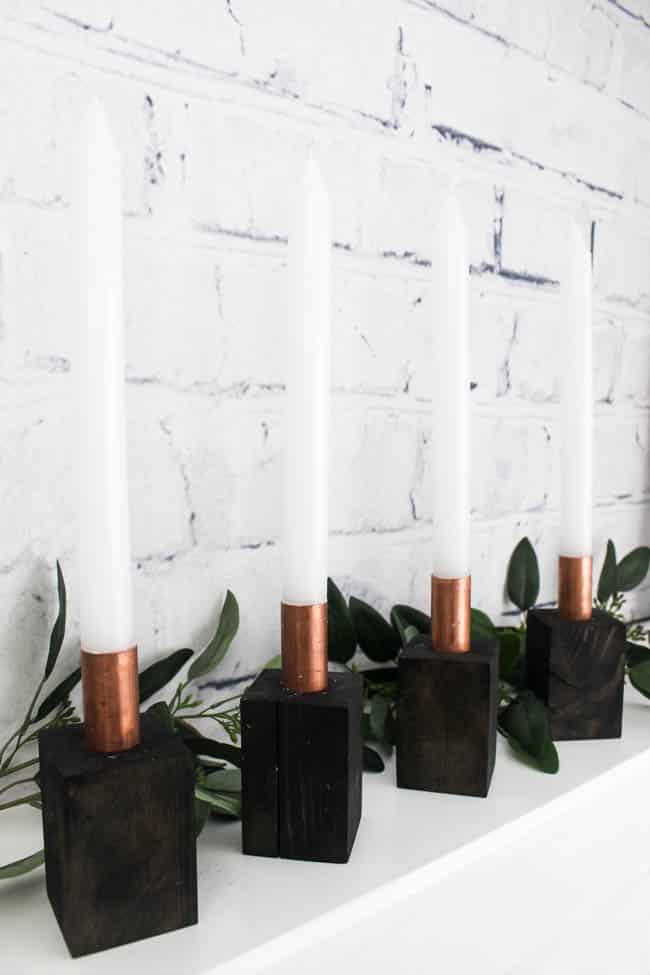
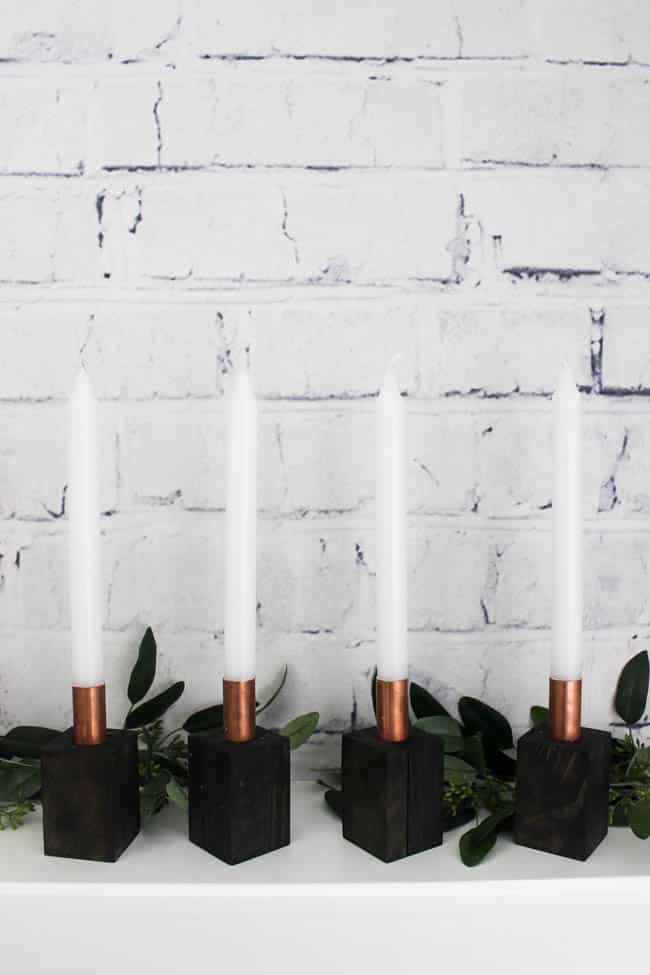
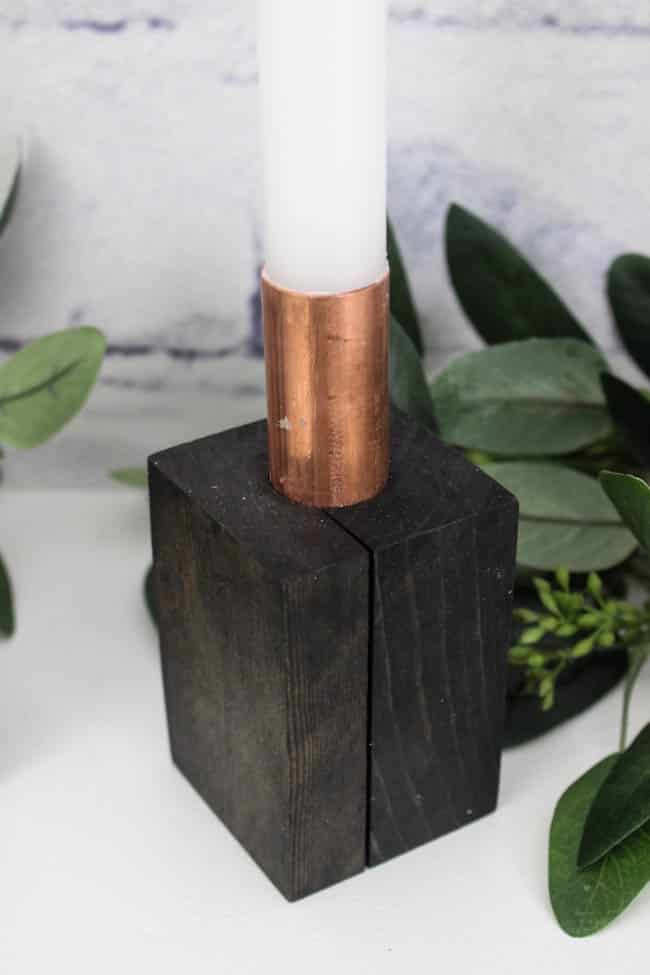
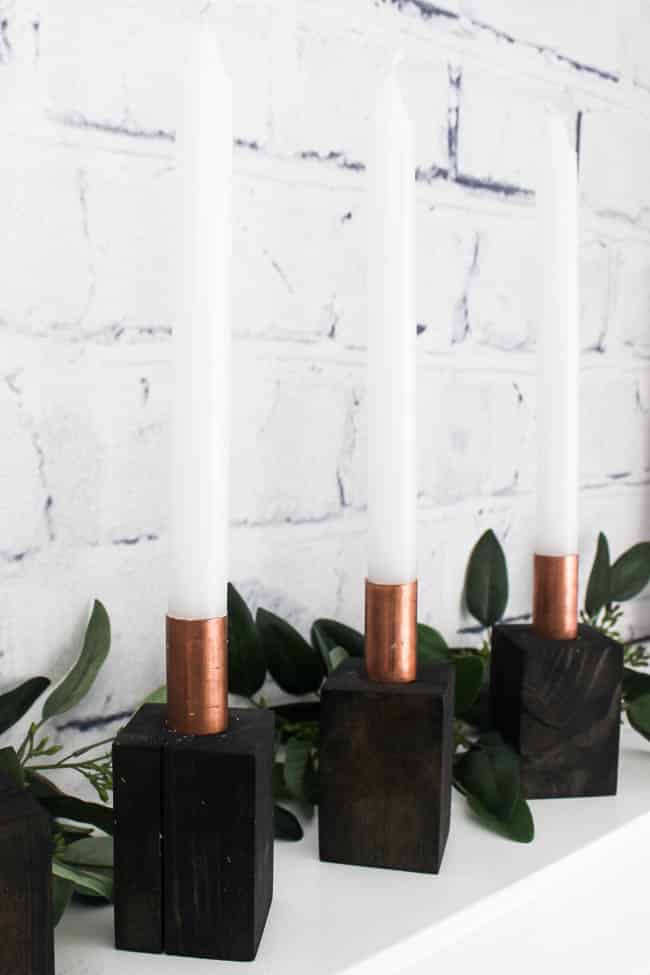
The best part of this project might just be that we can use these candlesticks all year round for whatever we like! They don’t actually have to be Christmas specific. Win-Win!
Now it’s time to check out the other great wooden DIY projects!
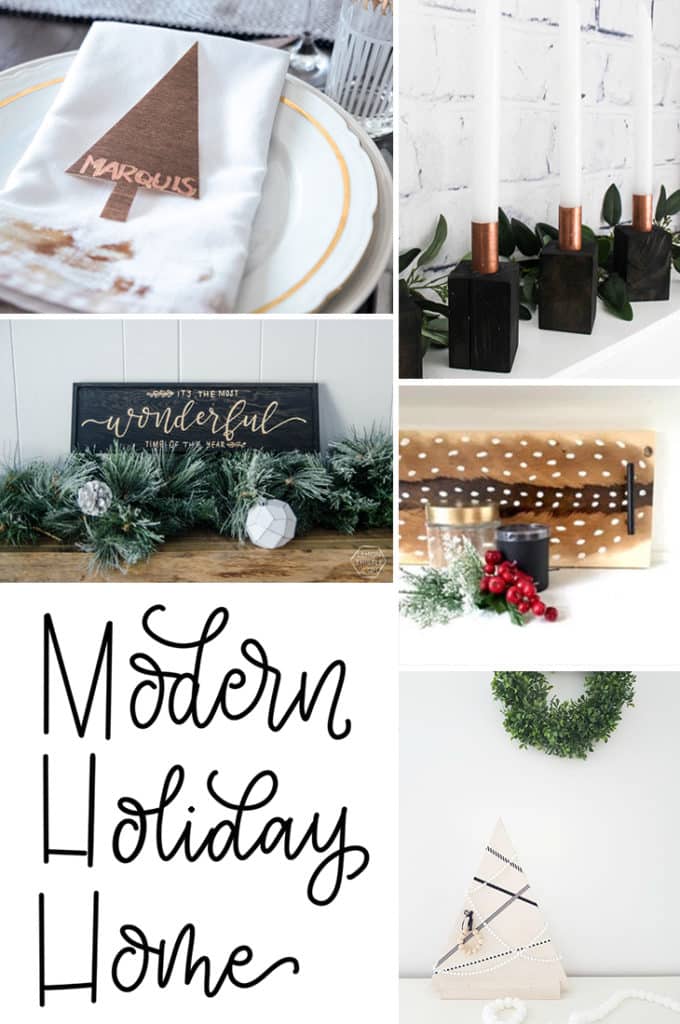
Holiday Sign by Lemon Thistle
Fawn Print Tray by Harlow & Thistle
Wooden Christmas Tree by The Sweetest Digs
The Learner Observer
Advent Candlesticks by Love Create Celebrate
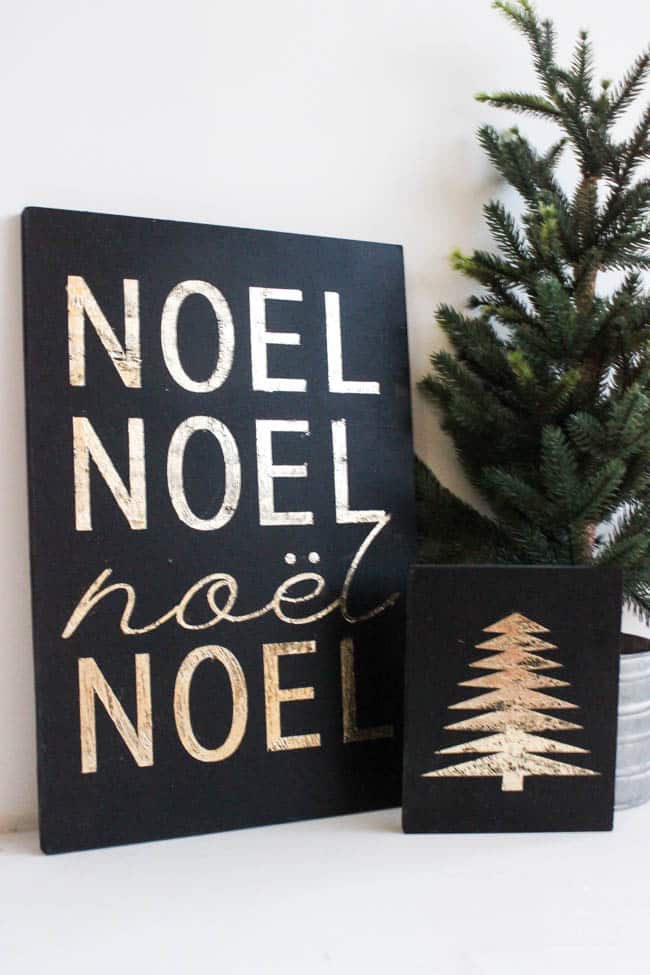
Did you miss last week’s modern holiday project? Check out these beautiful Christmas signs!

17 DIY Modern Home Decor; Easy Budget Projects On A Budget - VCDiy Decor And More
Wednesday 27th of November 2019
[…] Modern Advent Candlesticks […]
DIY Modern Wood Holiday Sign- The Most Wonderful Time of the Year - Lemon Thistle
Saturday 6th of January 2018
[…] Learner Observer’s Mini Wooden Trees/Love Create Celebrate’s Advent Candlesticks / Lemon Thistle’s Stain Relief Wooden Holiday Sign / Harlow & Thistle’s DIY Fawn Print […]
Great Ideas -- 15 DIY Holiday Gifts!
Monday 27th of November 2017
[…] Advent Candlesticks @ Love Create Celebrate […]
Lisa
Monday 13th of November 2017
A beautiful way to add a touch of metal to your decor. I have become almost addicted to using the ebony gel stain, it's so easy to work with and results are always fabulous.
Lindivs
Monday 13th of November 2017
Right?! I LOVE the ebony stain! It's so pretty! So glad you like these guys!