
Amazing Wine Rack Upcycle! We thrifted an old wine rack and made it into something fun! Follow this tutorial to make your own flight boards.

Do you give Valentine’s Day gifts? Last year Russ and I did Thrift Flips For Valentine’s Day. Instead of buying new gifts, that we honestly didn’t even need, we shopped for thrift store items that we could upcycle. It was a ton of fun last year, so we decided to do the same thing again this year! As soon as I saw this thrifted piece, I had a great idea for a wine rack upcycle.
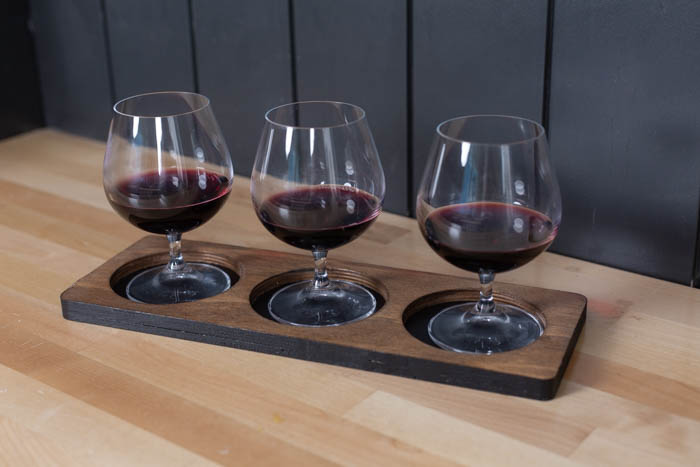
These wine racks are everywhere! I swear I’ve seen then in so many thrift stores. I had the idea to turn it into a couple of flight boards, so we could have a fun new Valentine’s Day activity to do. As a bonus I even found 6 glasses, 3 for hard alcohol and 3 for wine to make a “his” and “her” flight boards! If you don’t know what a flight board is, it’s just a pretty way of displaying drinks, which are usually a few different types of same alcohol, for example, 3 bourbons, 3 whiskeys, or 3 wines from the same winery.

*This post was sponsored by Wagner and may contain affiliate links. When you buy a product through one of our links, we get a commission at no cost to you! Thank you for supporting our blog so that we can continue to bring you posts like these. For more information, please see our disclosure page.*
Flight Trays
This turned out to be an easy project, I just needed to cut down the wine rack into a rectangular tray with three spots for a glass. So I headed to the workshop and gathered all my tools and supplies to start working!
Tools
- Wagner 3550
- Wagner Spray Shelter
- Paint Triangles
- Clamps
- Table Saw
- Squares
- Orbital Sander
- Oscillating Spindle Sander
- Glue Bottle
Supplies
- Dark Walnut Stain
- Black Paint
- Matte/Clear Polycrylic Protective Finish
- Sanding Discs
- Wood Glue
- Scrap 1/4″ thick plywood
Steps to make a Flight Board from a Wine Rack
Step 1: Remove Hardware
I started by removing all of the hardware and hinges so the only things were left were the bare plywood pieces
Step 2: Planning
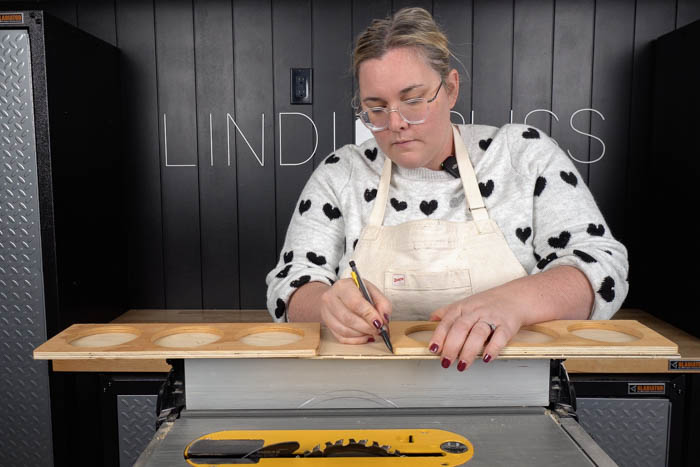
I sketched out the shape of the tray I wanted onto a plywood board that would act as the base for my tray. Watch for any defects you may want to include or remove when you plan your cuts.
Step 3: Cutting
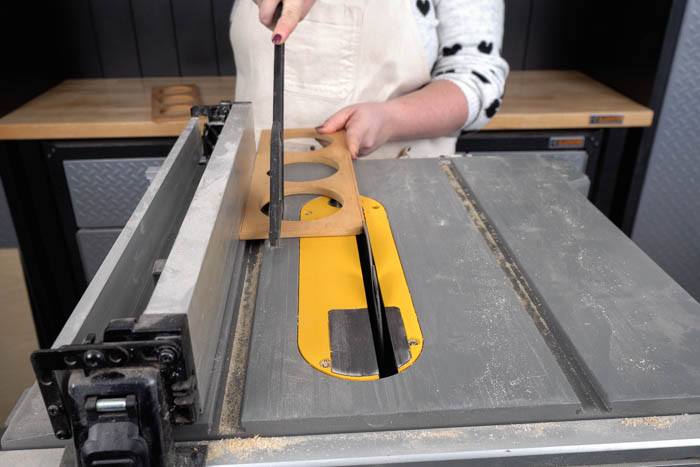
I cut the old wine rack and the 1/4″ plywood into rectangular pieces that were roughly the same width and length. With the wine rack I found I ended up with two trays – if you don’t mind thinner edges, you could make 4 trays, but I didn’t think they looked as nice aesthetically. Once we had the wine rack and scrap plywood cut I only had 4 different pieces to prep/assemble (two tops and two bottoms).
Step 4: Sanding

Give all the pieces a light sand to prep them for paint.
Step 5: Paint – Part 1

I painted the bottom piece of the tray black first and protected it with matte/clear polycrylic protective finish. We applied the coatings using our Wagner 3550 cordless sprayer and small Wagner spray shelter. These worked great to quickly spray the pieces inside of our workshop without worrying about any overspray.


I also added a coat of Dark Walnut Stain to the top piece and protected it with a matte/clear polycrylic protective finish. The great thing about the Wagner 3550 cordless sprayer is it easy to use and clean (just rinse with warm soapy water) and you can switch between spraying different products.

Step 6: Assembly
Once all the coatings had dried I used some wood glue with our handy applicator and glued the top to the bottom together. I used a couple wood clamps to hold it until the glue set. And made sure to wipe any access glue away. Now it was really looking less like a wine rack upcycle, and more like a flight board!


Once the glue dries you may need to cut/sand the ends/edges to remove any access glue and to make sure all the edges are flush to each other.
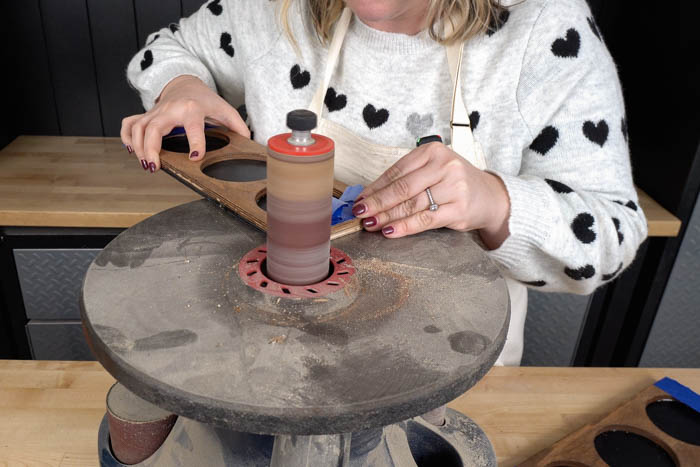
I used our oscillating spindle sander to add a small radius to the corner of the tray but you could also sand this with a cordless sander or sanding block.
Step 7: Paint – Part 2
With all the glue dry give the entire tray another coat of the matte/clear polycrylic protective finish. I used the our Wagner 3550 cordless sprayer again as it gives a really smooth and clear finish and professional look. These little paint triangles are great for adding a coating something on both sides and helps speed up the finishing process.
Wine Rack Upcycle Results
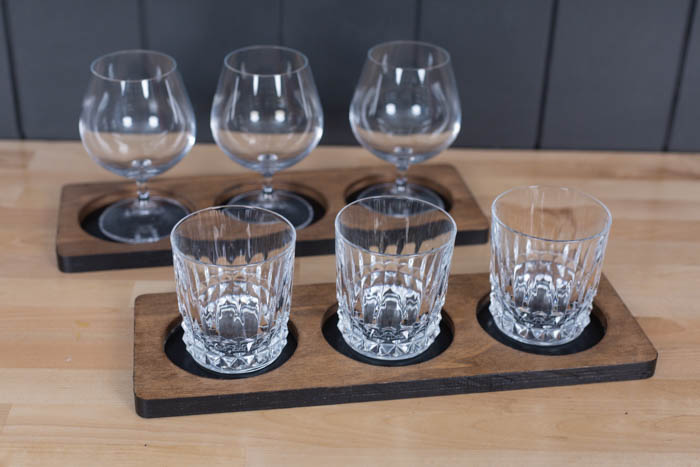

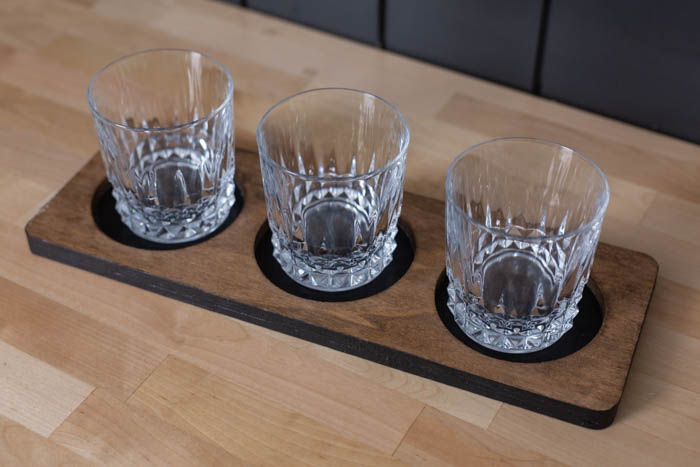
I couldn’t be happier with how this quick wine rack upcycle went! Russ loved the results and was excited to try it out! The entire thrift process is so satisfying – I always enjoy a good upcycle!


Be sure to check out the video below to see the full process and Russ’s reaction when he saw the trays for the first time! Plus see what Russ made for me!
Let me know what you think – what would you have turned this wine rack into if you found it?


