
An honest review of the MusselBound Adhesive Tile Mat! Including pros, cons, step-by-step instructions, and results!
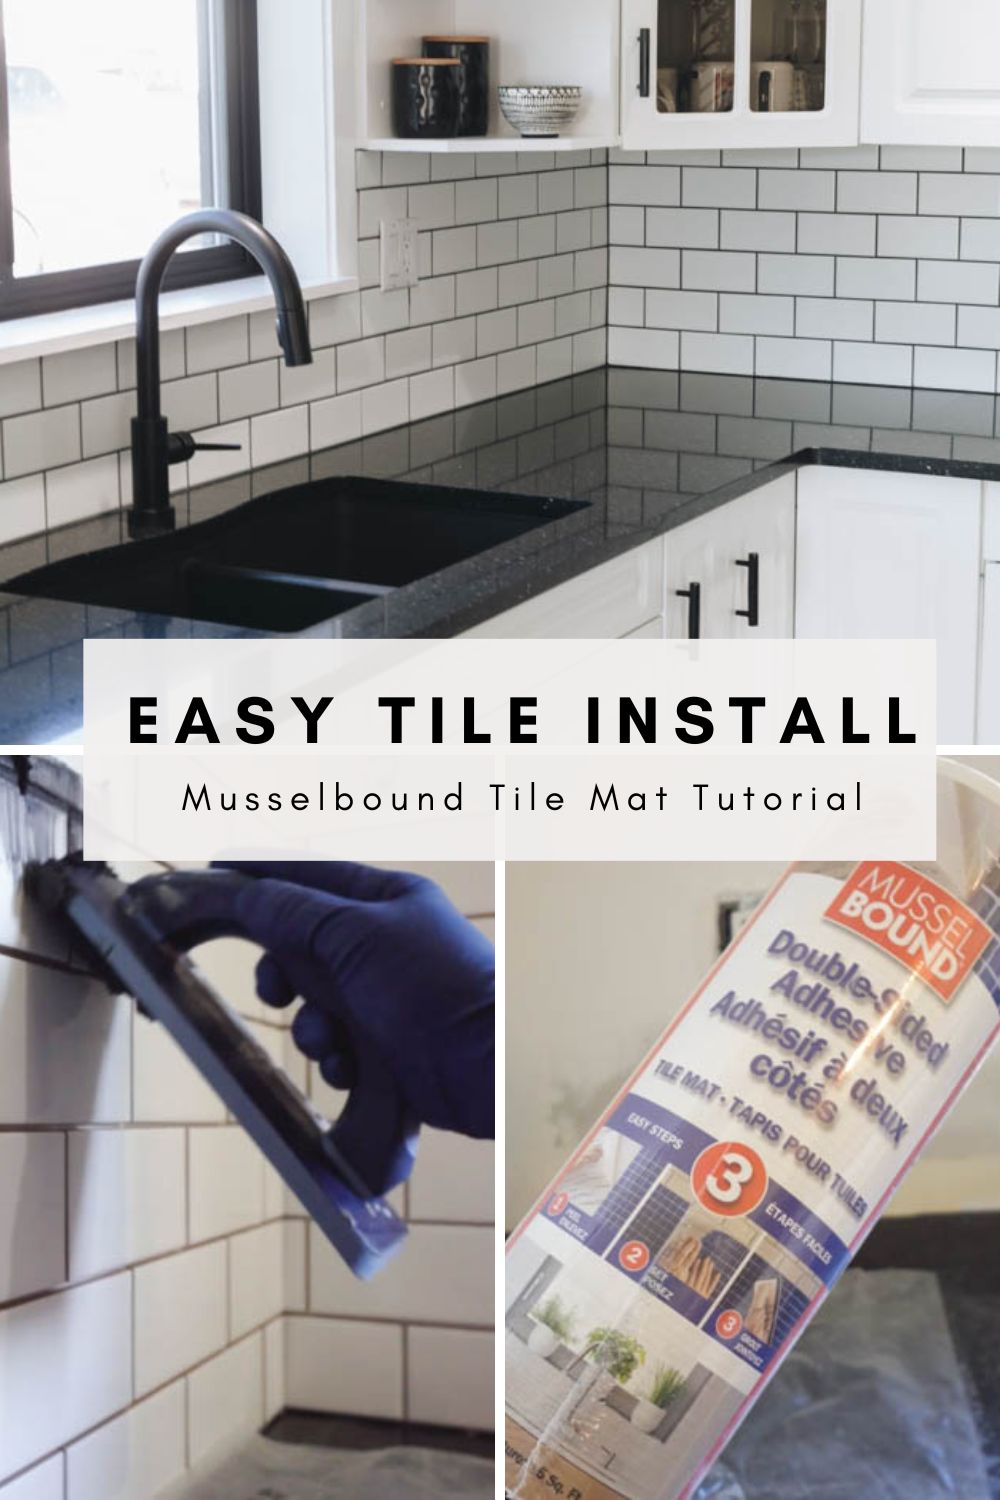
Have you ever wondered if there was an easier way to tile? Tiling at home can be very intimidating the first time! The MusselBound adhesive mat is a game-changer for easy and efficient tile installation. When used correctly, it can make the process much easier and less intimidating than traditional tiling. We’ve used it in multiple spaces, and wanted to share our honest MusselBound adhesive tile mat review!
- An honest review of the MusselBound Adhesive Tile Mat! Including pros, cons, step-by-step instructions, and results!
- Introduction to Tiling
- Overview of MusselBound Adhesive Tile Mat
- Step-by-Step Guide for Installing Tiles with MusselBound Adhesive Tile Mat
- Troubleshooting MusselBound Adhesive Mat Issues
- Our MusselBound Review
- Tile Install with MusselBound Video | Installing, Grouting, and Troubleshooting!
Introduction to Tiling
The Importance of Tiling for Home Improvement
Tile installation plays a crucial role in home improvement, offering a range of benefits that enhance both the aesthetic appeal and functionality of a space. Tiles are not only visually pleasing but also provide durability and easy maintenance, making them ideal for high-traffic areas such as kitchens, bathrooms, and entryways.
They come in a wide array of designs, colours, and patterns, allowing homeowners to express their personal style and create a cohesive look throughout their home. Moreover, tile installation adds value to a property, making it an attractive investment for homeowners looking to increase the resale value of their homes. Whether it’s adding a backsplash, revamping a bathroom, or transforming an entire floor, proper tile installation is a fundamental aspect of any home improvement project.
The Challenges of Traditional Tiling Methods
Traditional tile installation can be time-consuming, labor-intensive, and require a high level of skill. Those who ask us about tiling are often concerned about using mortar correctly, and efficiently enough to be able to lay the material, cut tiles, and align tiles with the correct spacing without wasting materials.
Using mortar, which involves mixing and applying it to create a stable base for the tiles, can be messy, requiring careful measurement and preparation, and can be difficult to get a nice even base. Additionally, mortar requires a curing period, prolonging the overall installation timeline.
Another challenge is the need for precise tile alignment and spacing, which demands meticulous attention to detail and can be difficult to achieve consistently. Grouting can also be tedious and time-consuming, requiring meticulous application and cleanup.
Introducing the MusselBound Adhesive Tile Mat
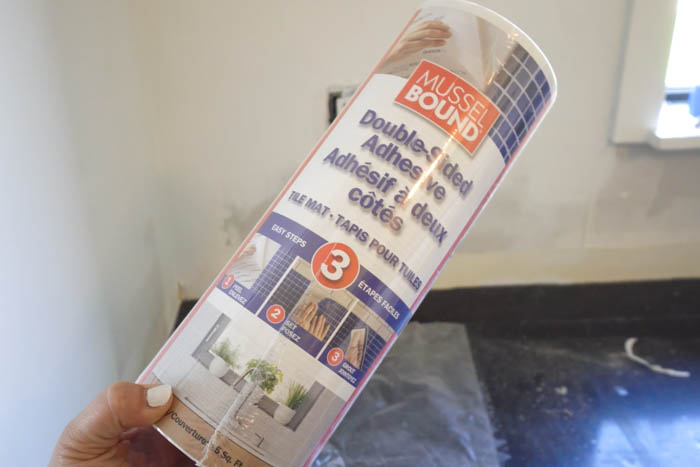
The MusselBound Adhesive Tile Mat as a solution for tile installation that is completely different than the traditional methods. This innovative adhesive tile mat eliminates the need for messy mortar, thinset, or mastic, making it a game-changer for both DIYers and professionals.
The MusselBound mat sticks to the wall and creates a strong bond between the mat and the tiles. Unlike mortar-based installations, this self-adhesive mat allows for repositioning and adjustments, making it easier to align the tiles and space them accurately.
With MusselBound, there is no waiting time for curing, significantly reducing the overall installation timeline. When used correctly, the adhesive mat simplifies the process, making tile installation accessible to a wider range of individuals while still maintaining the high-quality finish.
Overview of MusselBound Adhesive Tile Mat
How Does it Work?
The MusselBound Adhesive mat is coated on one side with a strong adhesive that securely bonds the tiles to your wall or surface. The adhesive is activated upon contact with the tiles, creating a powerful and durable bond.
The mat itself is made from a flexible and lightweight material that provides stability and support for the tiles. This uniquely allows for easy handling and positioning of the tiles during installation.
Pros of the MusselBound Mat
Here are a few of the key benefits of using the adhesive mat:
- Beginner-friendly: The adhesive mat is not only less intimidating than traditional tiling, it is easy to cut with scissors, and easy to stick on your surface by just removing the sticker on the back. Because it isn’t time-sensitive, it’s also easier for those wanting to take their time to learn, or being interrupted by home or work schedules (or in our case, by our children!).
- Time-saving and efficient installation process: Using the mat can significantly reduce the time and effort required to tile a space. Unlike traditional mortar-based methods that involve mixing and curing time, the adhesive mat allows for immediate tile installation.
- Versatility and compatibility with various tile types: It is compatible with several tile types, including ceramic, porcelain, glass, and natural stone. It’s also suitable for various applications, whether it’s a bathroom or kitchen backsplash or a fireplace surround, and many surfaces including drywall, “orange peel” textured walls, cement board, stainless steel, plywood, and more.
- Superior adhesion and durability: The adhesive used in MusselBound Adhesive Tile Mat provides exceptional bonding strength, resulting in a durable and long-lasting installation. The mat prevents shifting or loosening over time and ensures the tiles stay firmly attached, even in high-traffic areas or environments with temperature variations.
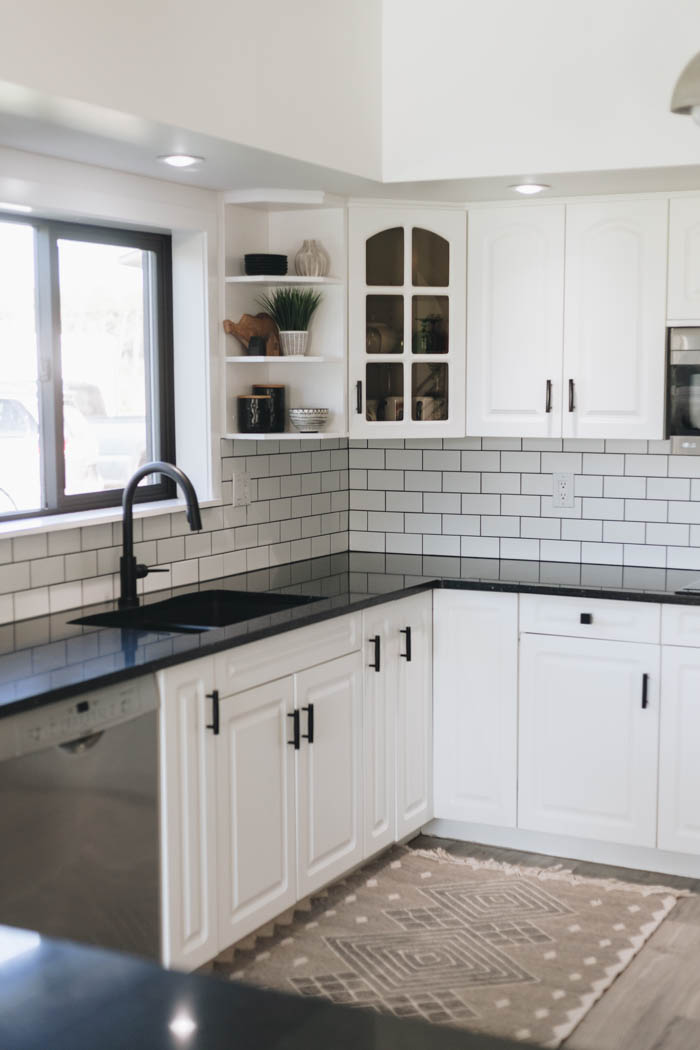
- Mess-free and clean installation: Using the mat eliminates the mess and clean-up associated with traditional mortar installations. There’s no need for mixing, spreading, or dealing with wet mortar, resulting in a cleaner space. This was such a great feature for us, as we had new countertops in both spaces we used the mats in, and we didn’t have to worry about getting thin-set stuck to them.
- Avoiding demolition of dated tiles: If you prepare the surface correctly, you can stick the mat right on top of old, dated tiles and avoid the mess and frustration that comes with demolition.
Cons of the MusselBound Mat
Here are a few of the main drawbacks or limitations of the adhesive mat:
- Cost: The MusselBound mat is definitely more expensive than traditional mortar or thinset, even when considering the cost of additional tools you may need.
- Tile compatibility: While MusselBound Adhesive Tile Mat is compatible with many tile types, some specialty or unconventional tiles may not adhere as effectively.
- Limited Surfaces and Locations: The effectiveness of the adhesive mat depends on the suitability of the surface it’s applied to. Proper surface preparation, including ensuring a clean and dry substrate, is crucial. Unsuitable or uneven surfaces may affect the performance of the adhesive mat. Also, the mats are not suitable for extremely wet conditions or floors.
- Limited reusability: Once tiles are adhered to MusselBound Adhesive Tile Mat, removing them without damaging the mat can be challenging. While the adhesive mat allows for some repositioning during installation, attempting to reuse the mat or remove tiles after the adhesive has set may lead to damage.
- Wet tiles do not stick: If you are using tiles that require a wet saw to cut them, you must completely dry those tiles for them to stick onto the mat. We tried hair dryers and cloths, but found that the only thing to truly dry them enough was the oven, but this can add a significant amount of time to your installation if you have many awkward cuts, or things to work around (like outlets, switches and cabinets).

Step-by-Step Guide for Installing Tiles with MusselBound Adhesive Tile Mat
Tools Needed:
- MusselBound Adhesive Tile Mat
- Tile Cutter and/or Wet Saw
- Tile of your choice
- Utility Knife or Scissors
- Measuring Tape
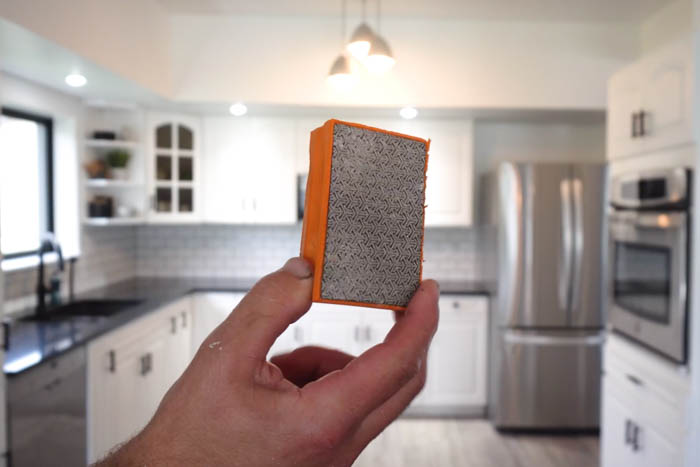
- Diamond Sanding Block
- Diamond Sanding File
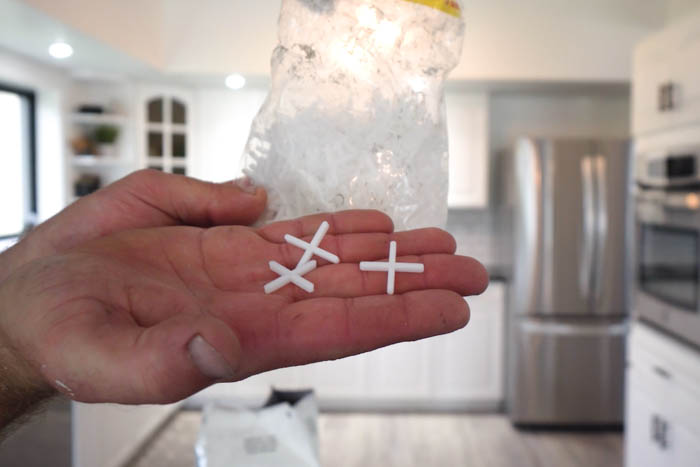
- Spacers
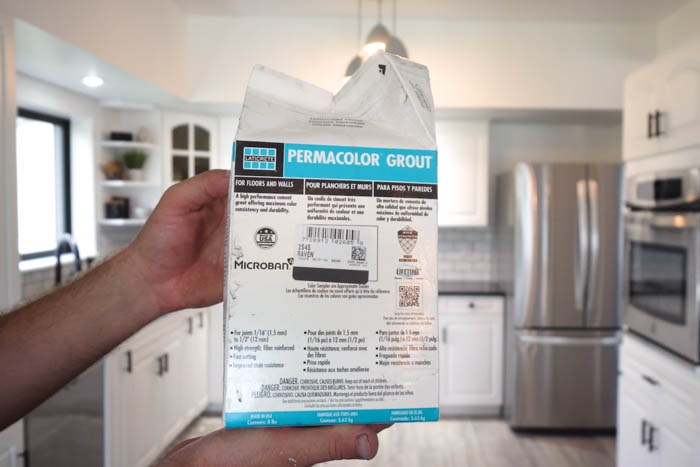
- Grout (colour of your choice)
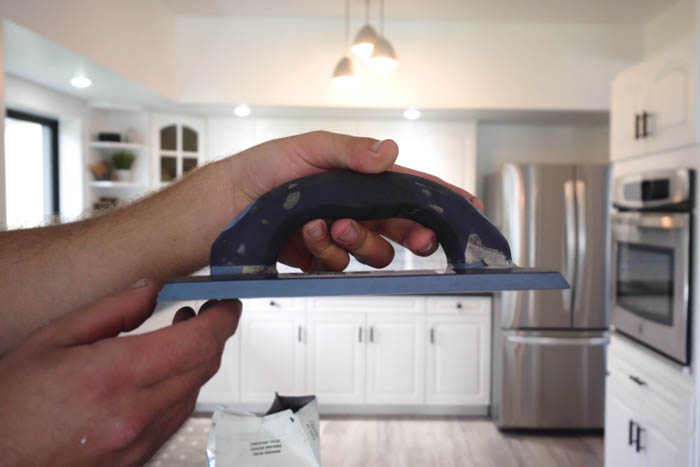
- Grout Float
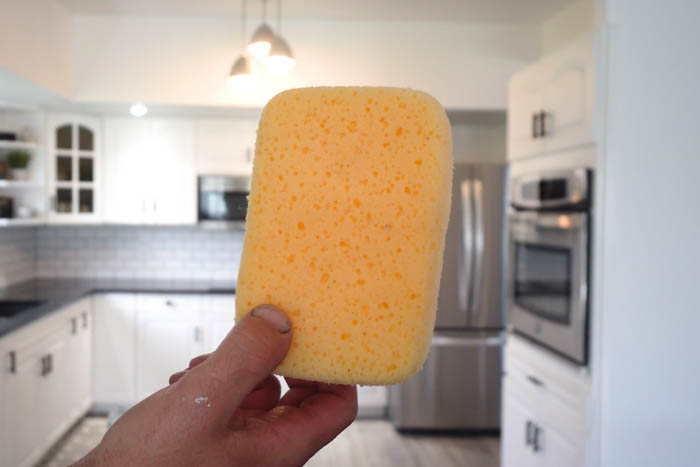
- Sponge
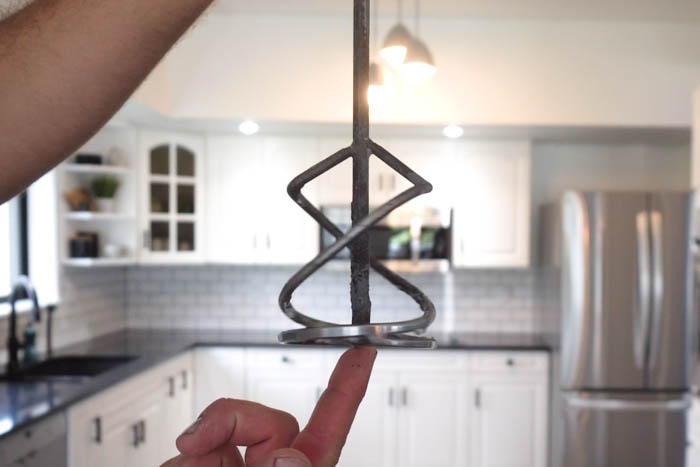
- Mixer Drill Bit
- Laser Level
- Grout Sealer
How to use the MusselBound Adhesive Tile Mat
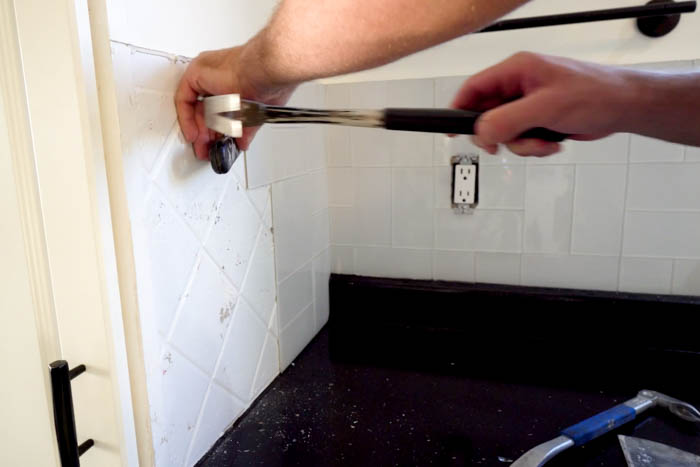
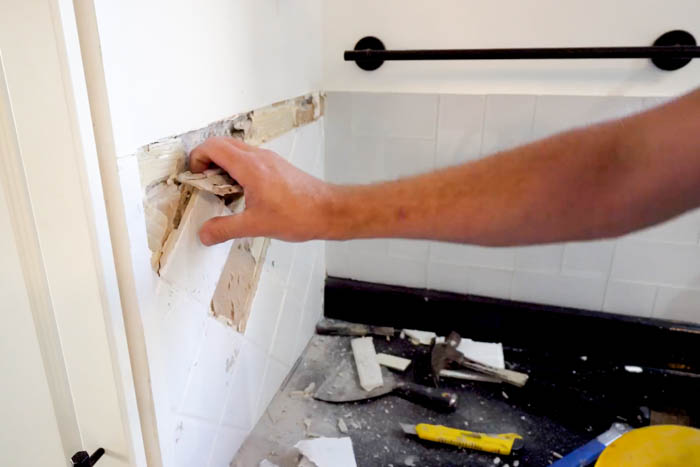
Remove Old Tile
This step is not needed for all applications of MusselBound, and can be skipped if you want to adhere your new tile right on top of existing tile. We removed all of our tiles with pry bars and a hammer. If you do choose to remove tile, you will need to remove and replace drywall as well.
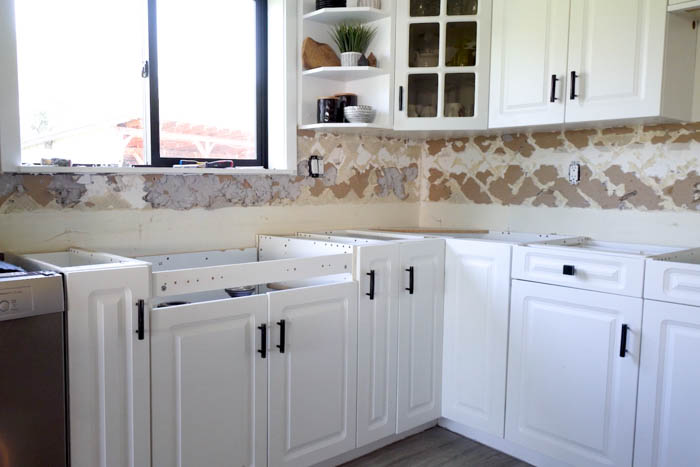
Prep Surface
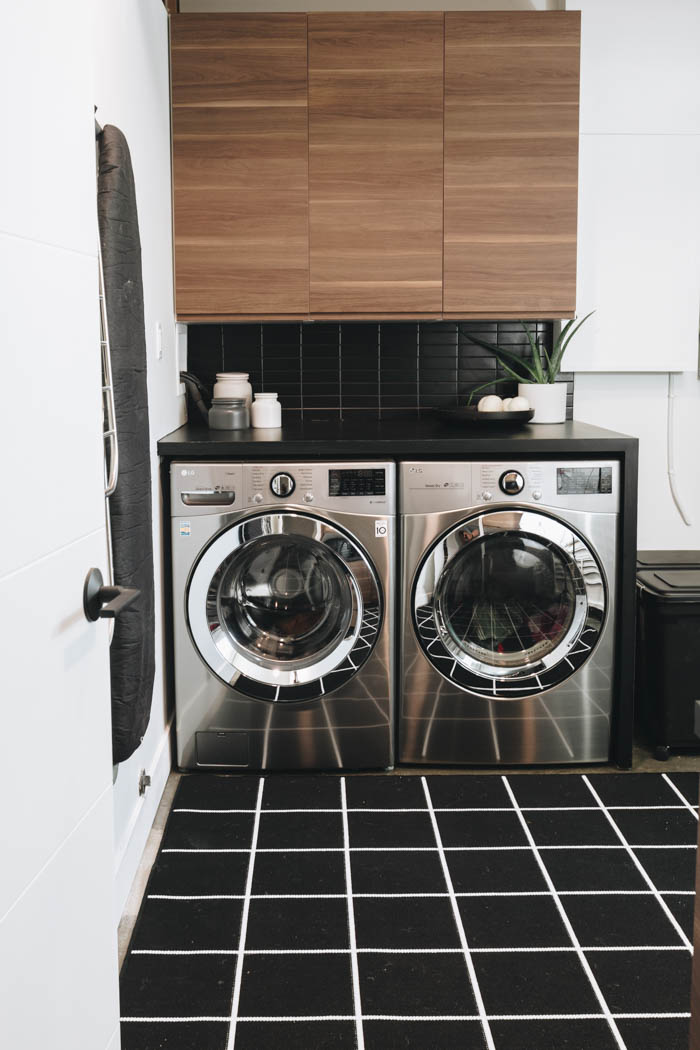
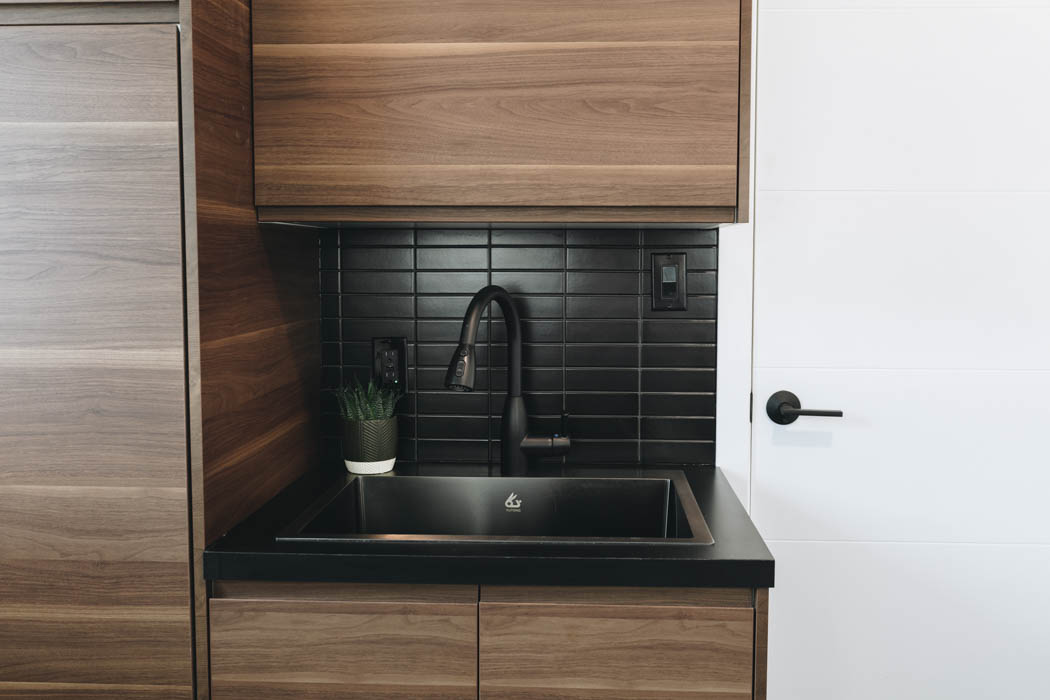
In one of our spaces, we had just laid down new drywall, so we didn’t have any other prep to do. With new drywall you need to make sure the space and wall was free of dust and debris. When we put MusselBound in our laundry room, we worked on existing drwall. For this space we had to make sure that the wall was cleaned and prepped properly.
Use a cleaner appropriate for the surface you are tiling, and remove any dust, debris, paint chips, or grease.
Plan Your Layout
Planning your tile out ahead of time will lead to better results. One of the first things we think about, is where we want to start the tiling pattern. This means thinking about where your focal point is going to be (e.g. centered around valve bodies), and thinking about where the easiest spot to start your tiling is to help minimize cuts.
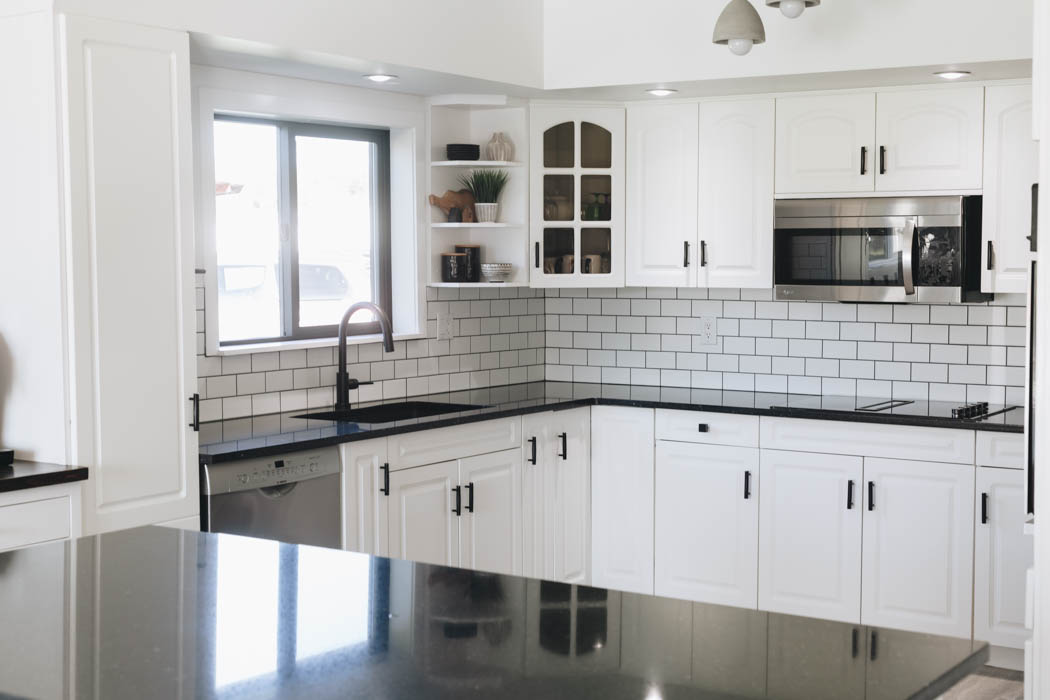
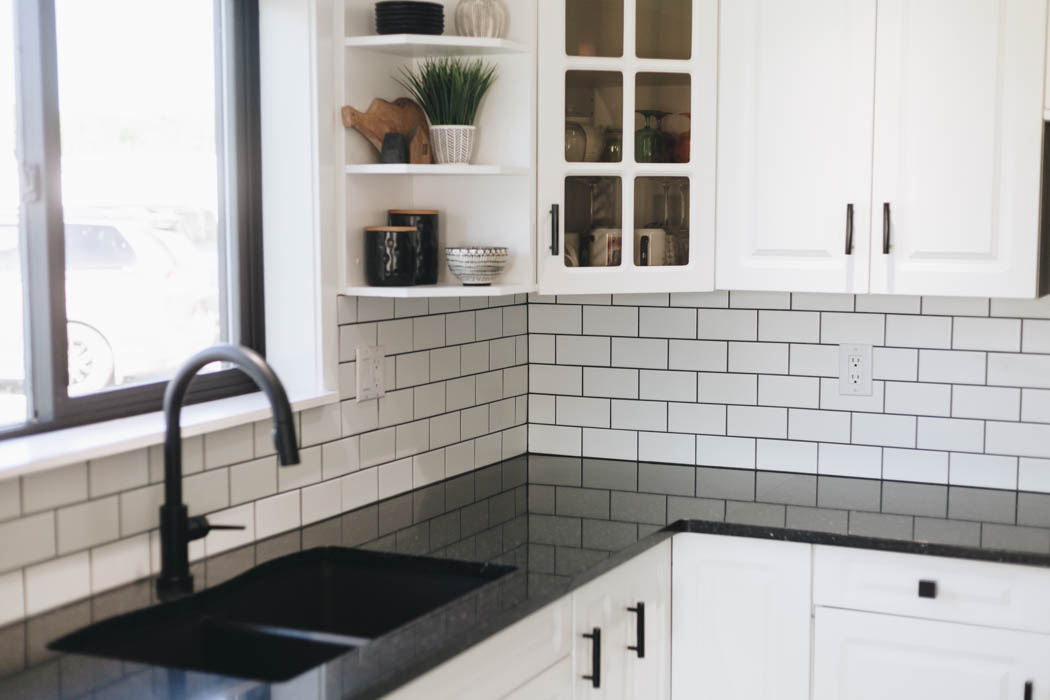
In our kitchen we started our tiling in the center corner of our “L shaped” countertop because it is where the eye is drawn in and we wanted the nicest finish. The alternative would have been to start at an outside wall and reaching the corner at a random tile measurement, rather than nice clean full tiles.
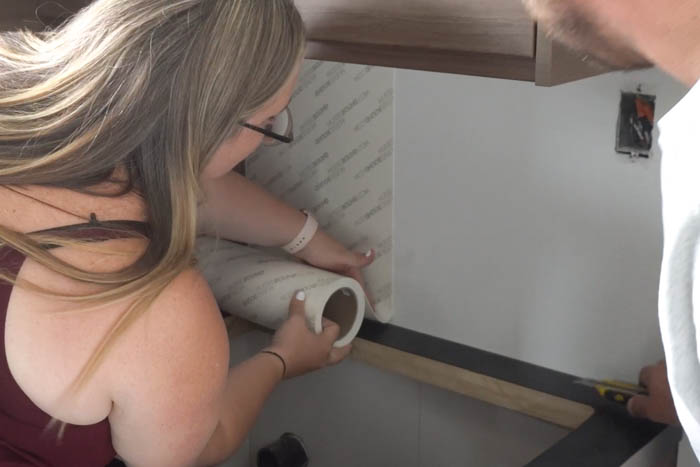
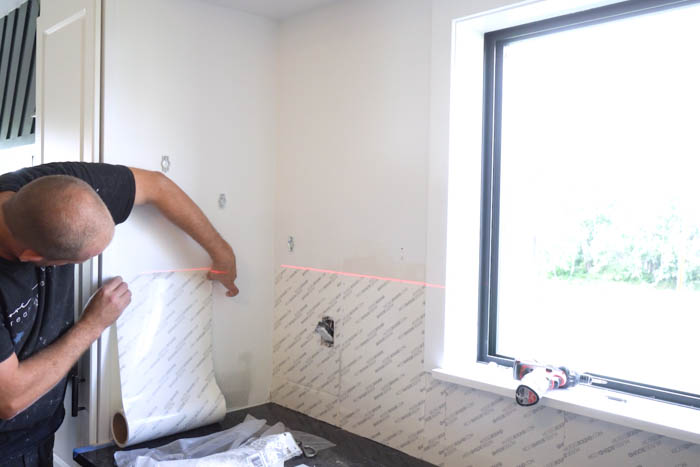
Measure, Cut & Adhere MusselBound
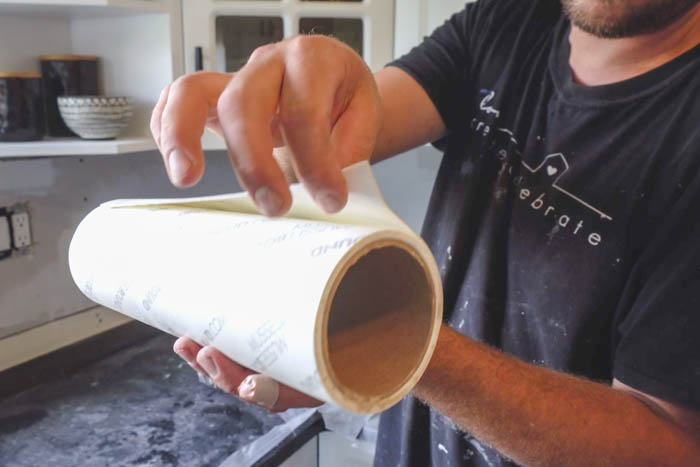
MusselBound is best applied vertically, from the top down. There are two ways to do this.
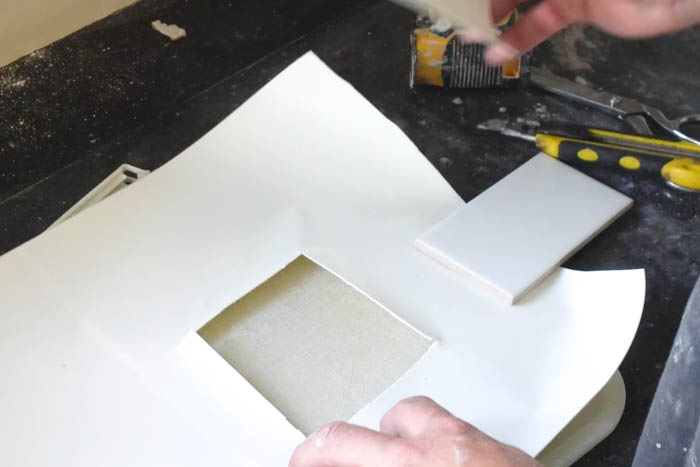
- You can keep the MusselBound attached to the roll as we adhered it. We lined up the MusselBound with the top edge, put it down smoothly, and cut the bottom with a straight edge and a utility knife. Having the whole roll in your hand may become cumbersome thought.
- Measure the vertical distance you are adding MusselBound to, transfer that measurement to the MusselBound roll, and cut a strip in to the approximate length with a pair of scissors.
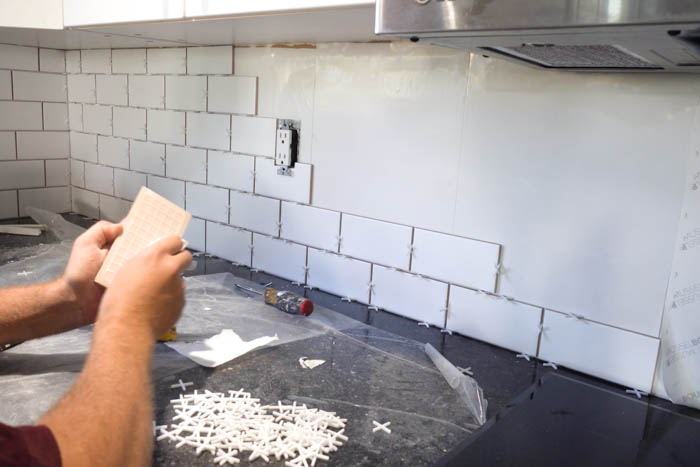
Press firmly to adhere the MusselBound Adhesive sheet well once it’s in the correct position. We often just used a tile to smooth out the mat and make sure it was adhered well.
Continue this process until the entire space you are tiling has a layer of MusselBound on the wall. Do not remove the sticky backing yet.
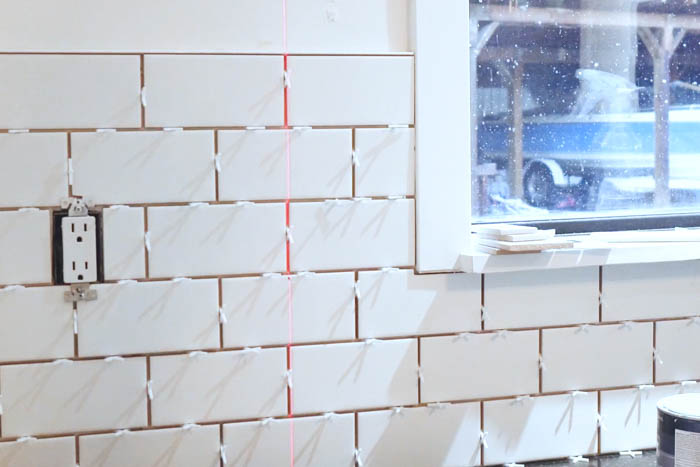
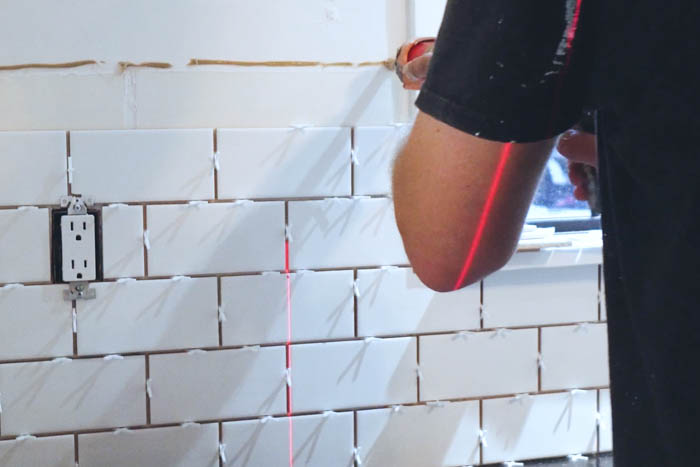
If you are applying MusselBound somewhere on an open wall, we highly suggest using a self-leveling laser to get a nice straight line. Make sure that you stay below the laser line, because if you attach MusselBound to the wall and want to remove it, you may damage your drywall.

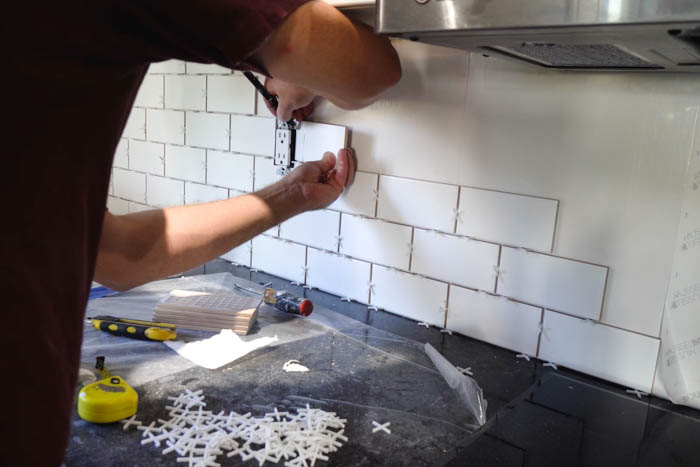
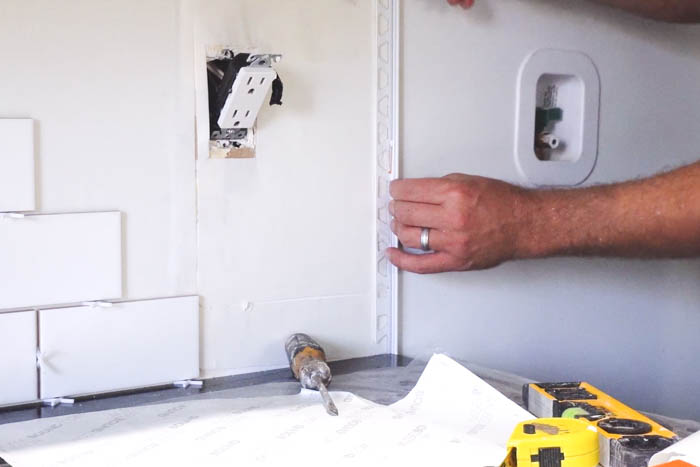
Outlets and Switches
If you are working around outlets or switches, make sure the power is off, and then use a utility knife to carefully cut around the opening. You can either do it while the mat is already applied to the wall, or you can take measurements from the top and side and cut the mat before it is attached to the wall.
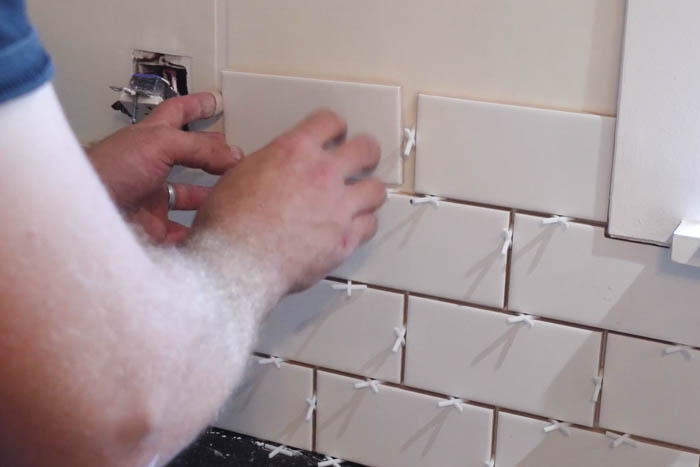
Install Tile
When you place the tile down gently at first, it is very easy to move and reposition. However, after you provide firm pressure onto the tile, it does create a bond with the adhesive mat and it much harder to move.
If you need to remove a tile after pressing firmly, you can use a flathead screwdriver or a pry bar. You will need to make sure that the adhesive mat underneath was not compromised.
As with any tile job, making sure that your first few tiles and your first row are square and level is very important. You can use a hand held level or laser level to ensure level placement.
We always put our spaces underneath the first row of tiles (you can use them flat down on the counter). They will keep some space between the counter and tiles for caulking, and will allow for some flexibility while aligning that first row of tiles and getting it level.
Install your tiles one, at a time, placing your spacers between tiles as you do, keeping your tile pattern consistent as you go.
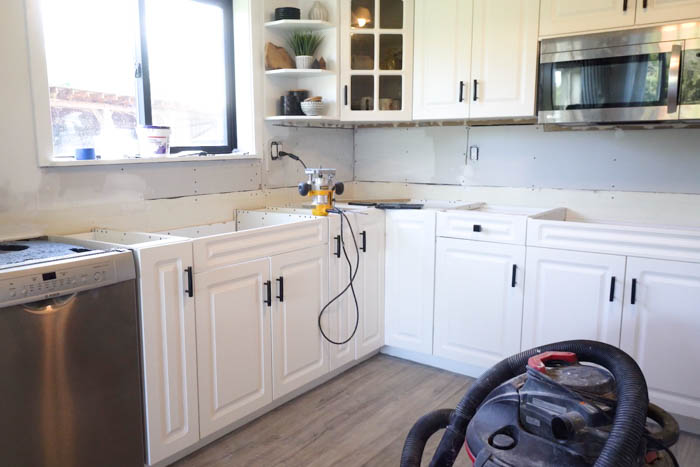
Cut Tiles As Needed
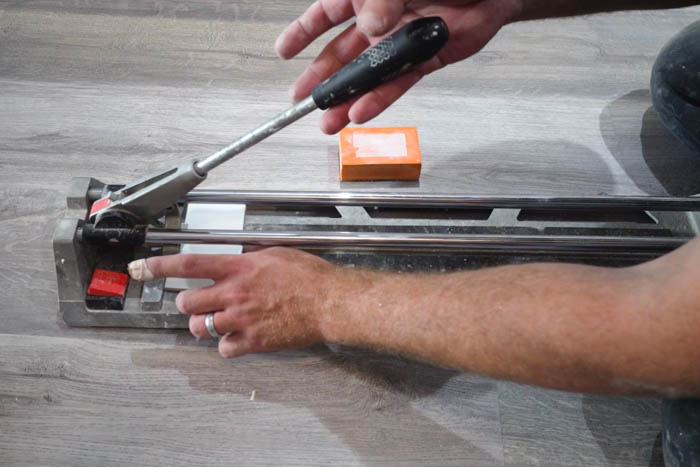
When it came to cutting our tiles, there were two methods we used for our ceramic tiles. See some examples of both ceramic and porcelain tiles in many spaces here. We used the manual tile cutter and the wet saw. In both cases you need to measure the amount of tile you are cutting, and mark it on your tile.
If you are doing straight cuts on ceramic or porcelain tile, the manual tile cutter is a really great, slightly safer option for cutting the tiles. With minimal pressure and one solid movement, you can score your tile all the way across. Then when you press down on either side of that score line, it will break the tile into two pieces.
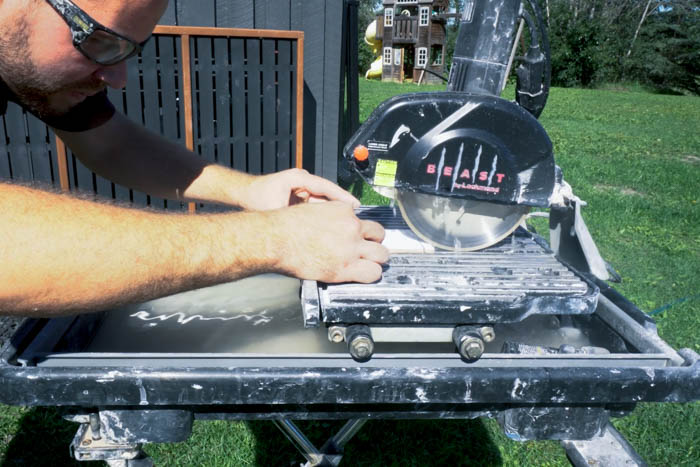
If you have any more intricate cuts around outlets, switches, or structures in your space, you may have to use a wet saw instead. A wet saw is a saw that sprays water onto the tile that you’re cutting to keep it cool and prevent it from cracking. This saw will allow you to cut “L”‘s and other more complex shapes.
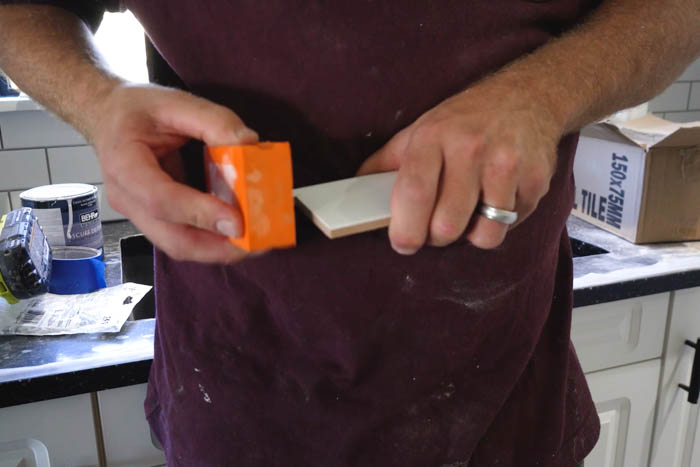
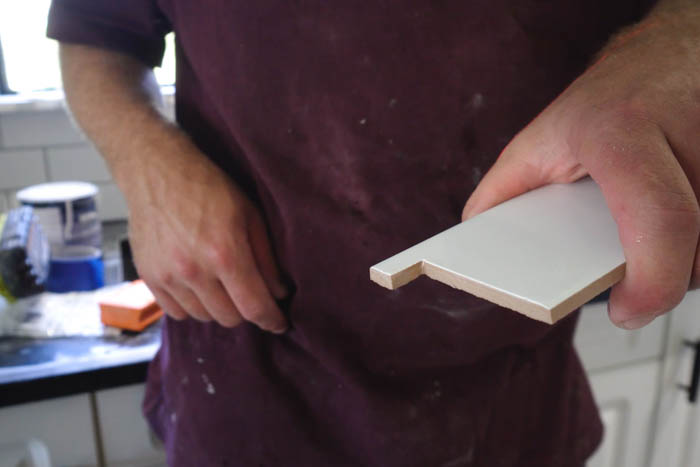
Whichever saw you are using, for a more professional finish, you may have to use a diamond sanding block to sand the edges after your tile is cut. When you have corners, etc. a sanding file will help you get into those areas and sand as well.
Unfortunately, if you use a wet saw with the MusselBound adhesive mat, that tile needs to be 100% dry or it will not stick to the mat.
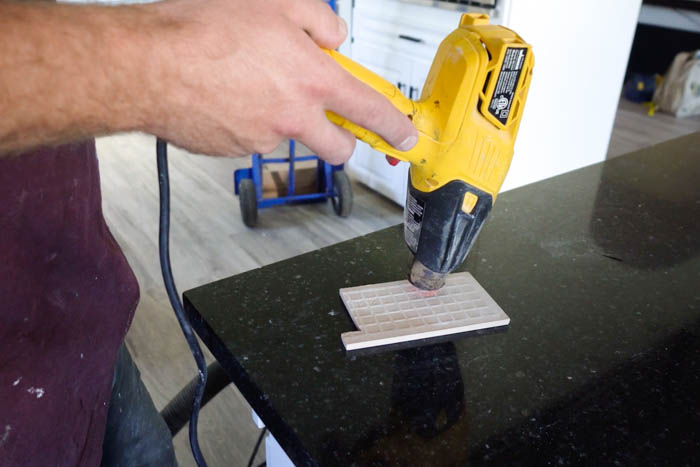
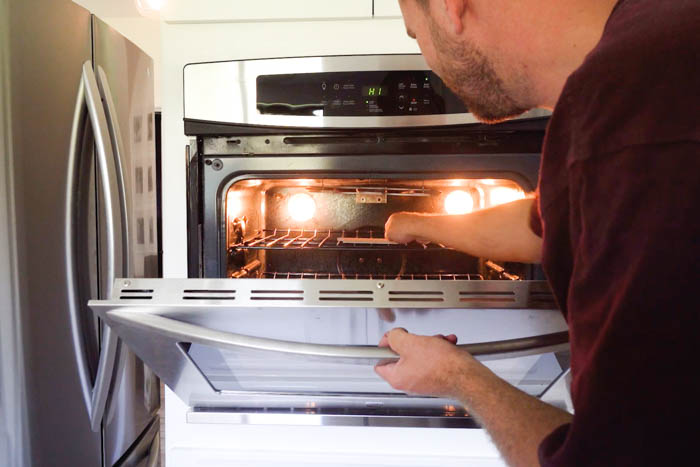
How to dry wet tiles for MusselBound
We tried a few different things to get the wet tiles to stick, including drying by hand, a hair dryer, and a heat gun. None of these worked efficiently. The only method that worked efficiently for us was drying the tiles in an oven.
We placed the tiles in the oven broiler on hi for about 3 minutes, and then had to let them cool for 10 minutes before we could apply them. This was definitely not time-efficient and really set us back every time we had a more intricate tile to cut.
Add Tile Edging or Trim
You can cut and add metal edging to the walls to get a nice clean edge when you’re applying tile as well. The edging can stick straight onto the adhesive mat. You can also use a small amount of construction adhesive if needed. The edging must be in place before the tiles that are adjacent to it. Make sure to leave a spacer between the tile and edging for grouting afterwards.
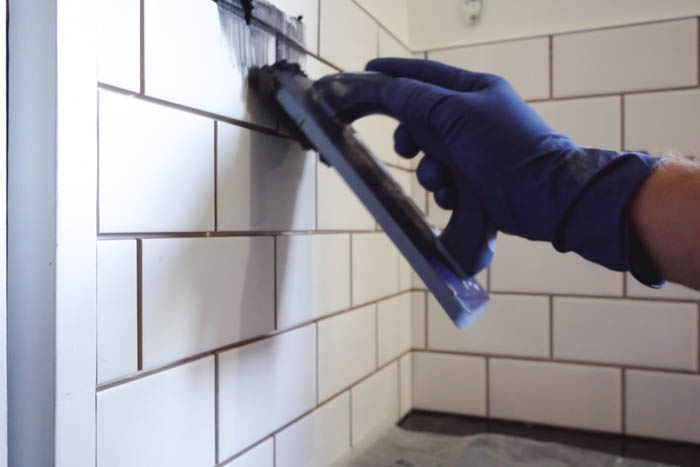
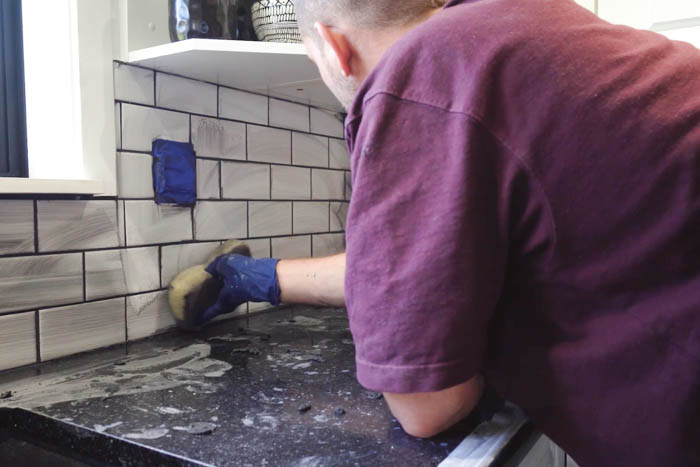
Grout Tiles
With the MusselBound adhesive mat, you can grout your tiles immediately. Grout the same way you would any tile job, using a grout float to push the grout into the spaces between the tiles. Use a large sponge to wipe everything clean.
Seal Grout
This step is optional, but you may want to consider sealing your grout. This is especially important if you have used a light coloured grout in a high traffic area where the grout is likely to stain over time.
Troubleshooting MusselBound Adhesive Mat Issues
If your tiles are not sticking to the adhesive mat, here’s a few things you can check:
- Is your tile 100% dry? You may need to dry it in the oven to remove all of the liquid.
- Is there dust and debris on the tile? Try wiping the back of the tiles
- Is your mat compromised? If the mat was left out with the sticky side exposed to the air for a long time, or if you had previously stuck on and then removed other tiles, the mat may need to be replaced with a new piece to achieve the right tile bond.
Our MusselBound Review
Would we use MusselBound again? Short answer yes.
What we really liked about the MusselBound Adhesive Mat is that on a solid surface. The mat and tile installation both went very fast and there was no mess. What we really didn’t like, was how long we had to wait between laying down each of our wet tiles. It’s only 10-15 minutes, but when the entire project is only taking a couple of hours, it adds a lot of time!
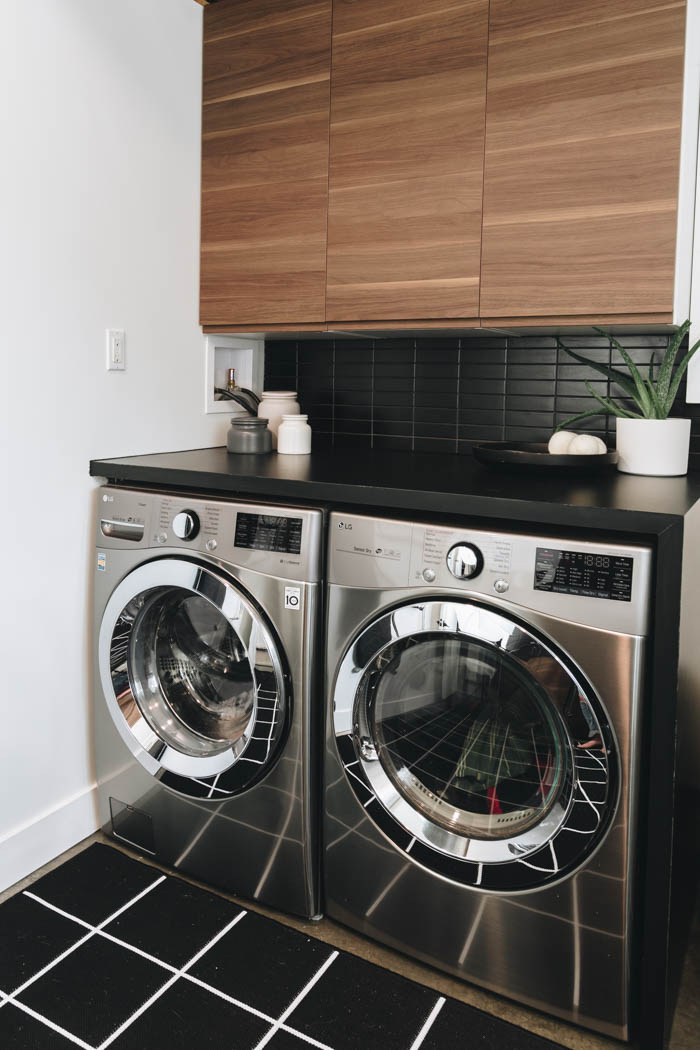
We would definitely use these mats again in areas that don’t have a lot of cabinets, switches or structures to work around, like our laundry room.
In our opinion, thin-set or mastic is still the best way to apply tiles, but isn’t necessarily DIY friendly. MusselBound requires less specially tools and know-how, it doesn’t require you to learn how to mix mortar or level it out properly, and it allows for extra time during installation, making it much less intimidating, and more user-friendly. For first-time tilers, it’s a great and effective option!
Tile Install with MusselBound Video | Installing, Grouting, and Troubleshooting!
If you want to see any of these step in more detail, or if you’re a visual learner (like me!), we shared everything in this video!
Looking for another beginner DIY-friendly project? Here are a ton of amazing DIY shelf ideas for any level from beginner to advanced!


Amy
Monday 12th of February 2024
Hi - thanks for this post about mussel bound. I am wondering - it looks like you just attached the musselbound to drywall that wasn't spackled, primed or painted.. I am hoping to do the same and wanted to make sure that was the case with yours and see if you had any issues with it or tips... Thanks!
Lindi
Monday 4th of March 2024
It is best if you apply the musselbound to unpainted drywall, which is what we did, but you can also apply it to painted drywall. The biggest thing to watch for it making sure you don't have any big gaps or crevices in between your drywall sheets. You want to musselbound to adhere is flat and smoothly as possible.