DIY jewellery sounds fun right?
Most jewellery how-tos on Pinterest still seem a little too hard for me.
I’d have to buy all the supplies and the tools, and who knows if I would use them again.
Close to My Heart came out with a super easy jewellery making design, and I figured it I’m ever going to try designing my own jewellery, this is the way to start!
Plus, I’ve visiting with my mama this week and we could experiment together :)
Here’s everything we needed:
(all CTMH materials)
Chain
Charms
Pendant
Glass Covers
Style Sheet (I chose the dreamer sheet)
Liquid Glass
And here’s how it’s done:
1. Select a square that you like (or will match your wardrobe!) and place it inside the pendant.
2. Run your nail around the edges of the square so that the piece is flat (without air bubbles or bumps) and properly placed inside.
3. Place drops of liquid glass inside to adhere the glass piece (too much is better than too little!).
4. Clean off the glass piece (i.e. make sure there aren’t any fingerprints), and place inside the pendant.
5. Press firmly all around the glass cover. You will see the glue spread across the inside of the glass.
6. Dab the outside of the glass cover with tissue to remove the excess glue that seeped out.
7. Add any charms that you want and place the necklace on the chain. Done!
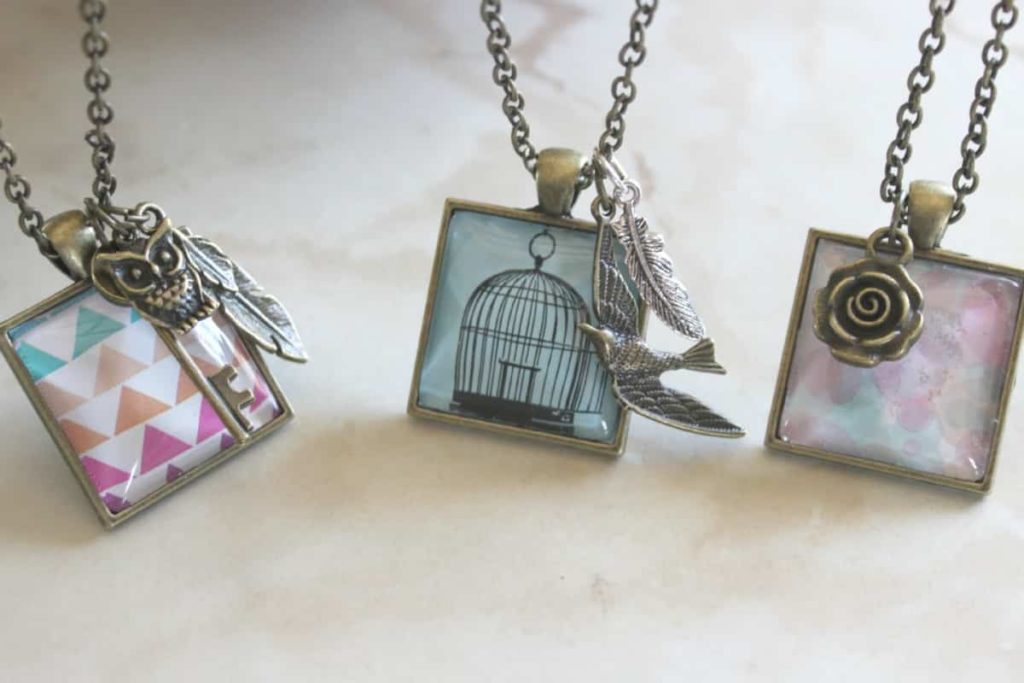
Here are the three necklaces and charms that we chose:
This one is my personal favourite! Mom used the birdcage style square, and added the bird charm and the feather charm. Looks great! And now we have matching necklaces that were super easy to make (even my mother could do it! lol).
For more info on Close to My Heart products visit Close to My Heart :)
{xoxo}


