Everything you need to know about how to use a paint sprayer, from prep to clean-up! And how to paint an entire room in 30 minutes!
If you’re visiting this post, then you’ve probably already heard of paint sprayers. Maybe you’ve wondered if you should get one, or if it’s worth the investment. Maybe you’ve wondered how easy they really are to prep, use, or clean-up? We’ll try to answer all of your questions and more!
*This post was sponsored by Wagner and may contain affiliate links. As always, opinions are 100% my own. For more information, please see my disclosure page.*
What are Paint Sprayers?
If you’ve never used a paint sprayer, this might be the first question on your mind. Essentially paint sprayers are devices that send a coating through the device, and through the air onto a surface.
Typically this uses compressed air or a turbine to send something like paint or stain onto a wall, fence, piece of furniture, or other surface.
They are used because they can paint large surfaces and intricate details (think ornate furniture!), much faster than a brush or roller, yet they are still hand-held and portable.
There are a lot of different paint sprayers out there, but today we are focusing on the Wagner Flexio 5000. This one was gifted to us my Wagner, and is honestly our favourite paint sprayer that we’ve ever used!
- Wagner Paint Sprayer
- Material Cup Liners (for clean up!)
- Respirator (when sprayer)
Full Overview of the Wagner Flexio 5000 Paint Sprayer
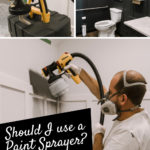
We recently used our paint sprayer to redesign an entire bathroom in just FOUR days! We honestly could never have gotten that much done if we hadn’t used a paint sprayer for the walls.
This video is a great overview of how to use a paint sprayer, and all of the different functions and options it has.
Don’t forget to subscribe to our channel!
Prepping to use a Paint sprayer
Paint sprayer prep can be divided into two specific sections: prepping the room and prepping the sprayer.
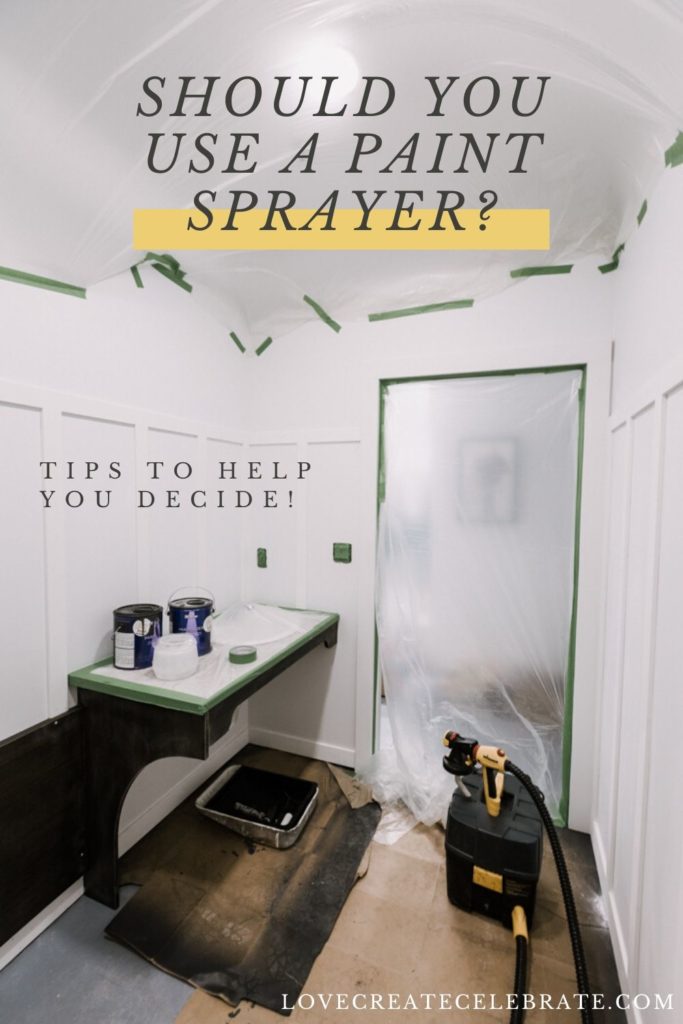
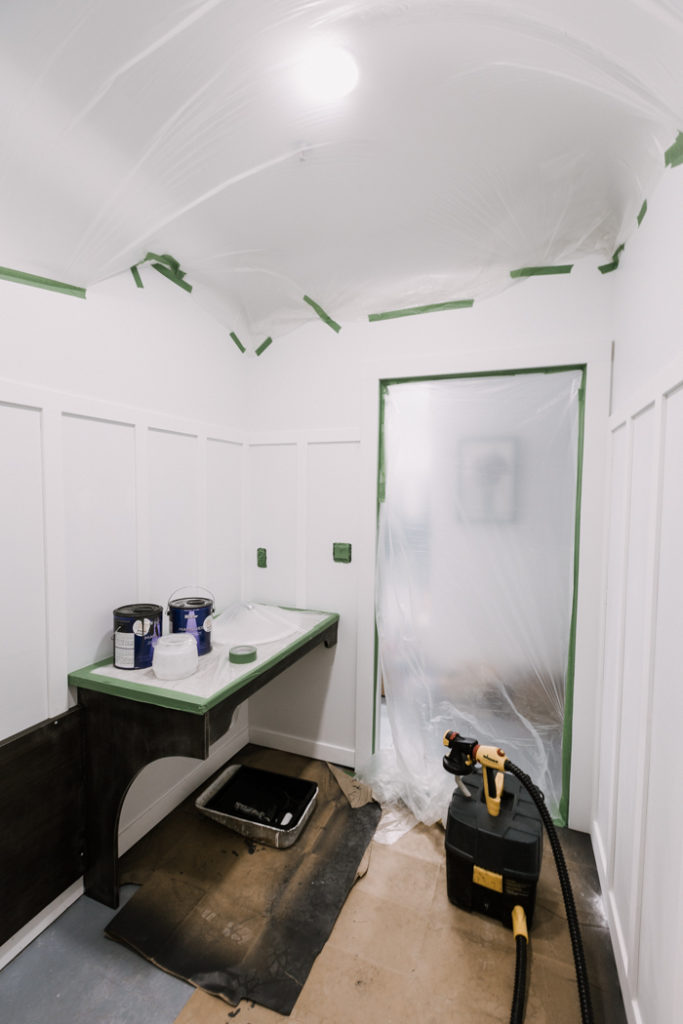
Prepping the room for a paint sprayer is very important! No matter what sprayer you are using, you will have significant overspray. Meaning that since the paint is being pushed out by air pressure, it won’t just land in one perfect spot, it will go ALL OVER the place.
It is very important that you mask off any part of the room that you don’t want paint on. We used drop cloths from the dollar store and frog tape to mask off our room and it worked perfectly! We masked everything from the ceiling, to the doorway, the toilet, the plumbing, and the vanity.
It took us about an hour to tape off a full bathroom. That may sound like a long time, but when you consider how much time you save on painting, it’s a huge time saver!
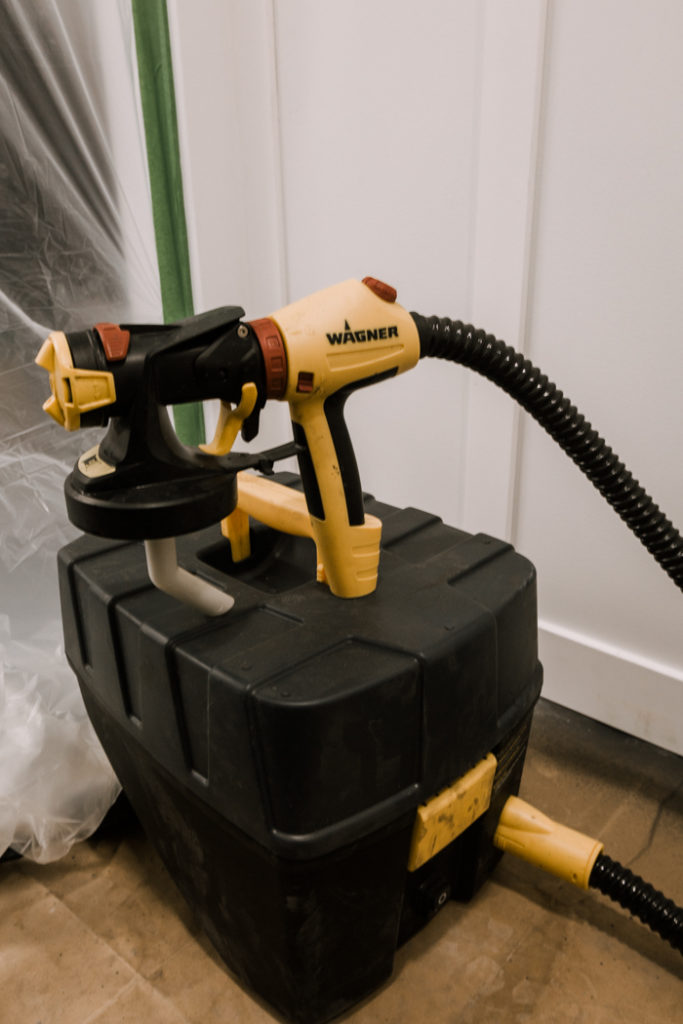
The other step is prepping the actual paint sprayer. There are a number of different dials that control the direction of the paint spray, how wide or narrow it sprays, the pressure at which it sprays, how viscous your fluid is, and how fast or slow you want to spray.
Watch the video above for more on how to change individual settings, and check with your manual before you start.
Once all of your settings are selected, your nozzle is attached, and your power cord is connected, you’re ready to paint or stain your room.
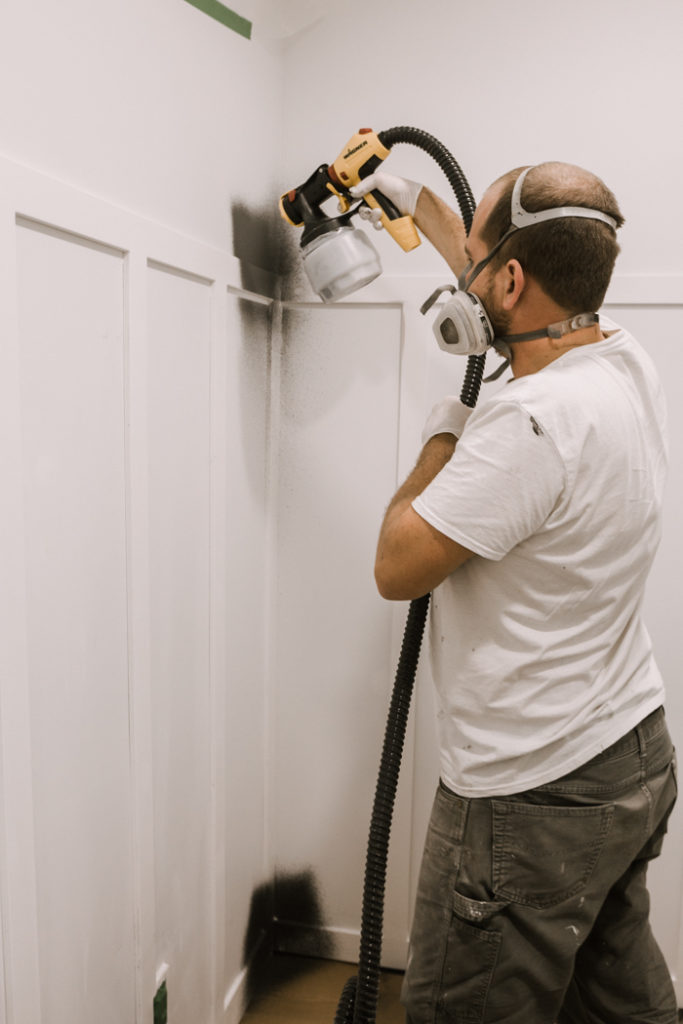
Using the paint sprayer
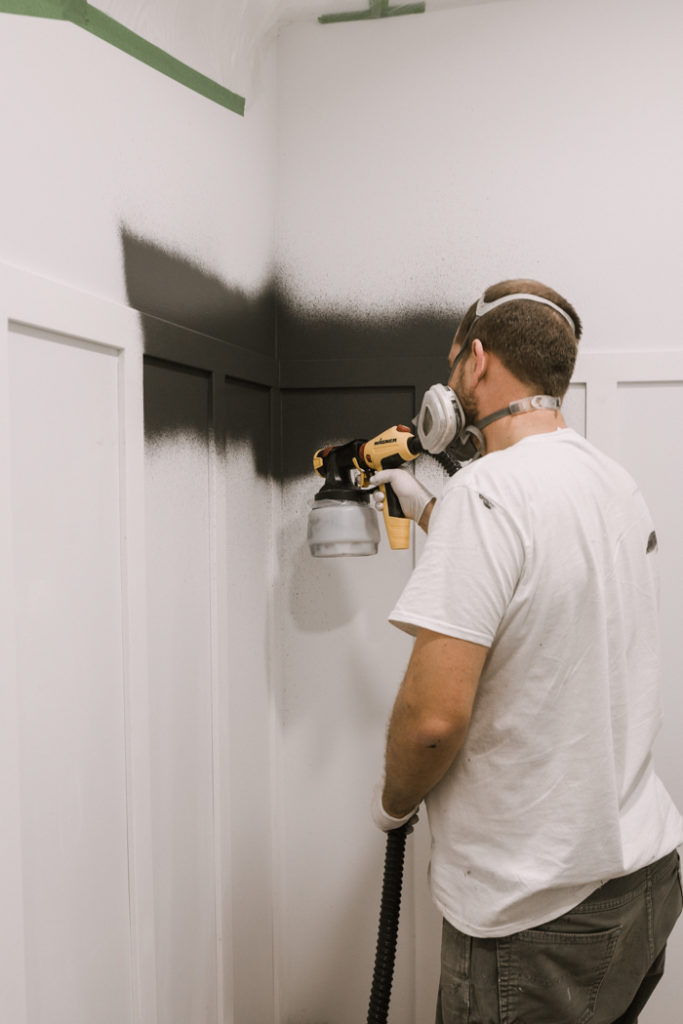
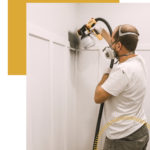
When you’re ready to paint your room, you first need to put on a respirator to protect from all of the air particles in the room (even when you are outdoors you should wear one!).
All you have to do is turn on the on switch and make any adjustments to the settings as you go. The most likely adjustment that you will need to make, is whether you are using the vertical, or horizontal spray options.
We primarily used the horizontal spray option when we were moving our paint sprayer up and down, and the vertical spray option when we were moving left to right or right to left, for example, while we were spraying the top moulding piece in our board and batten.
See the paint sprayer in action in the video above!
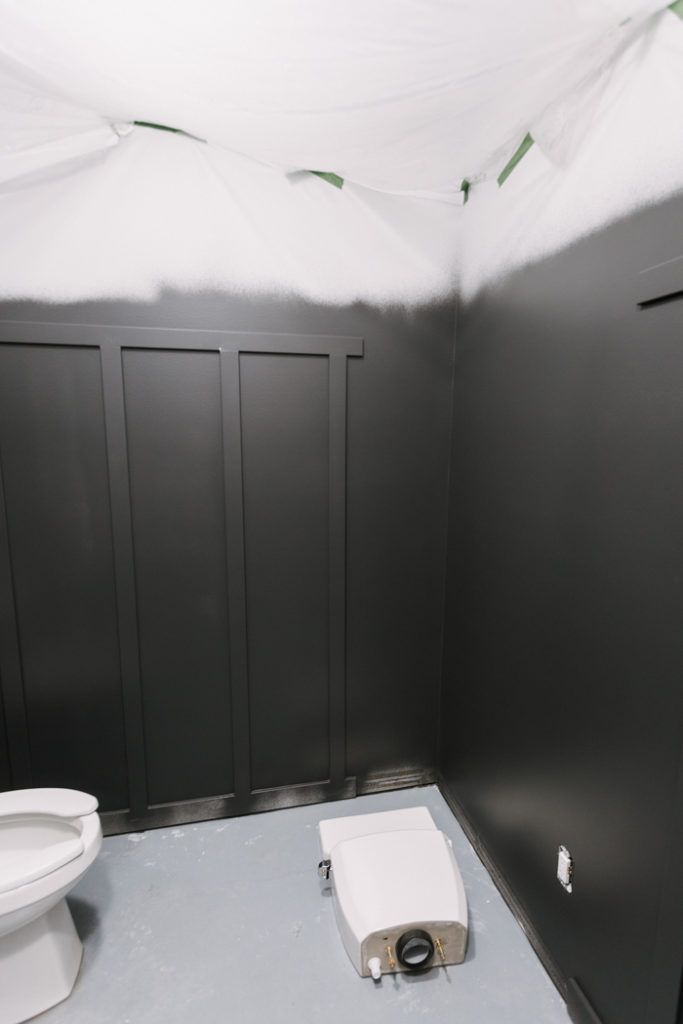
Cleaning the Paint Sprayer
This paint sprayer makes clean-up really easy because everything disconnects easily. If you still have paint in your container, start by emptying that out. If you used the bag liners, you can just throw them away to make clean-up even easier!
You will want to clean the entire paint sprayer as soon as you are done using it. You can clean it completely using water, as we did, or you can add a small amount of mineral spirits to help clean the paint out too.
Check your manual to see how all of the nozzle pieces disconnect for easy cleaning. There is a small cleaning brush that comes with the paint sprayer too to make it easy to clean any hard to reach places. Here are some tips for the best and easiest ways to clean your paint sprayer.
Paint Sprayer FAQs
As we shared our renovation project, and have chatted about our paint sprayer, we’ve come across a lot of frequently asked questions. We wanted to answer as many of these as we could, but if you have more questions, please drop them in the comments!
What can I spray? Paint or stain?
Anything from stains and sealers to oil or latex based paints or paint + primers. There is a material flow control setting that you can change depending on how viscous your product is.
How many coats do you need?
One. This might depend on the product you use, but for our room, we only did one coat that went on smooth and thick!
Can you do exterior projects with it?
Yes! Absolutely. We will be using ours on some exterior projects this summer so stay tuned!
Is it hard to get the paint even? Without streaks?
No. We did have a regular paint brush that we took around the room with us. There were a few streaks or bumps, and we just quickly touched them up as we went with the paint brush. Overall it’s very easy to avoid streaks.
How often do you have to refill the sprayer?
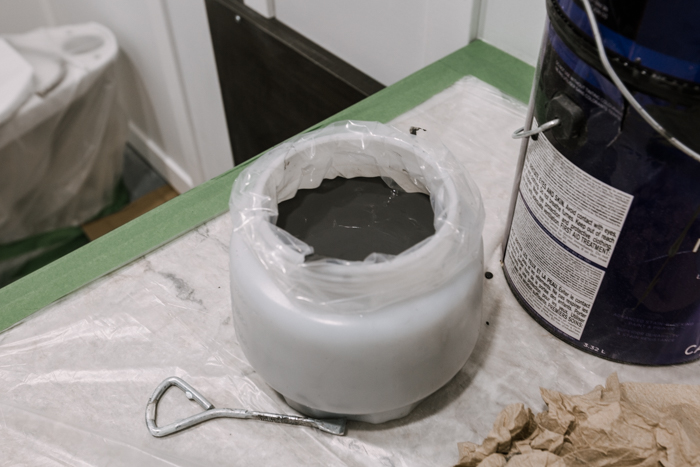
We figured the container held about a third of our gallon of paint. So we had to fill it three times to paint with a whole gallon.
Does it use more paint than rolling?
It uses about the same amount. We used less than two gallons for one thick coat in each bathroom, which is pretty close to what we would use with brushes and rollers.
Is it awkward or heavy to hold?
No. Thankfully the turbine for this paint sprayer is within the case. Which meant that the sprayer and nozzle weren’t as heavy. If you are painting for a long time, you may still need to take a break though.
Do you have to water-down the paint?
No. This machine is meant to not have to water-down anything, and we didn’t.
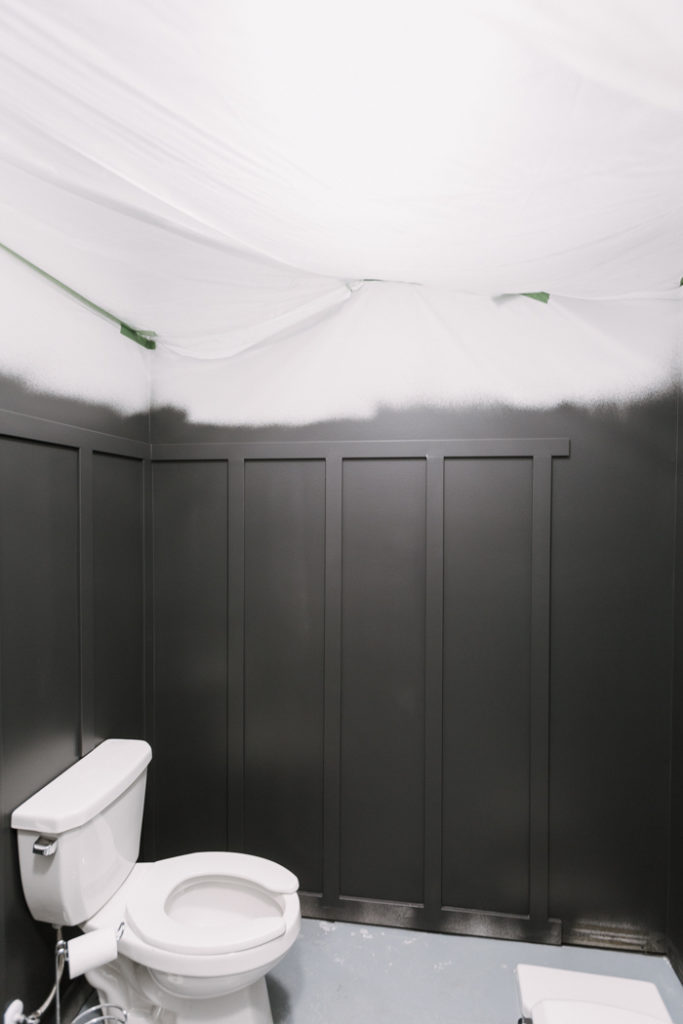
Our Finished Interior Walls
If you were curious how our room turned out, you can see how beautifully the paint sprayer worked on these brand new board and batten walls!
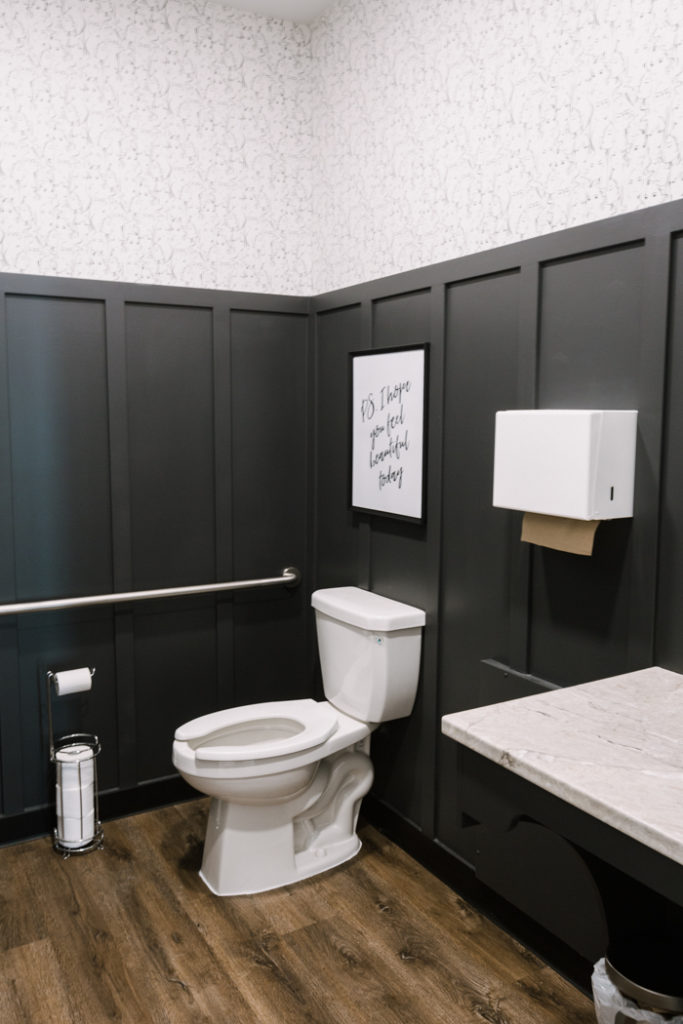
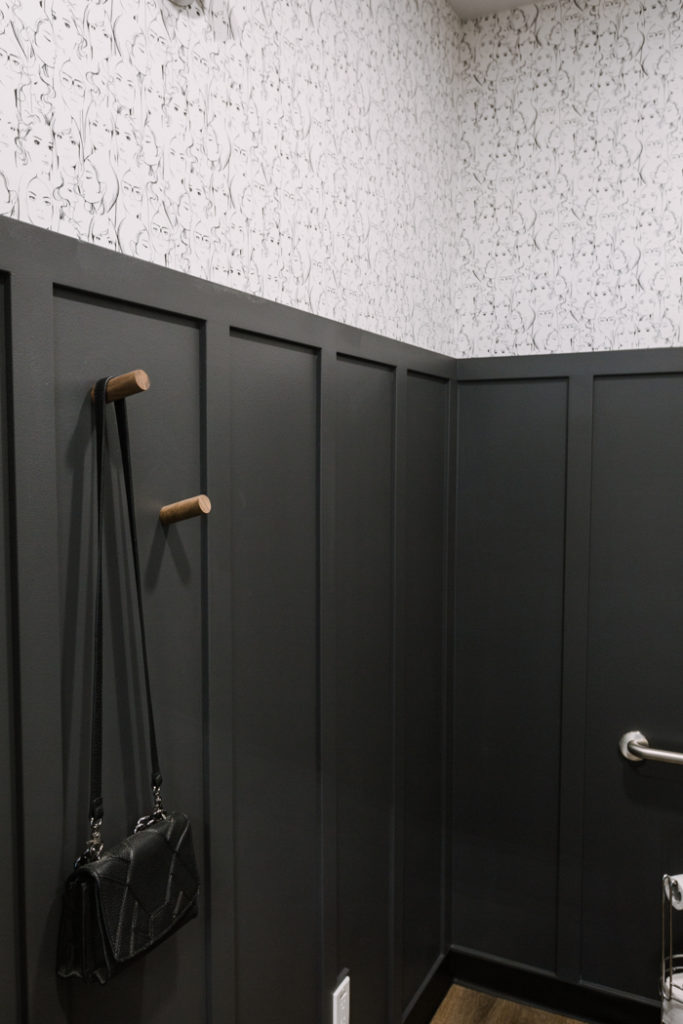
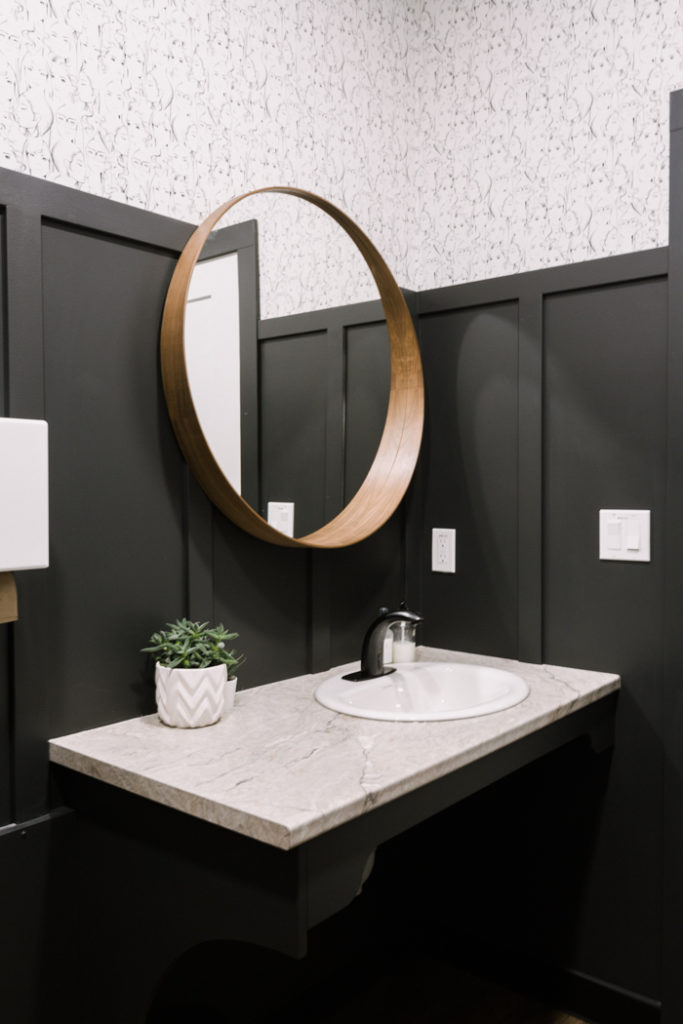
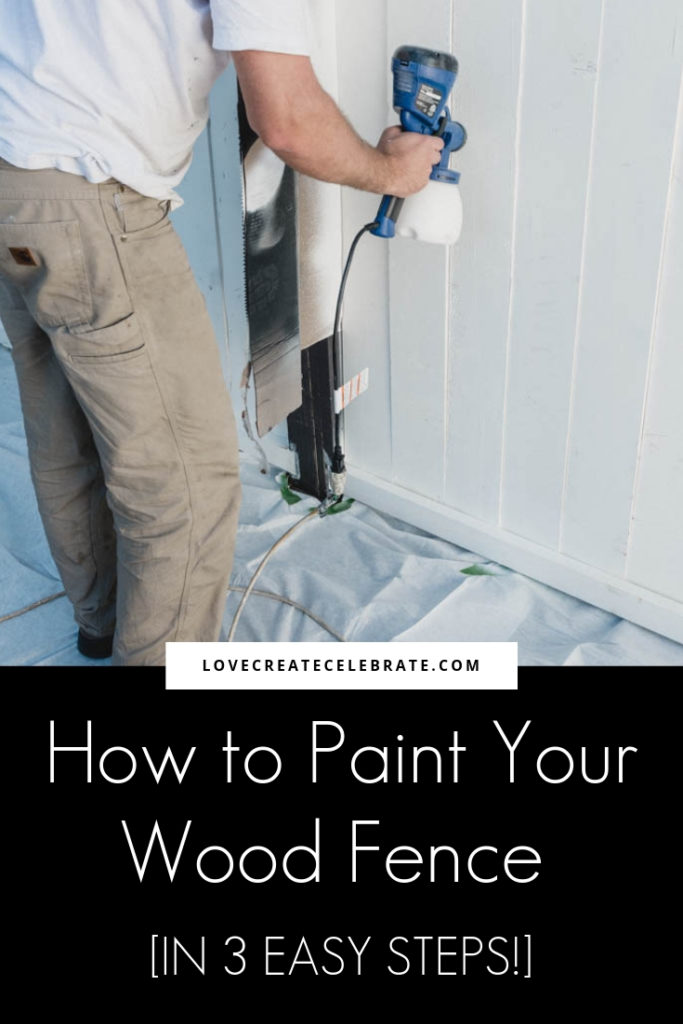
If you’re wondering about exterior projects, check out this post on how to paint a wood fence!



Nicole Gosling
Friday 8th of September 2023
Hi. Another great video. I have had my Wagner FLEXiO 3000 Sprayer and the paint goes on blotchy. Some have suggested to add a tbsp of water, do you guys do that?
Russel Vanderschaaf
Friday 27th of October 2023
You can do that! The only time we've ever watered down the paint is when the paint is super thick (like some Benjamin Moore paints). You also may need to adjust the settings to get the best results.
Amy
Saturday 9th of July 2022
Thanks for the article! Did you paint the wall before adding the board and batten? In one of the pics, it looks like you did…? Also, I thought it would be easier to add wallpaper before the board and batten so the top horizontal baors could hide the imperfections. But you chose to do the wallpaper afterwards, I think. What are the advantages to that? I’m going to be doing a similar project in a bathroom. Thank you!
Russel Vanderschaaf
Thursday 10th of November 2022
Yep painted before so we could use our sprayer and not have to worry about protecting the wallpaper from overspray. With having excess and cutting the wall paper along the top of the moulding it looks seamless. I like to install the board and batten first than paint so I don't have to worry about cutting the paint into the wallpaper edges.
Lori
Wednesday 16th of June 2021
I just love your videos! I am definitely going to follow you since I’m trying to work on some diy projects! I painted my bathroom boards black and am finding it’s hard to clean and it gets dusty. Do I need to sand it better and use a sprayer?