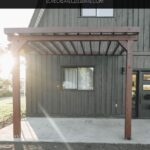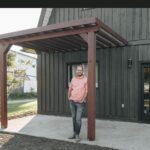
Learn how to build a pergola in this tutorial. From planning, designing, to materials this tutorial will go through it all.
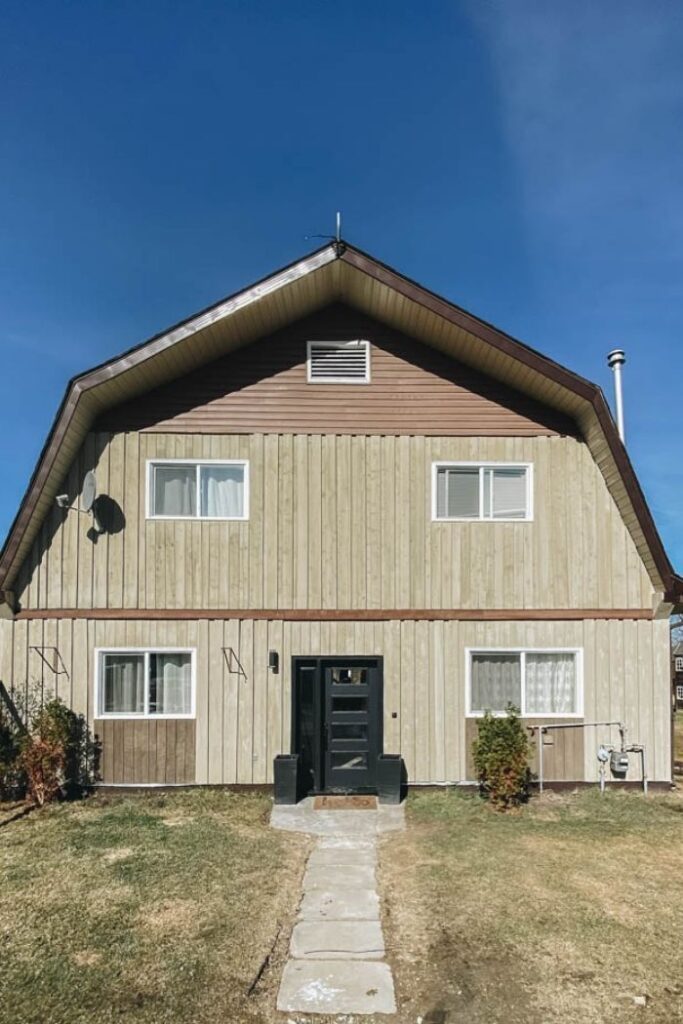
The front of our home always lacked any curb appeal or wow factor when you pulled up. It had always been on the on our wish list to complete but never a priority, until now. This year we updated our entire 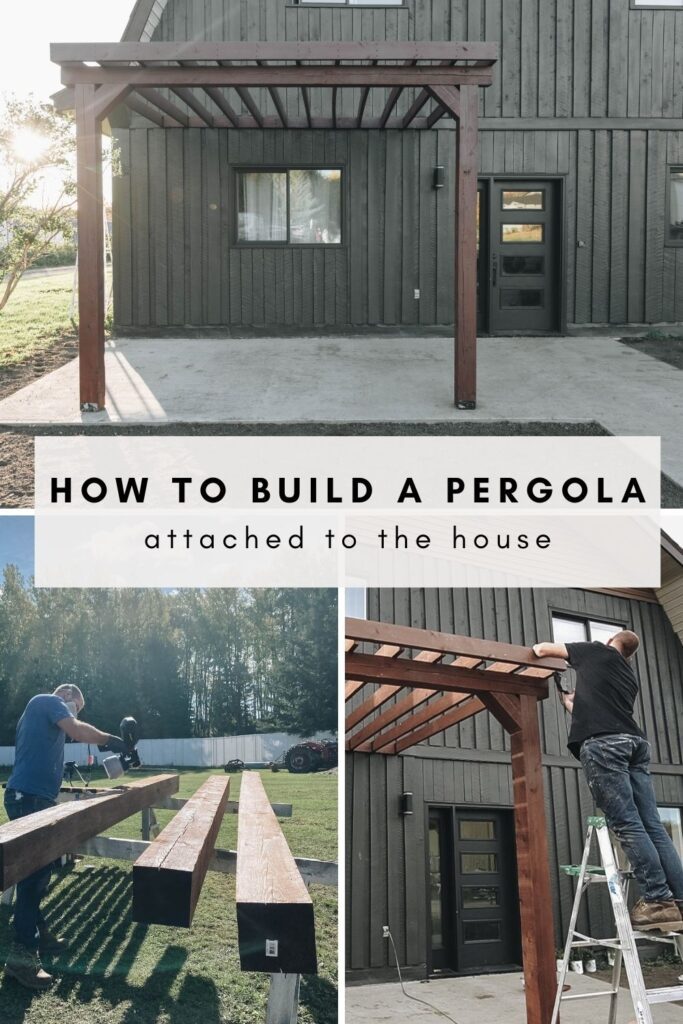
*This post was sponsored by Wagner and may contain affiliate links. When you buy a product through one of our links, we get a commission at no cost to you! Thank you for supporting our blog so that we can continue to bring you posts like these. For more information, please see our disclosure page.*
Inspiration/Planning
Before we started building we had to decide what we all wanted out of our front of house makeover. The photo above is what our front exterior looked like just a few months ago. These were some of the issues that we wanted to address:
- The small pad at the front of the house lacked curb appeal and function to the entrance of our home.
- Our back patio was west facing and really sunny in evening. Because of this we wanted another area where we could sit in the shade during evening hours
- Our previous entrance concrete pad had settled, cracked, and was partly made out of patio slabs. This made snow removal cumbersome and allowed for ice to build up in winter. We wanted an area that would be easier maintain during the cold weather months
- We also wanted something to balance the other brown tones already on our house (after painting!) and warm the entry up visually
Build Plans for Pergola Attached to the House
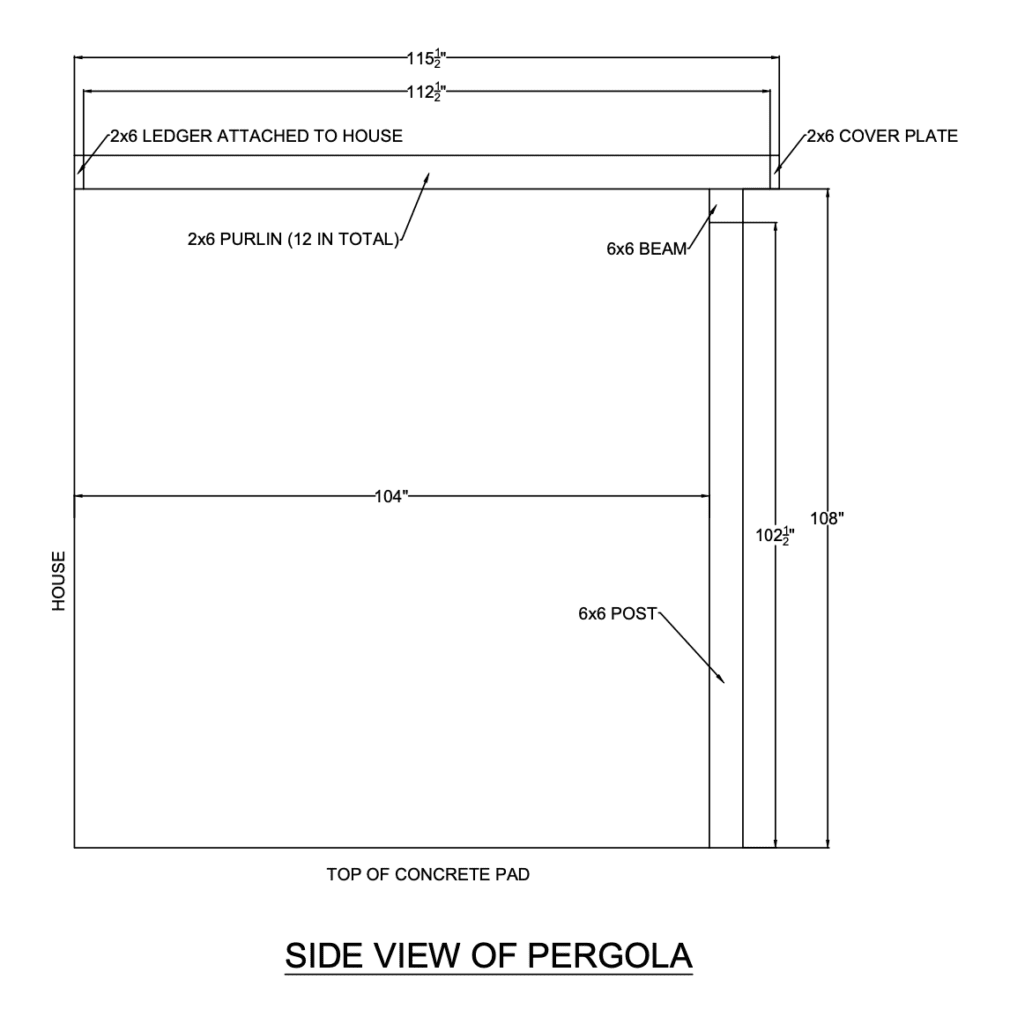
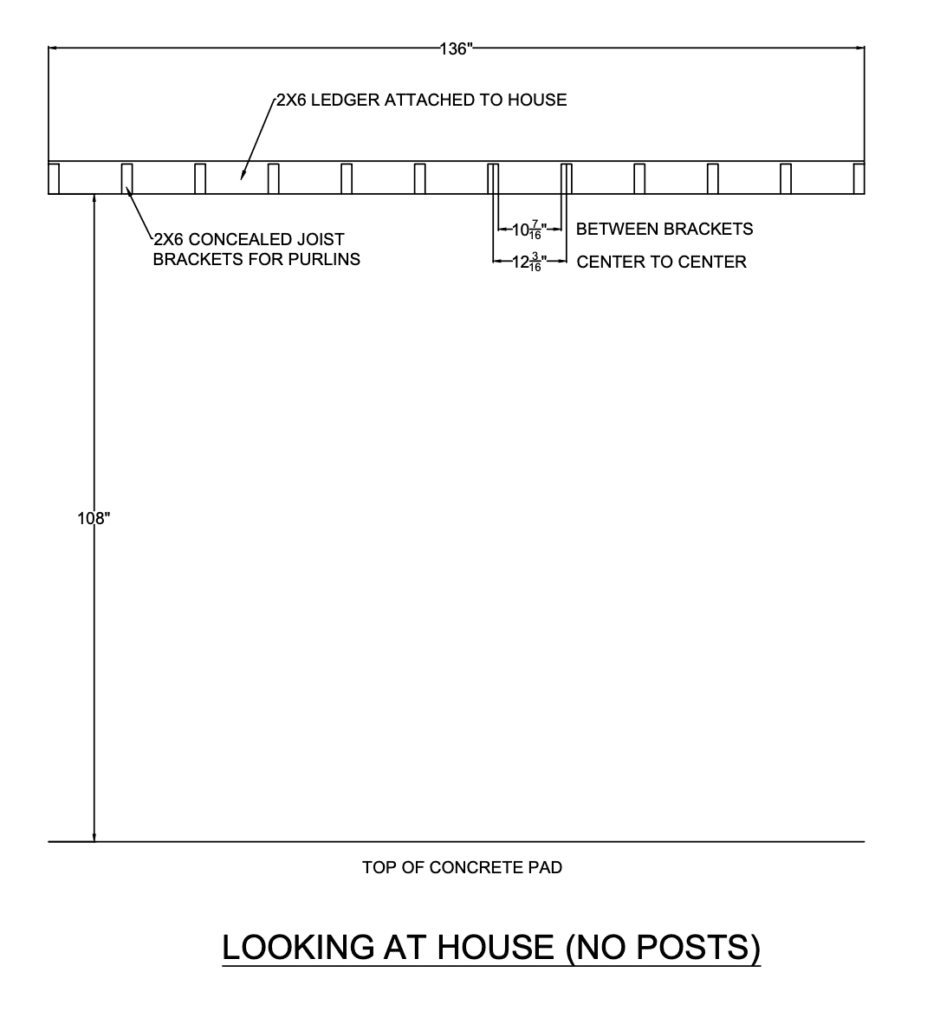
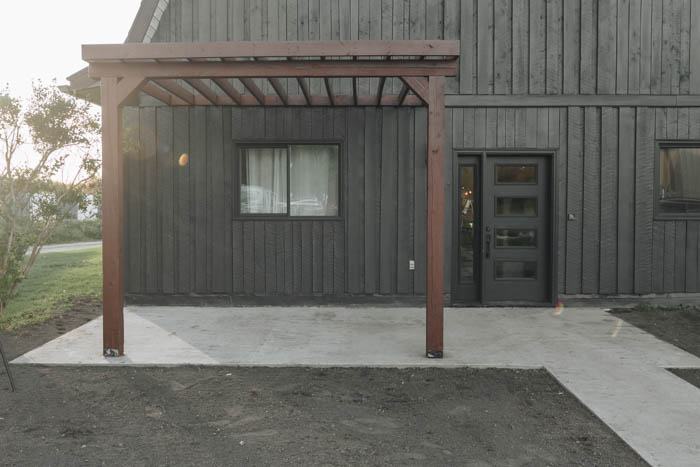
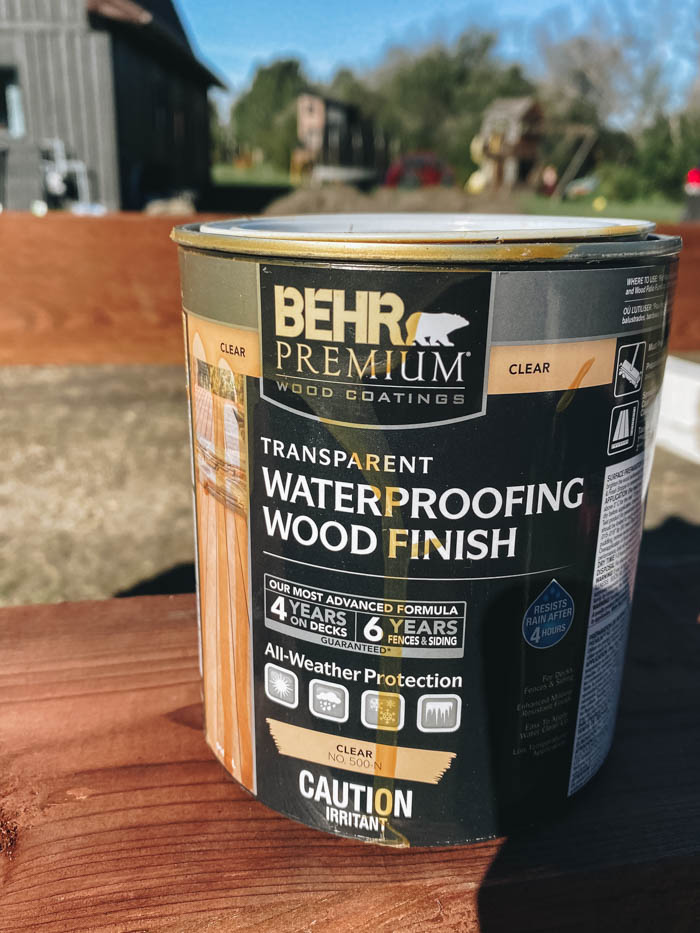
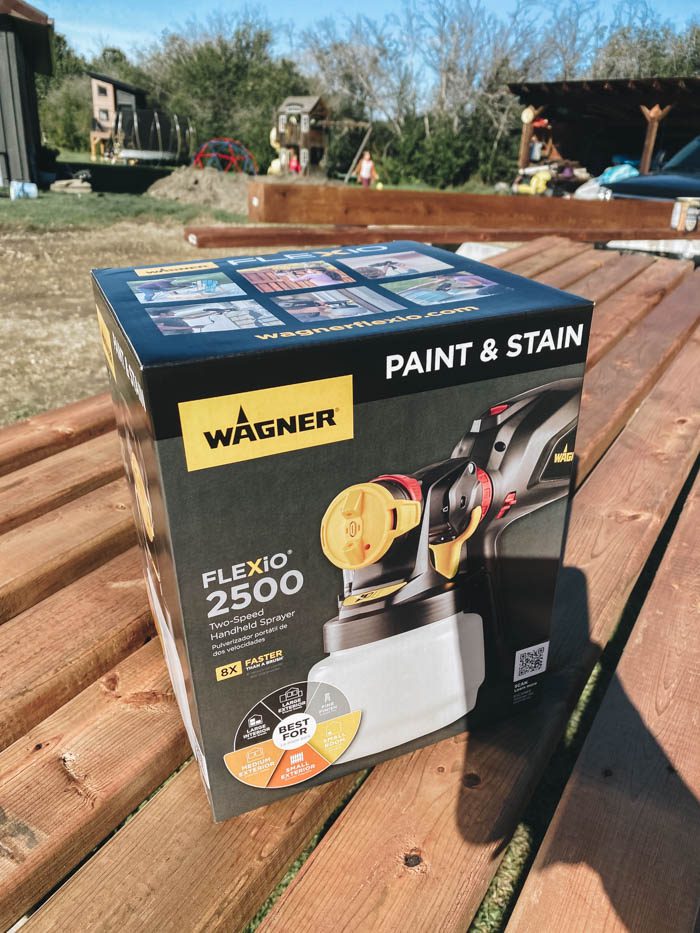
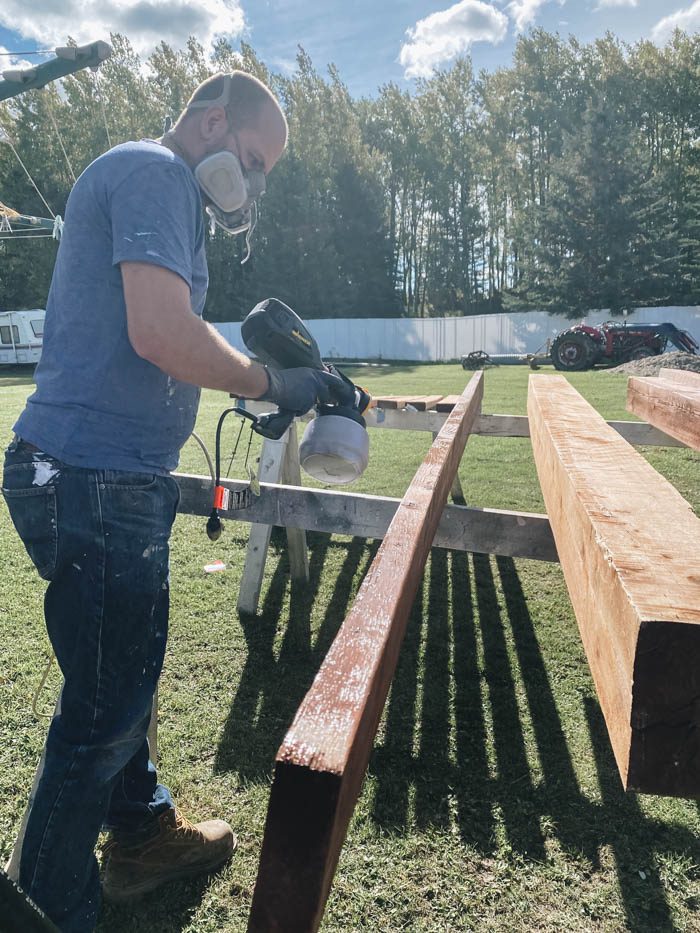
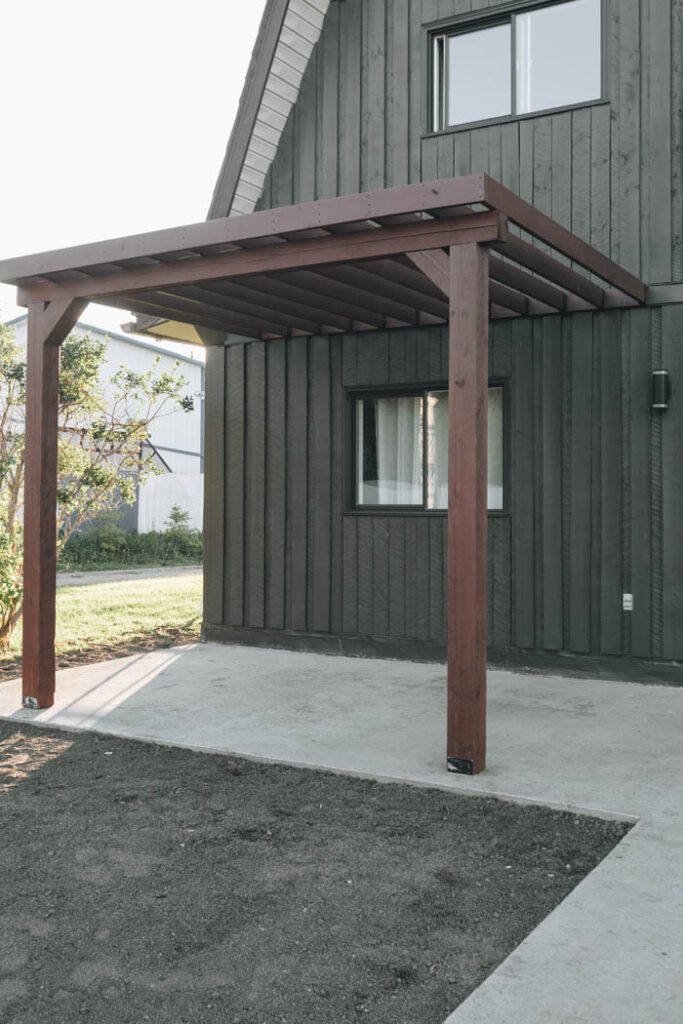
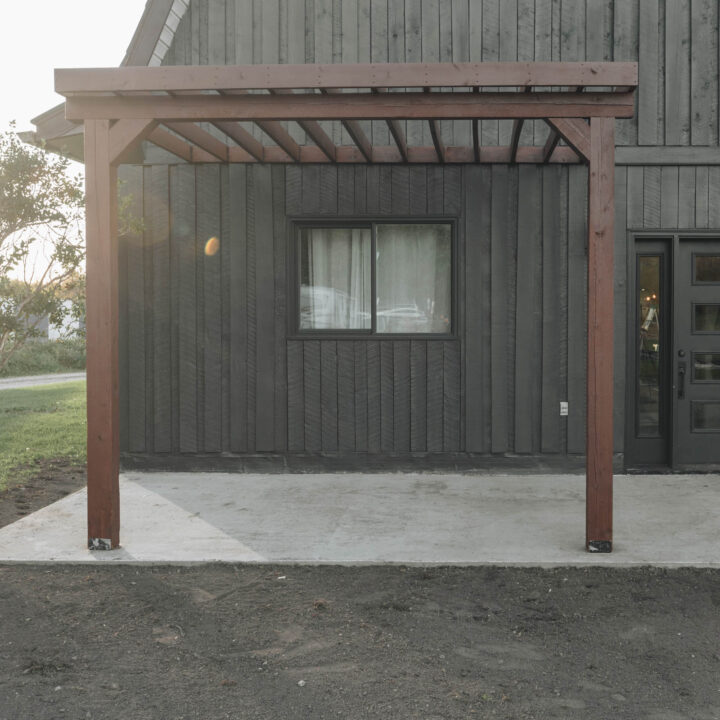
Once we figured out out must haves we came up with a plan. We decided to remove the old concrete and pour a new concrete pad and walkway. See this Attaching the pergola to the house would create a nice visual element as well as helping with some shade. We planned to use pressure treated wood to build the pergola structure. We would also stain it to tie into existing colours on our home. For a custom look we planned to add some unique features including raised garden beds, removable gas service cover, a swing, etc. after the pergola was completed. In order to figure out size of our pergola we measured out the area we wanted the new patio/pergola/walkway. We tried multiple shapes/sizes before ultimately determining the layout and area of the front patio pergola. Due to everything involved we did a separate post on the concrete pad. Check our To tie in all the colours of our home we decided to stain our pergola. This also help protect the wood from weathering and UV damage to extend the life of your project. We started by laying out all the boards on saw horses and using our new We tested several types before choosing BEHR PREMIUM® Transparent Waterproofing Wood Finish in Chocolate. You can choose from transparent, semi transparent, and solid colour wood stains that all have multiple tints to choose from. We used new wood, but if you are staining an older project you will want to remove any dirt and mildew from the wood. There are multiple cleaners on the market for this purpose to assist in cleaning the wood. You can use a hose or pressure washer to assist in the cleaning of the wood. If you need to clean, allow time for the wood to dry out (24-48 hours). We used our First step to building your pergola is to Install a ledger onto your house. We had an easy location to install our header with minimal modification to the wood siding of our home (a horizontal board was already part of the design with drip cap/edge installed). Our ledger was installed 9' above (from top of concrete to bottom of board) our new concrete pad. You want to make sure the ledger is secured into the house's structure using a structural screws and into the studs or joist. We used 8 of The With the posts temporary secured and levelled we placed the 6x6 beam on top of the posts. We used To make the structure stable and remove any sway (due to the long posts) we added two 45 deg braces to the inside corners of the post and beams. We originally had 10' posts and used the top cut offs from the posts to make the braces. The longest side the braces was 15 ¼" long and had about a 3" gap from the top and side of the beam/post. Before securing them to the post and beam we made sure everything was level and square. This is important as the braces will hold the structure in position. Next step was to add the top 2x6 purlin from the ledger to the top of the beam. Make sure your posts and beam are level. Secure you purlin to the house ledger using the brackets and toe screw the 2x6s to the beam. The beam from the hardware store was slightly twisted. To deal with any gaps due to untrue/uneven material you used a chisel to notch the uneven areas. This will ensure a tight fit between the beam and 2x6. You can see this in our youtube video. Now this does not include the cost of the concrete work, but even if you did include that (it was around $2500 CAD), this was still a really affordable makeover especially considering how it transformed the the space into a new usable/liveable area around our home. Here is a video of the entire process on how we poured a new concrete slab (post here) and built a pergola attached to our house. Hopefully the above steps are helpful in your front porch pergola build! We couldn't be happier with how it turned out. The stain colour is perfect, the budget was right, and the finished product looks perfect at the front of the house. We look forward to finally using our newly created space. We can't wait to finish the space off with custom planters, lighting, and furniture. Stay tuned! Learn how to do build a pergola attached to a house. From planning, designing, to materials this tutorial will go through it all.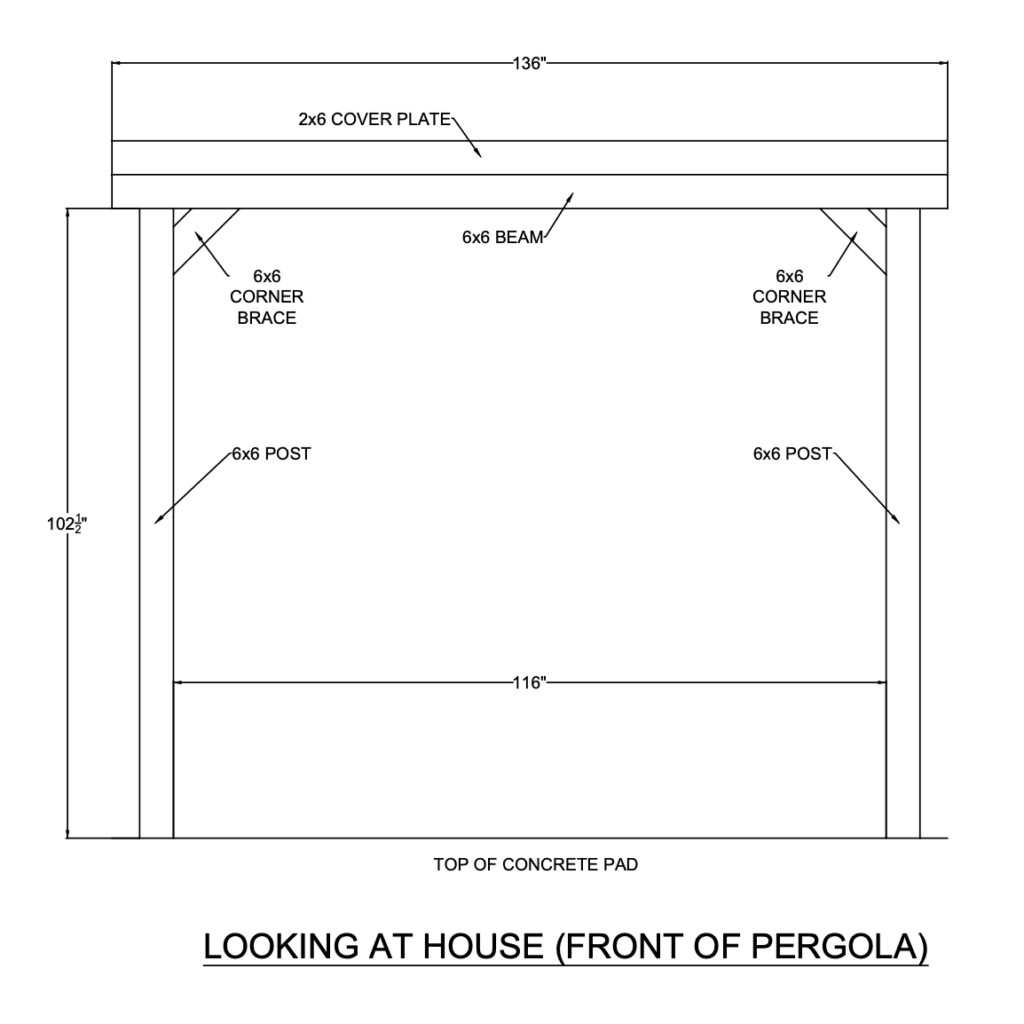
Adding a Pergola to a Concrete Pad
Add Stain
Determine what stain colour you want use.
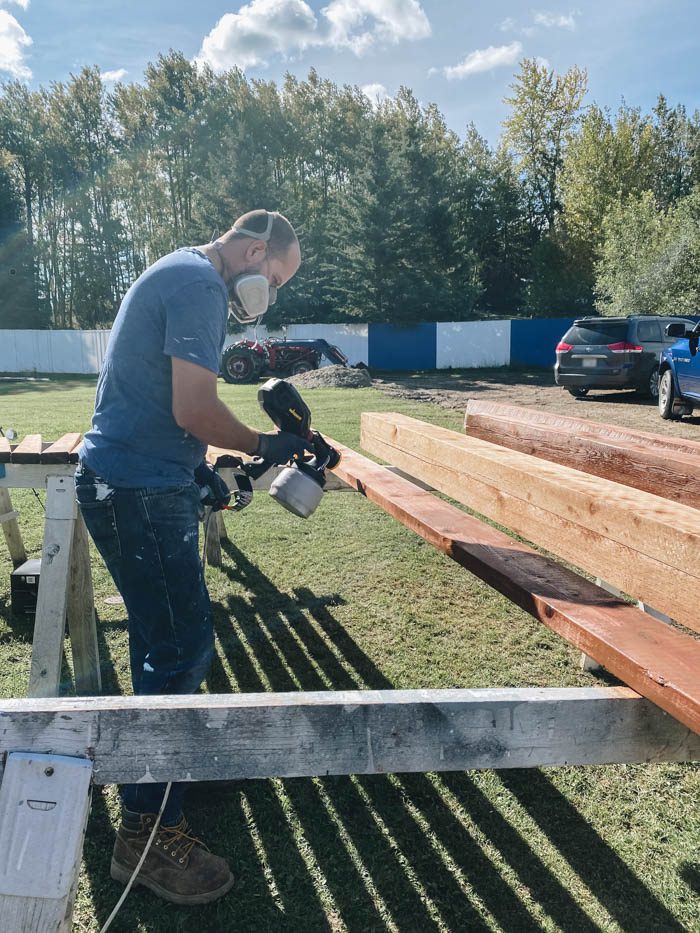
Apply you stain
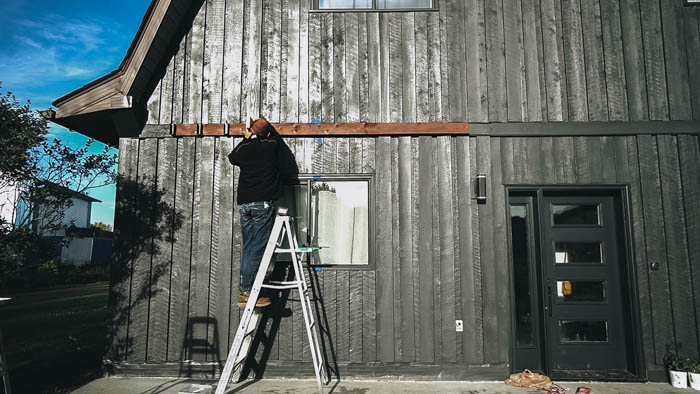
Install Ledger
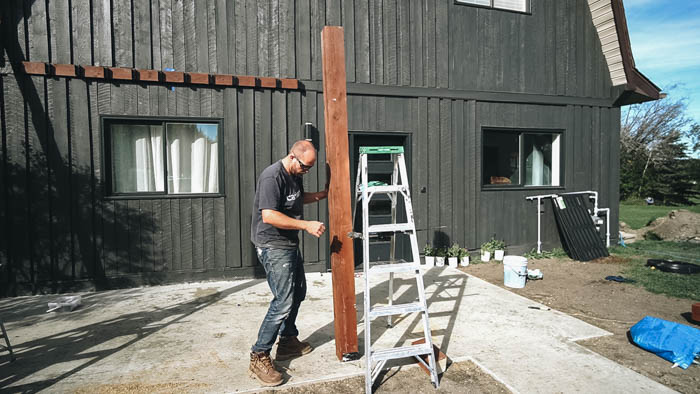
Install Posts
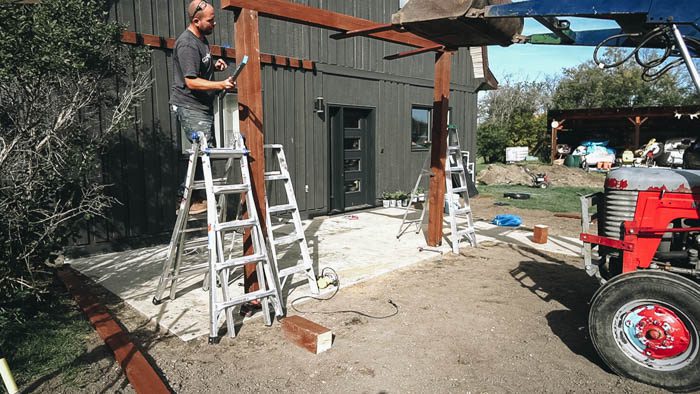
Install Beams
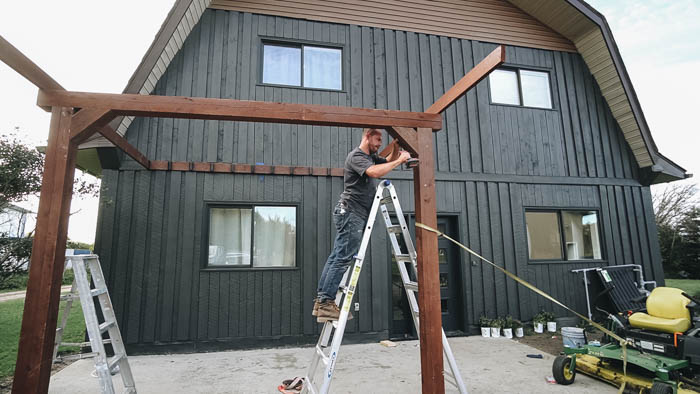
Install Bracing
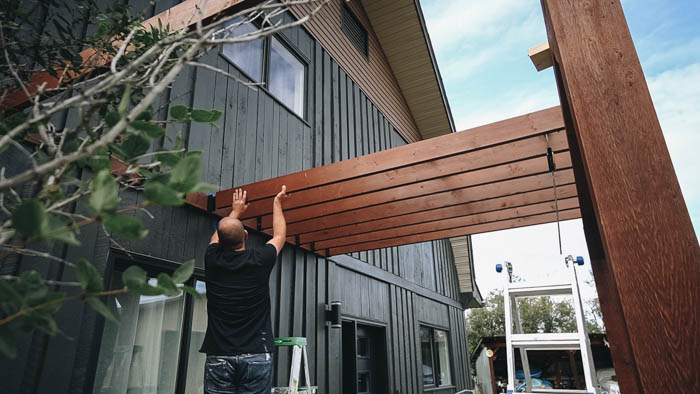
Installing top 2x6 Purlins
Budget Breakdown of our Front Porch Pergola:
Video of How to Build a Pergola attached to a House
Our Finished Front Porch Pergola
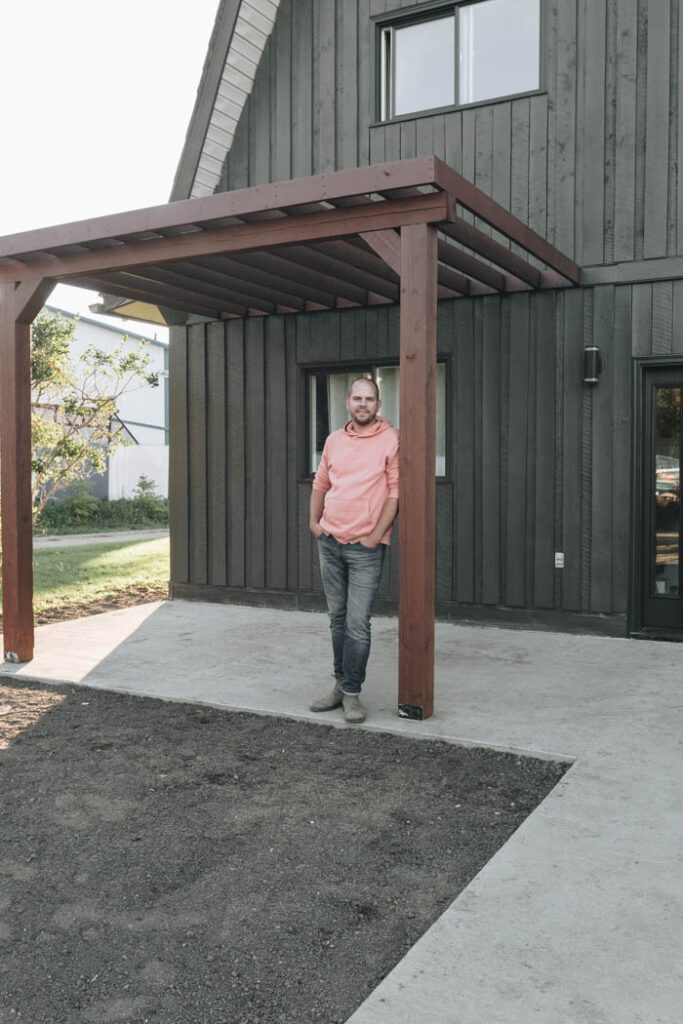
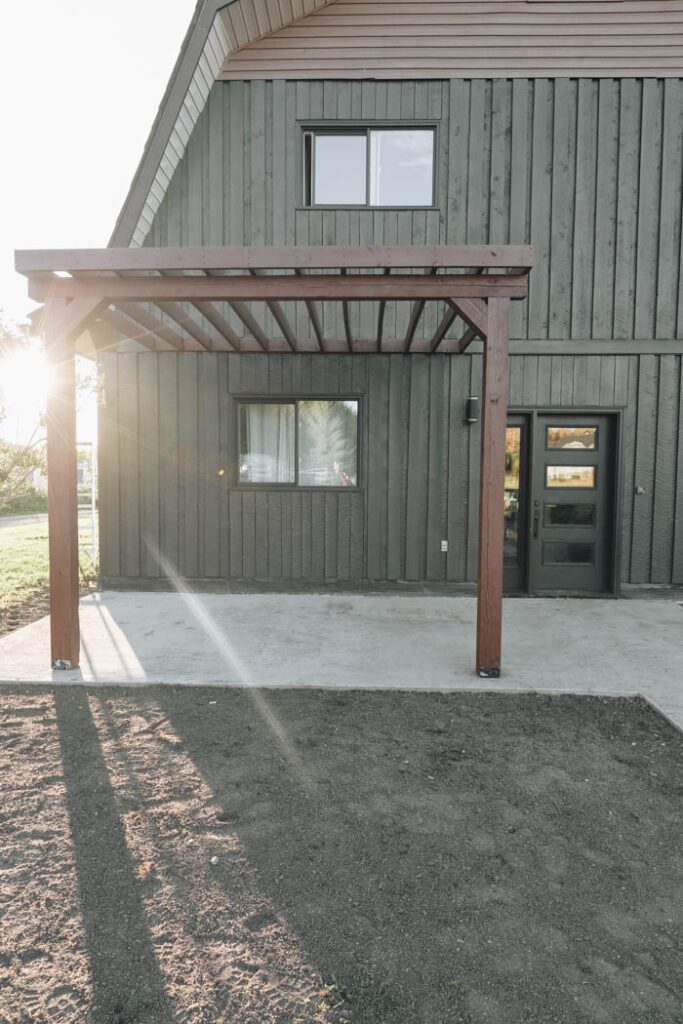
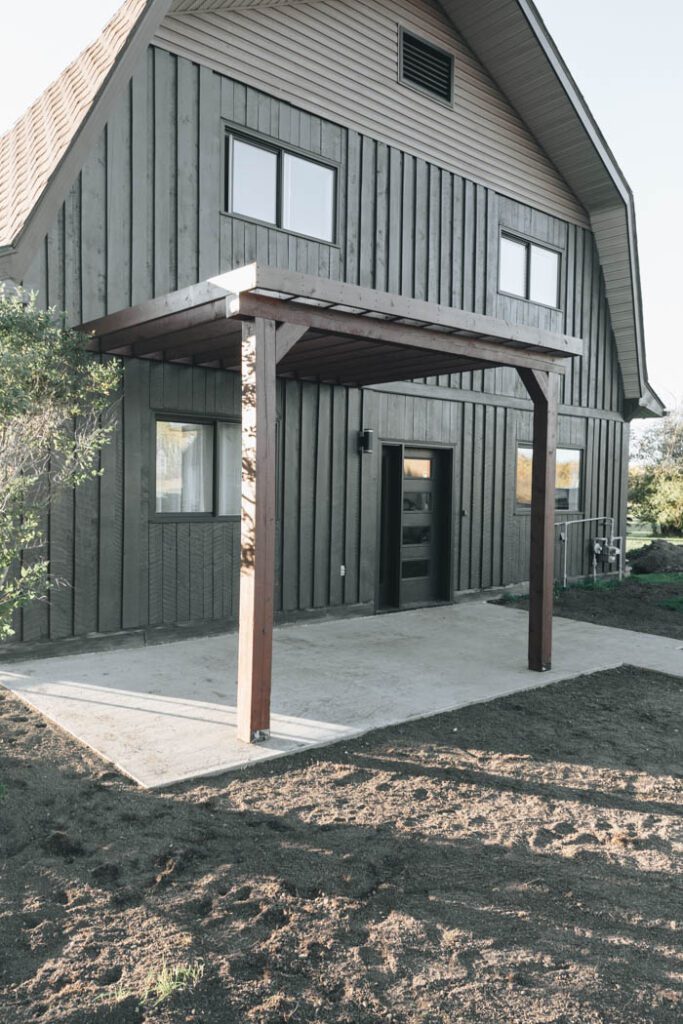
How to Build a Pergola attached to the House
Materials
Instructions