
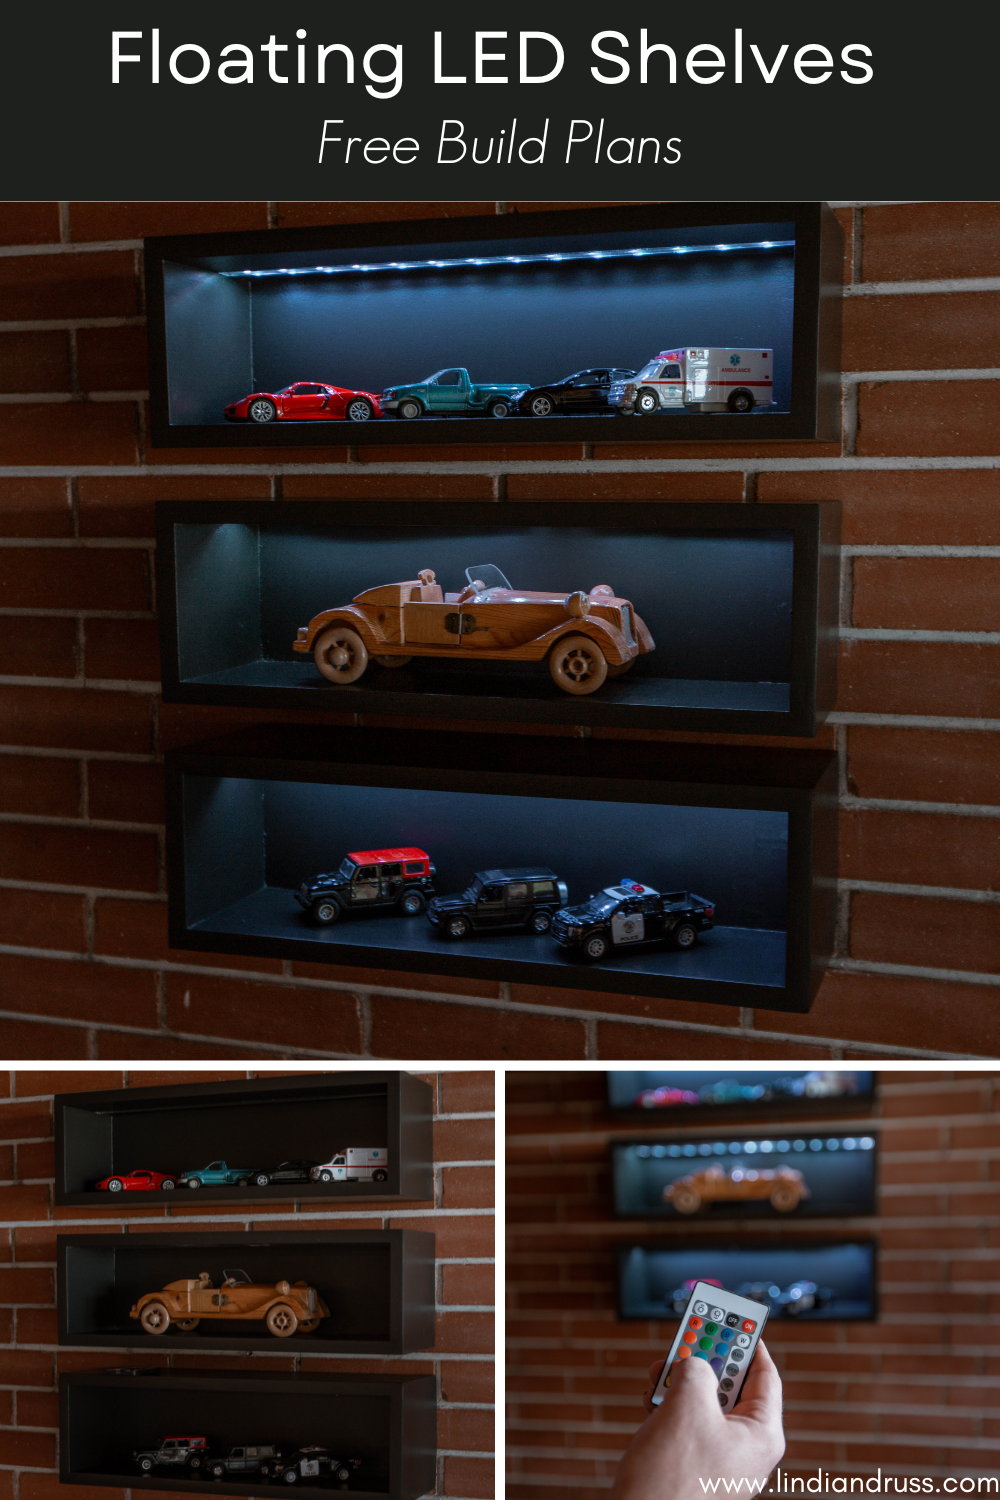
Easy Floating shelves with LED lights – Free Build Plans! Download the free build plans and display your favourite items in style!
*This post is sponsored by Kreg Tools, and may contain affiliate links. As always, opinions are 100% my own. For more information, please see my disclosure page.*
Our son loves his toy die-cast cars. He is always lining them up and showing them off around the house. We thought some custom lit shelf units would be the perfect addition to his room so he can show off his favourite cars in style!
Building Your Floating shelves with LED lights
Tools
Materials
- 3/4″ Plywood (box)
- 1/4″ plywood (backing)
- 1/8 Acrylic (LED lens)
- LED kit (3 pack)
Steps for building LED floating shelves
Download plans at Kreg Tool Project Plans Site
- Cut materials as per cut list
- Route all channels. Start with the 1/2″ Channel, than the 3/4″ channel, finishing with the 1/4″ channel. See plans for detailed dimensions.
- Add Pocket holes
- Pre paint/finish LED channel
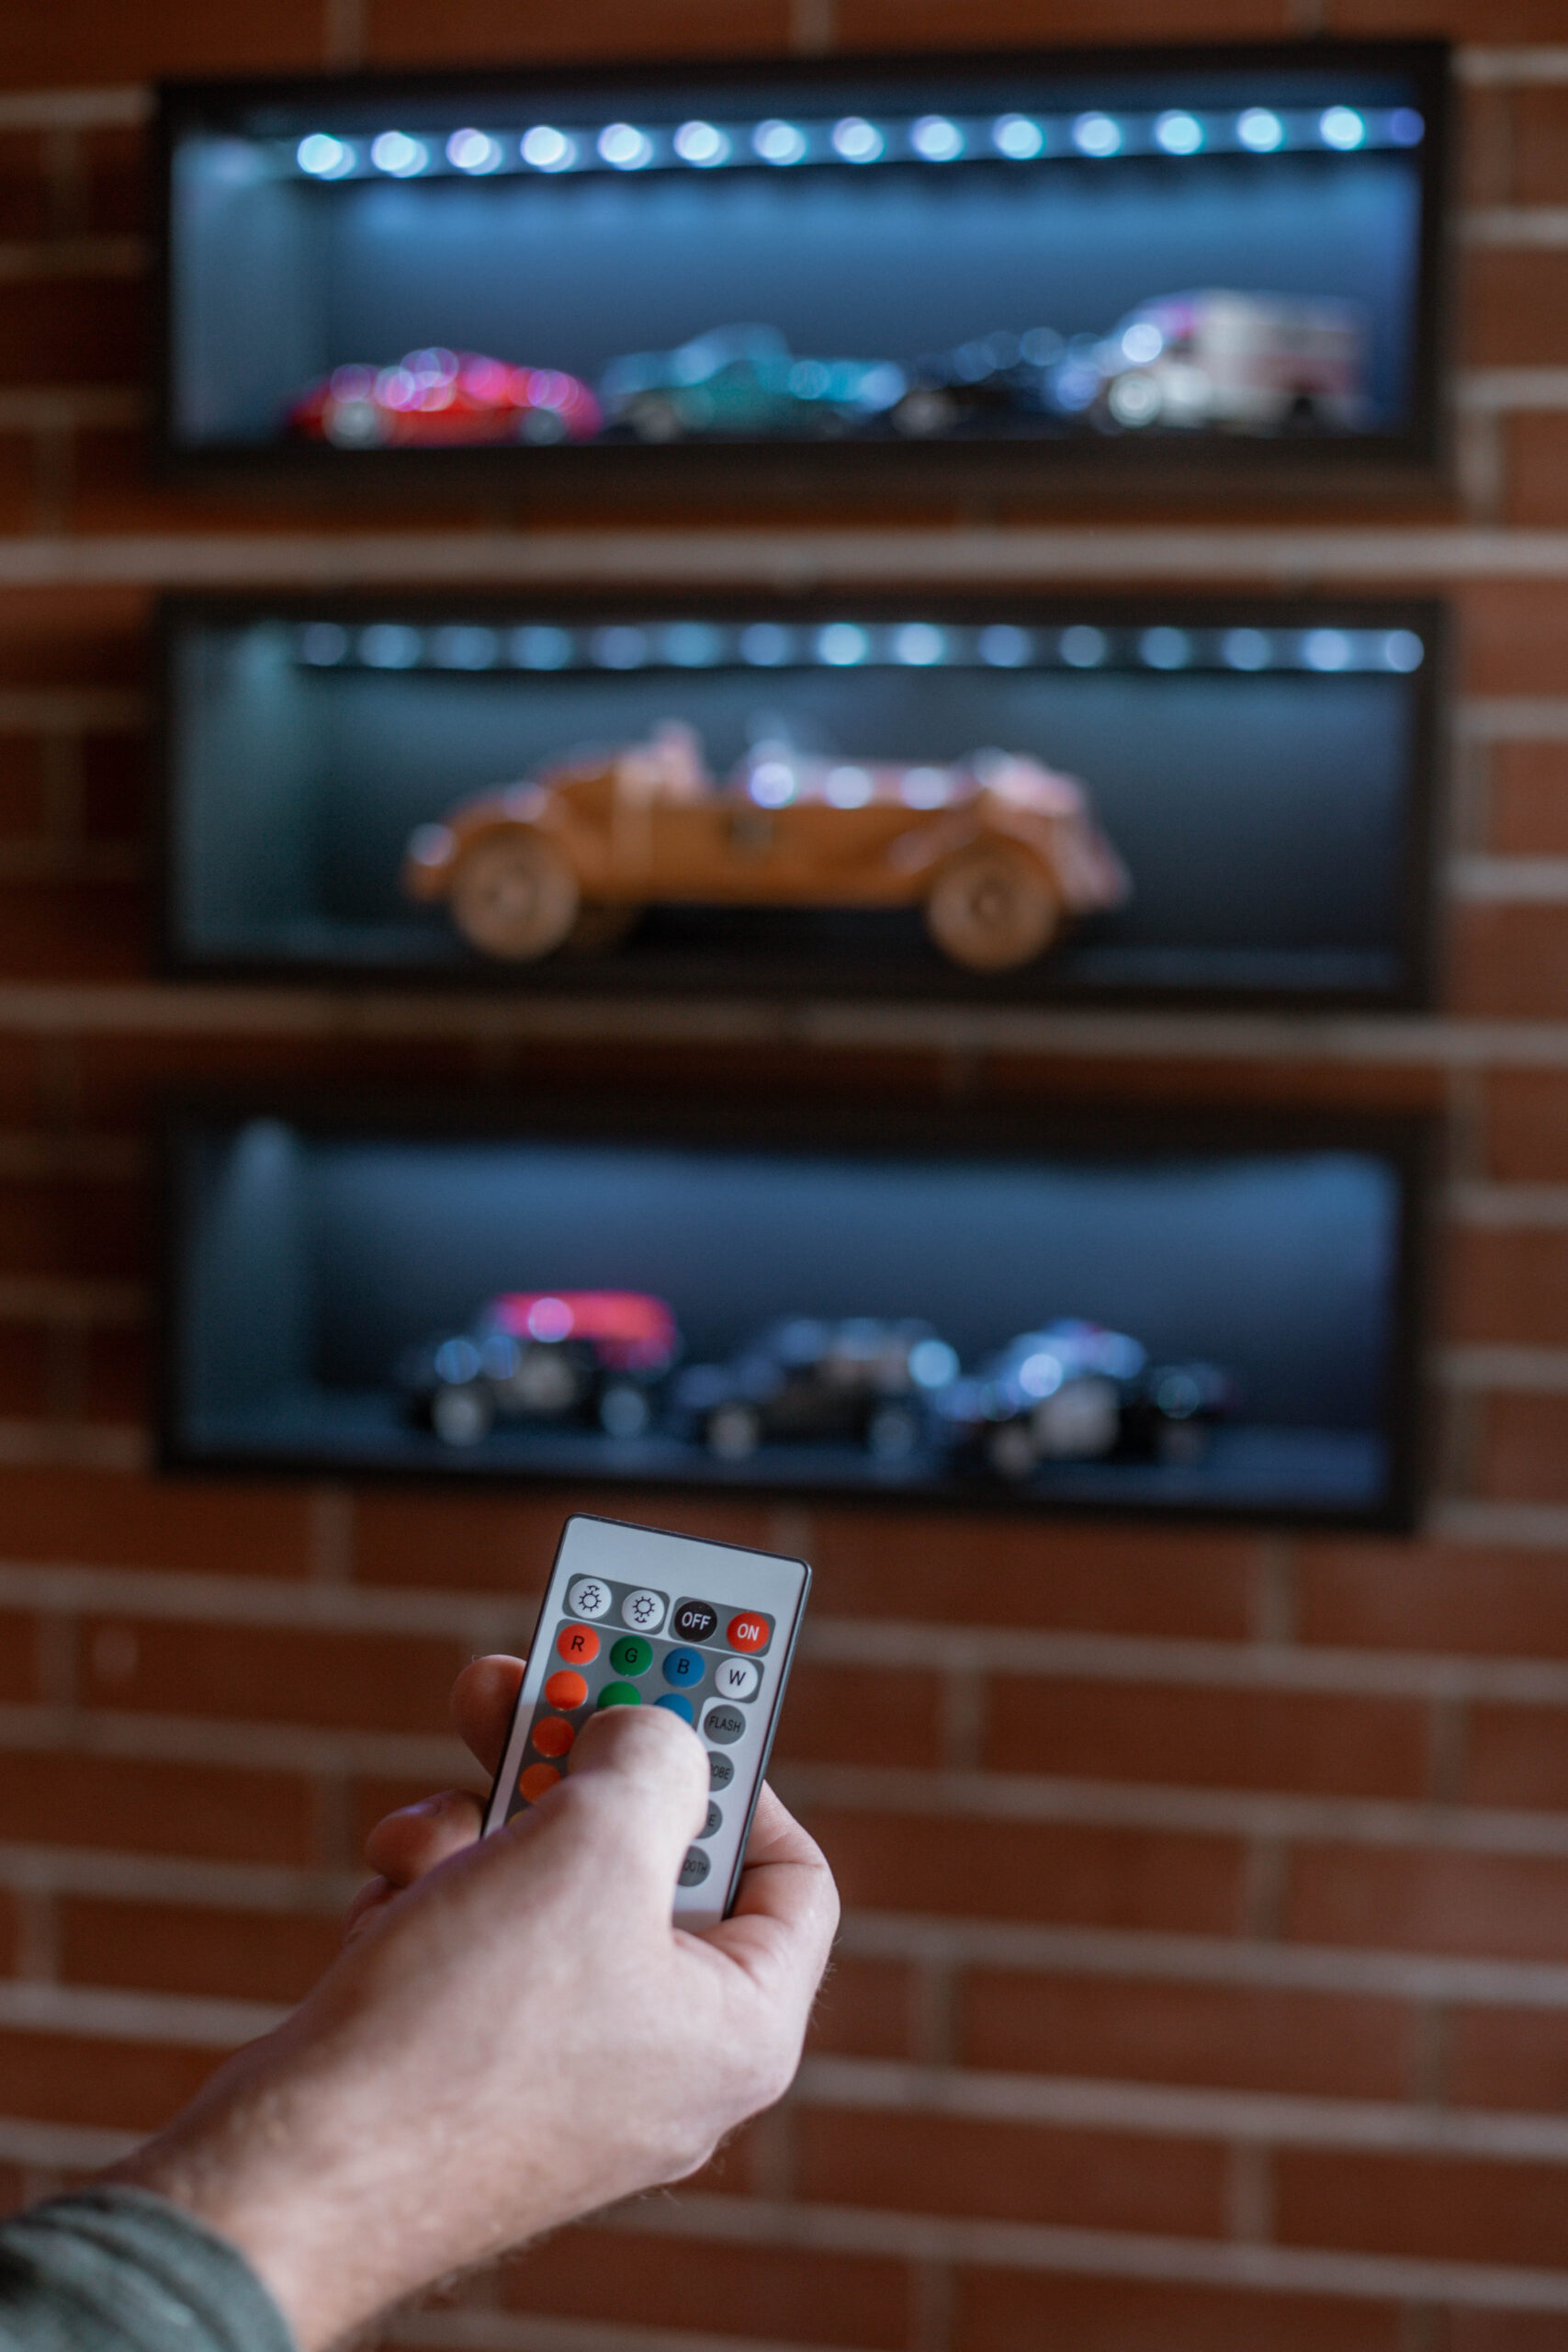
- Install LED strip/wiring
- Attach sides to top
- Drill hole for LED controller in back (as per plans) and Install back into box
- Attach bottom to sides/top
- Add wood plugs to pocket holes, sand, and pre for finish (stain/paint/etc.)
- Apply desired finish – we used a primer and black paint
- Install LED controller and wiring – once everything was in its proper place we used hot glue to secure and hold it to the box
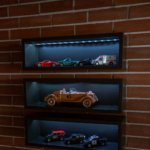
Final Build
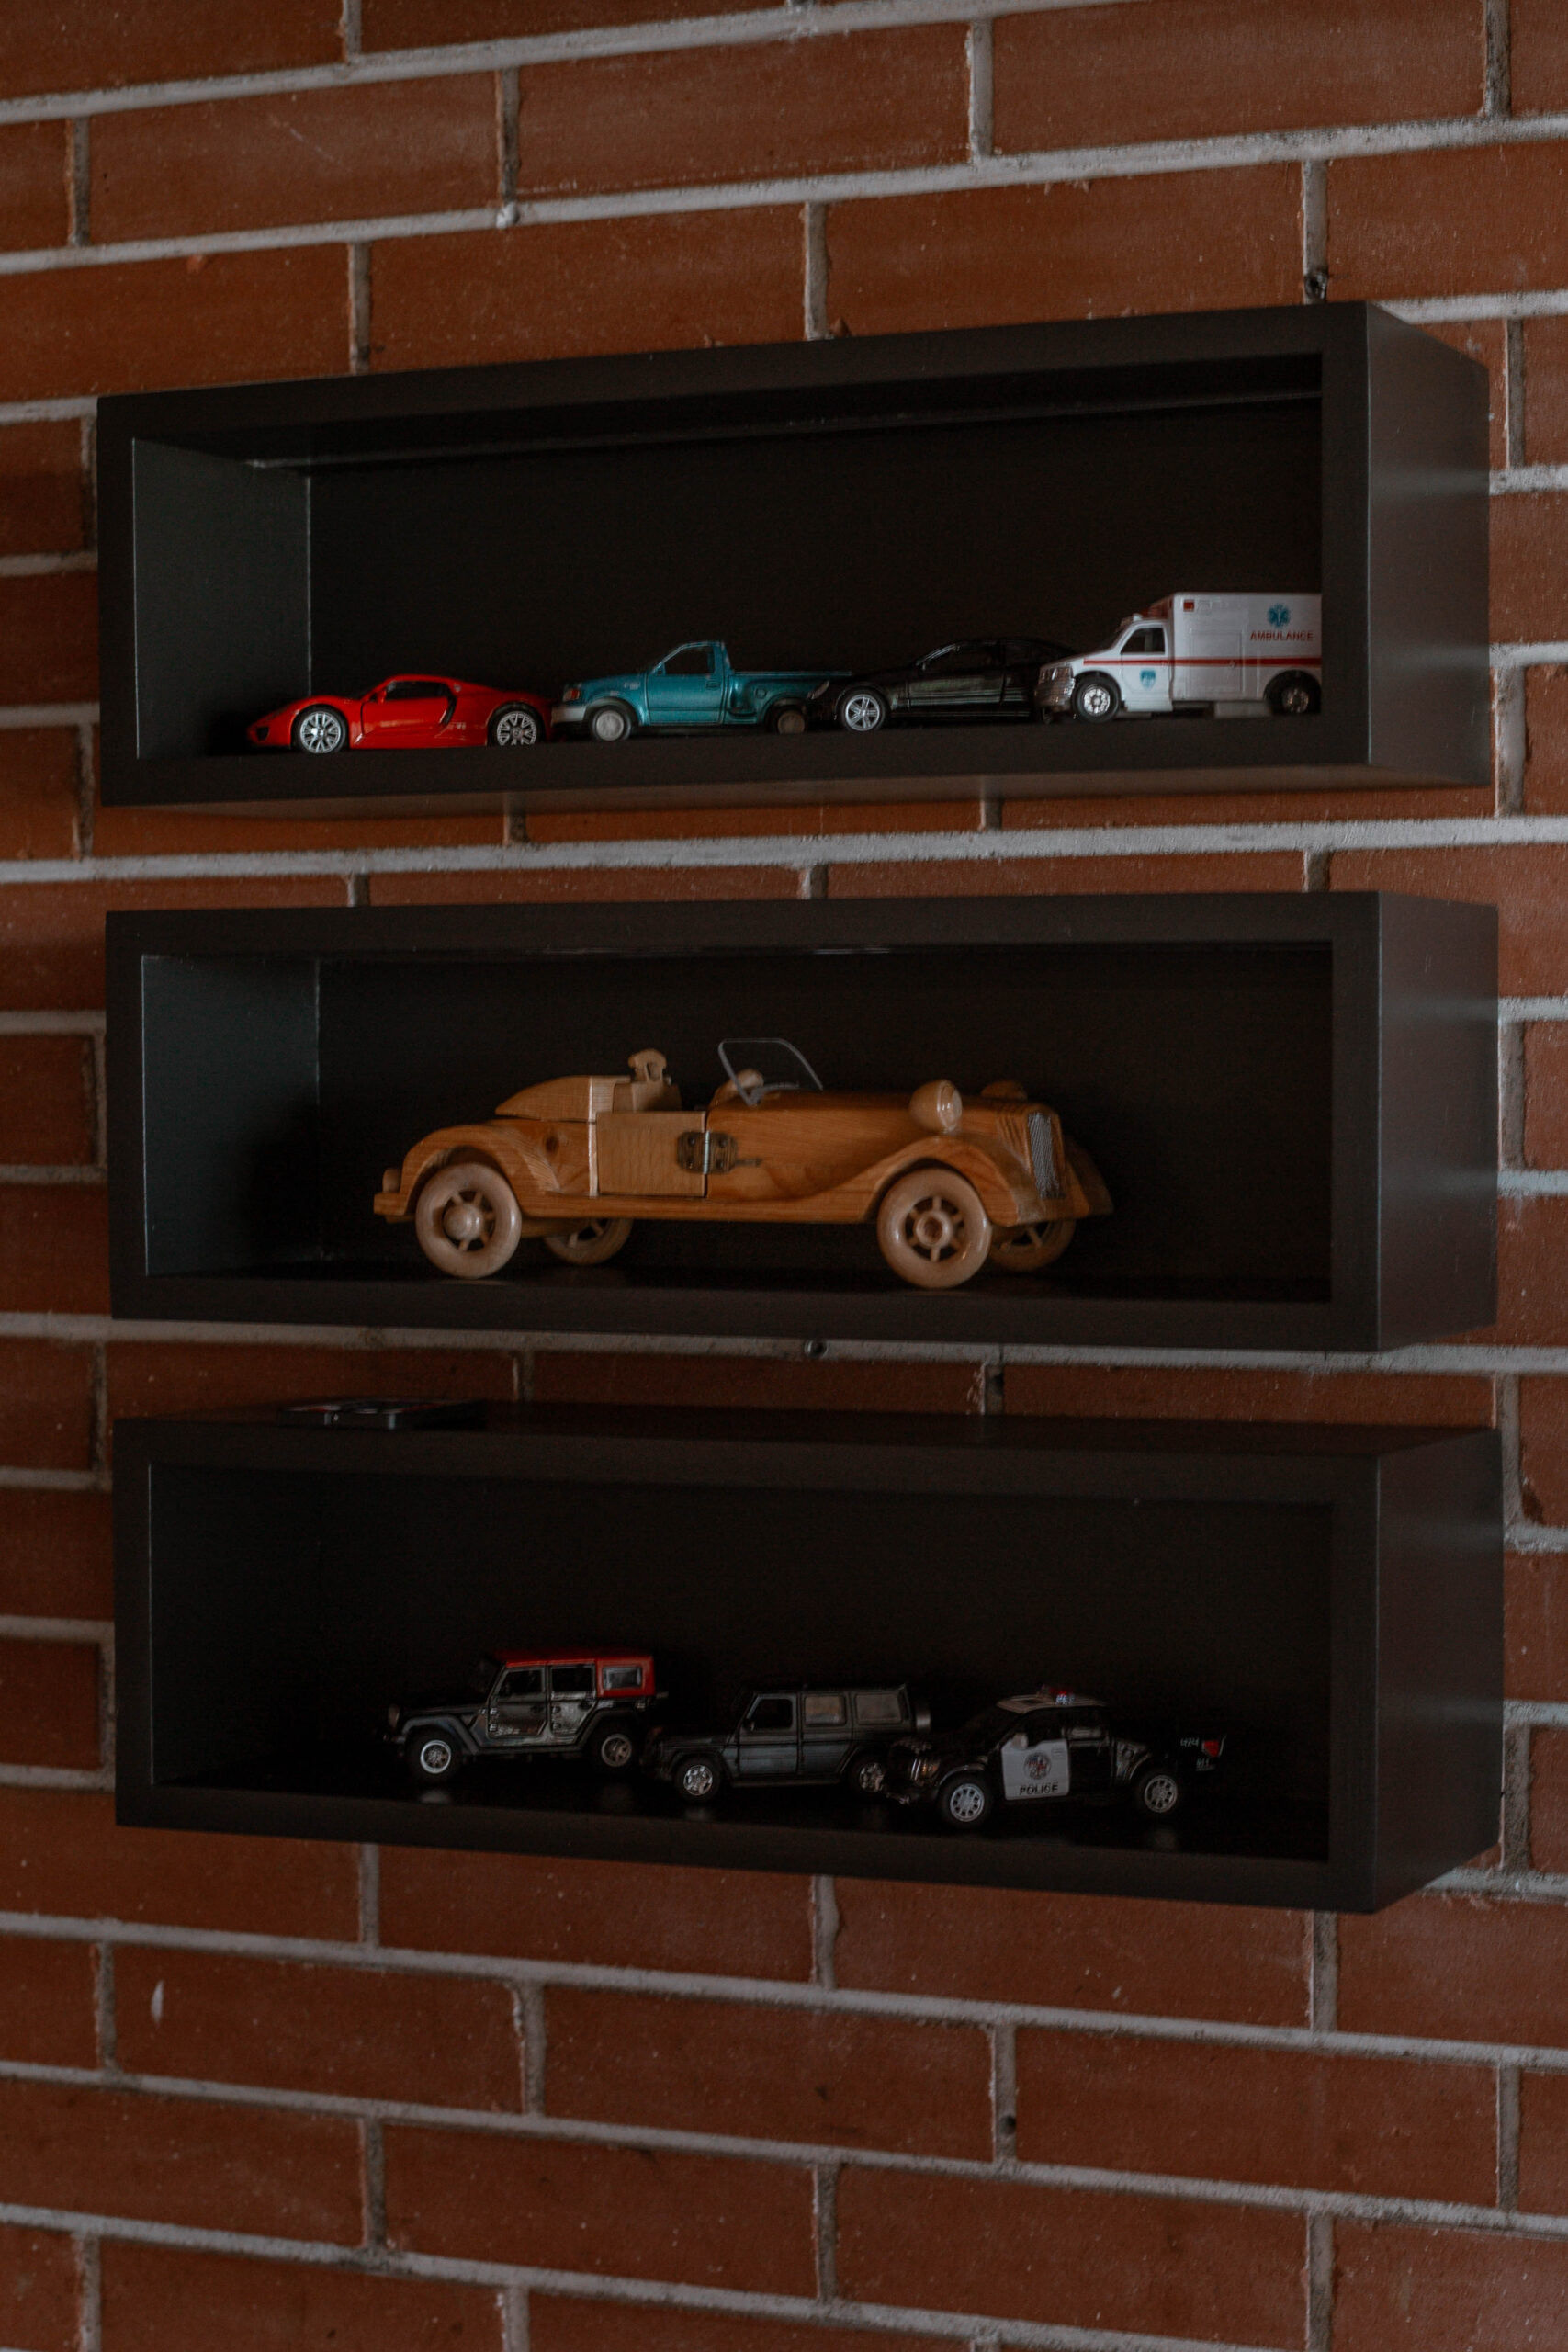
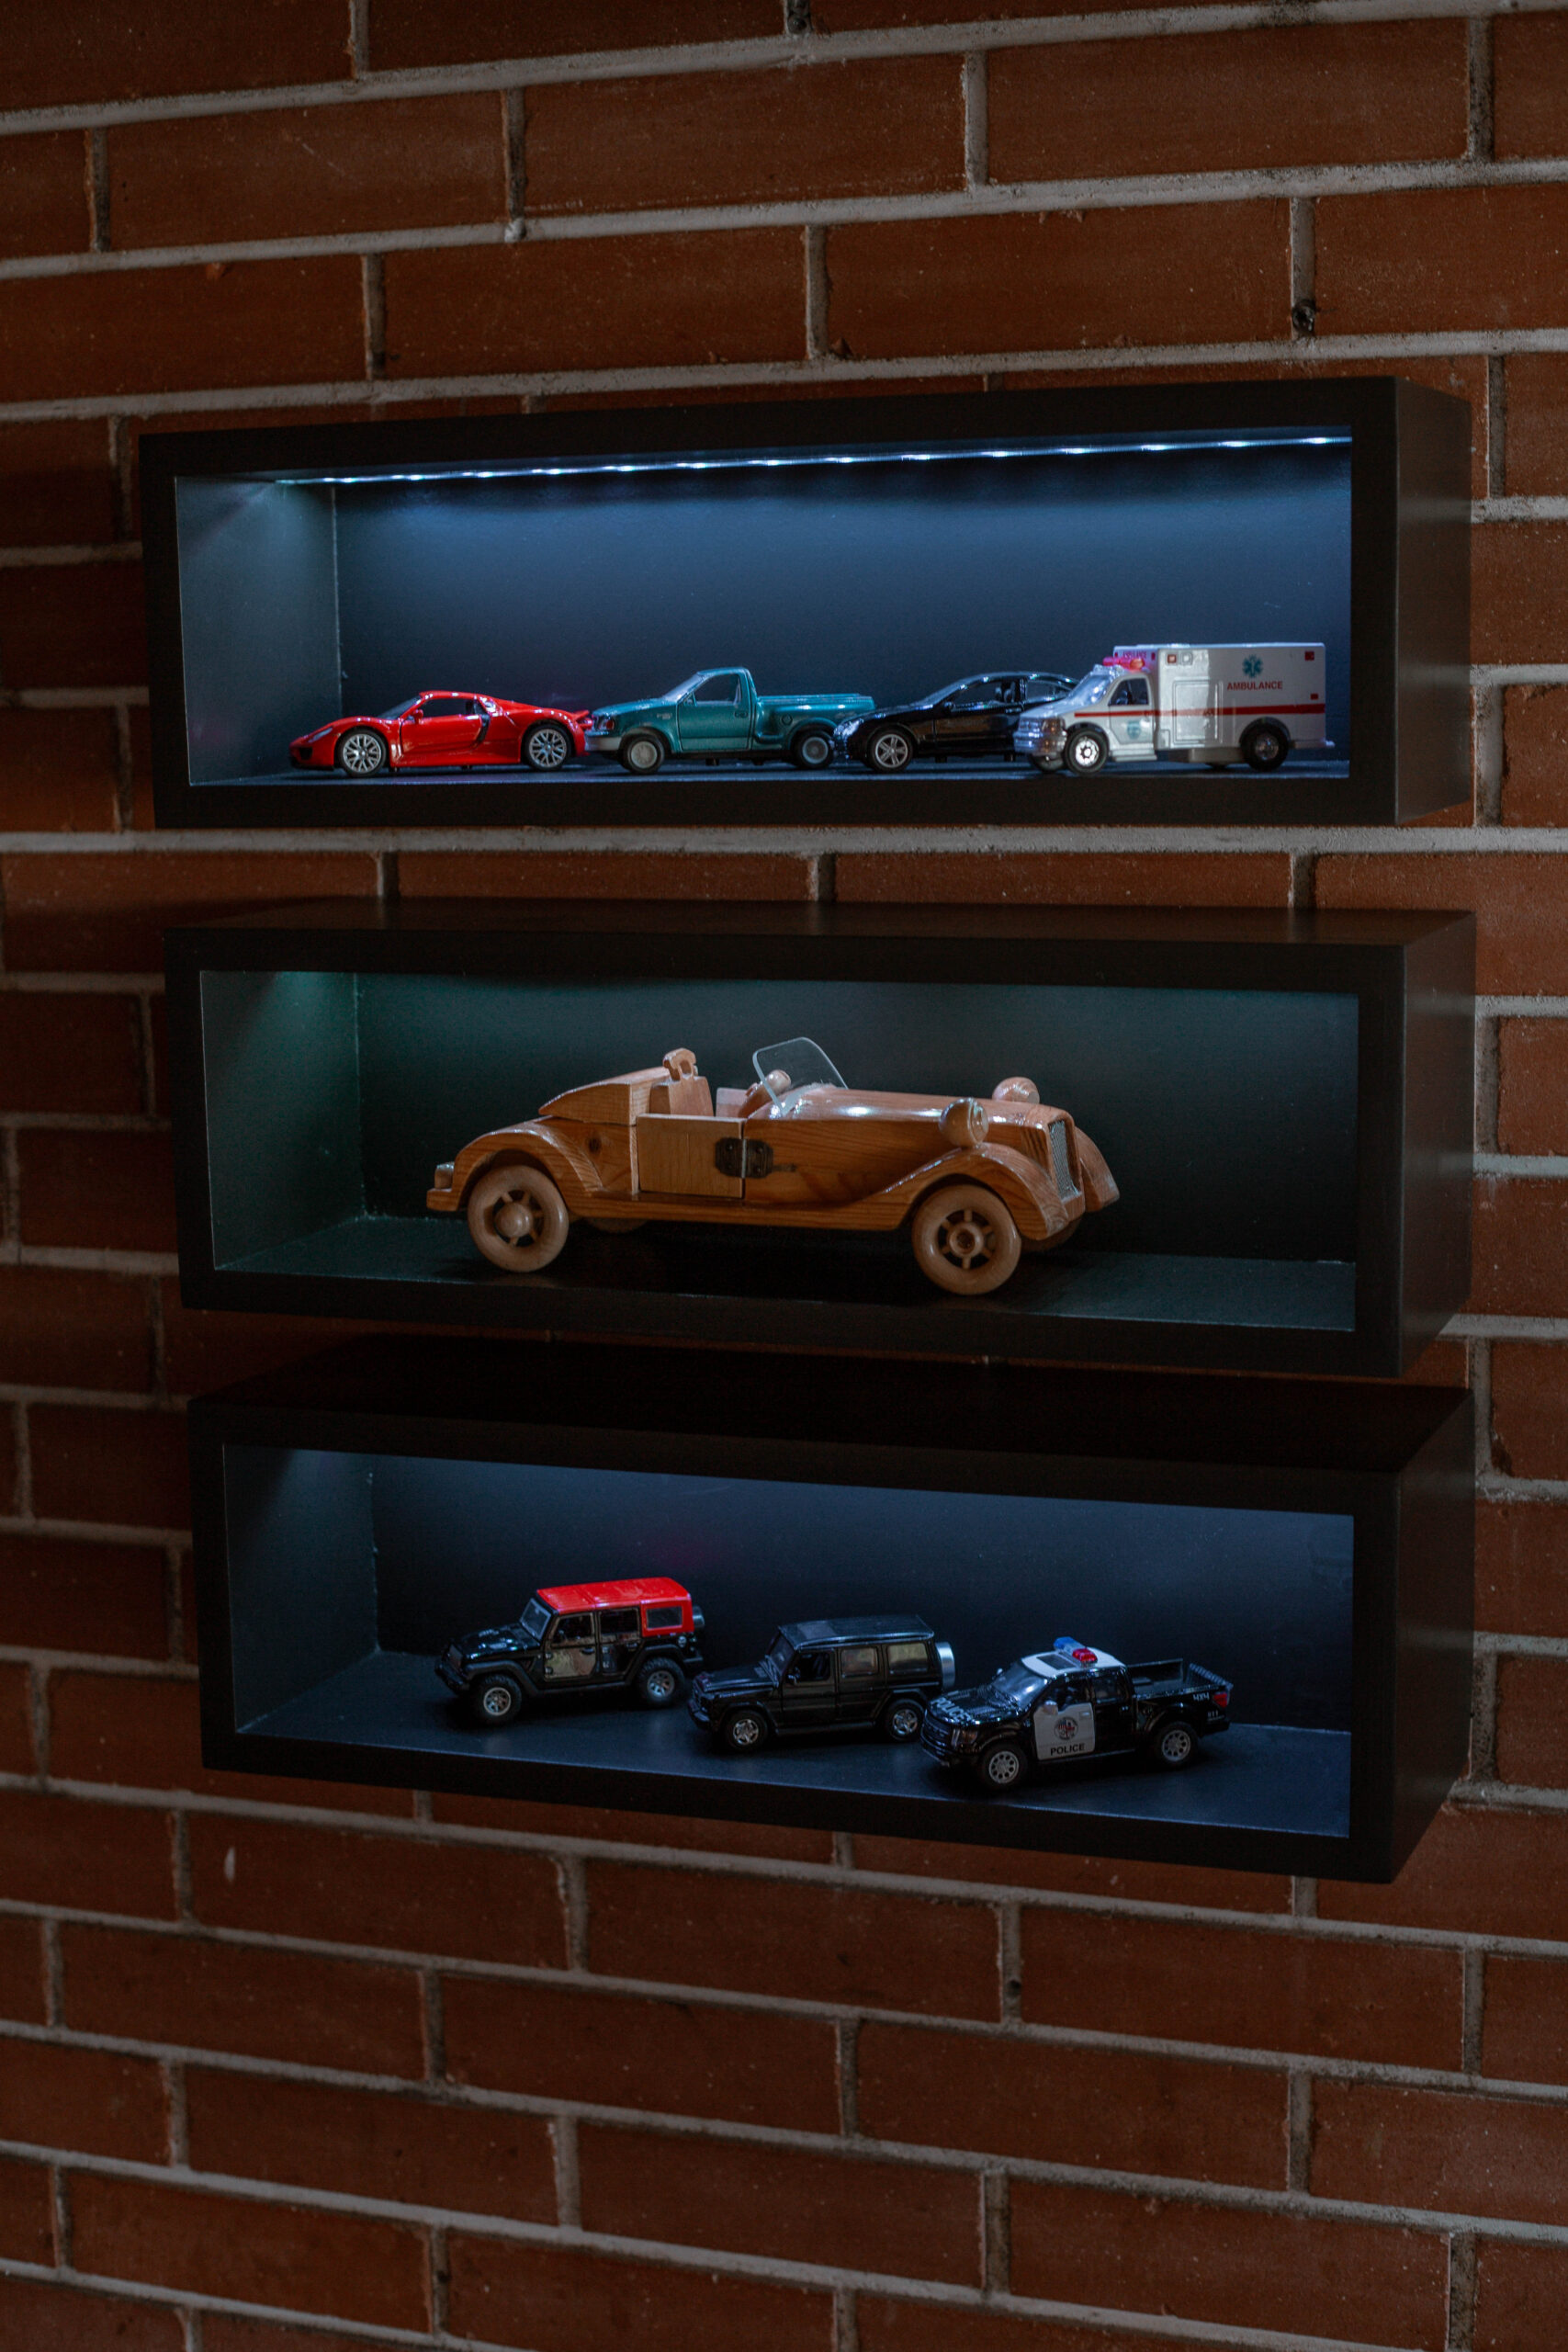
We actually made three shelves total, we are so happy with how the Floating shelves with LED lights turned out. Our son loves them and is excited to display his cars and treasures in them.
Free LED floating shelves Build Plans
Be sure to get the detailed instructions and free build plans for your Floating shelves with LED lights from Kreg Tools!


jeff
Wednesday 13th of March 2024
Is your acrylic strip 1" or 3/4" wide? You route a 3/4" channel for the acrylic but the materials list says it is 1" wide.
Lindi
Friday 5th of April 2024
I probably made an error there - you could do either one as long as you're consistent, but I think I did 3/4" for both.