DIY Velvet Pumpkins made from dollar store supplies! Learn how to make your own fall velvet pumpkins with this easy tutorial!
Fall has always been my favourite season. I love to add fall touches in my home, but over the years, I’ve become more and more selective about what I display. I’ve seen a lot of little velvet pumpkins in stores, but never wanted to pay the price tag. This year I made my own DIY velvet pumpkins and could not be happier with them.
*This post may contain affiliate links. When you buy a product through one of our links, we get a commission at no cost to you! Thank you for supporting our blog so that we can continue to bring you posts like these. For more information, please see our disclosure page.*
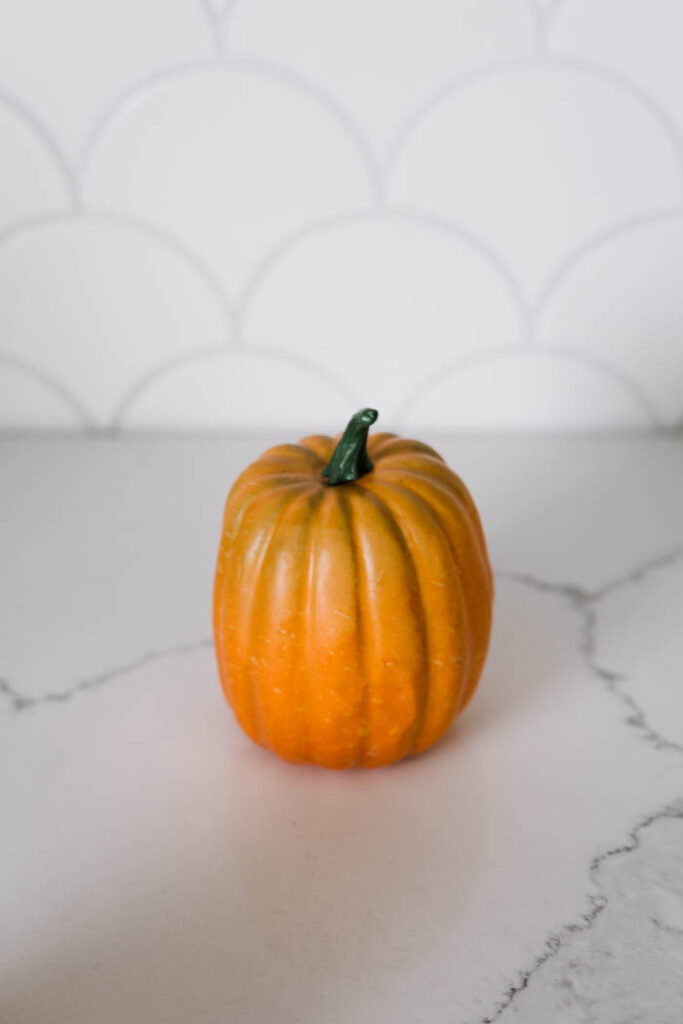
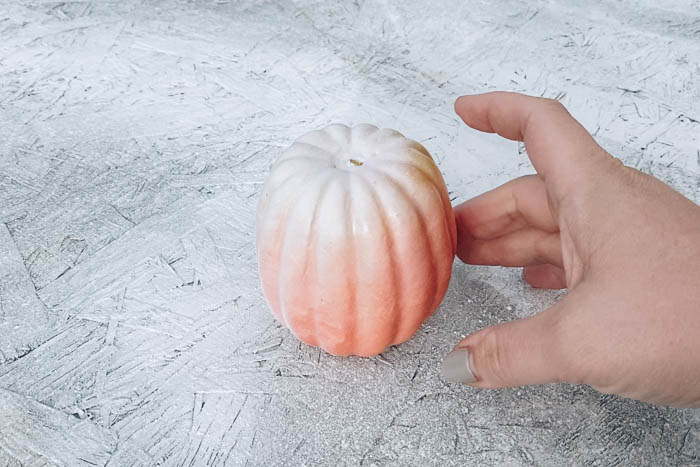
You can find little dollar store pumpkins like this every year! They always look very fake, lol. Some are plastic, but these ones were foam. Either way I would never display these, lol. But they were a great jumping off point for a DIY project!
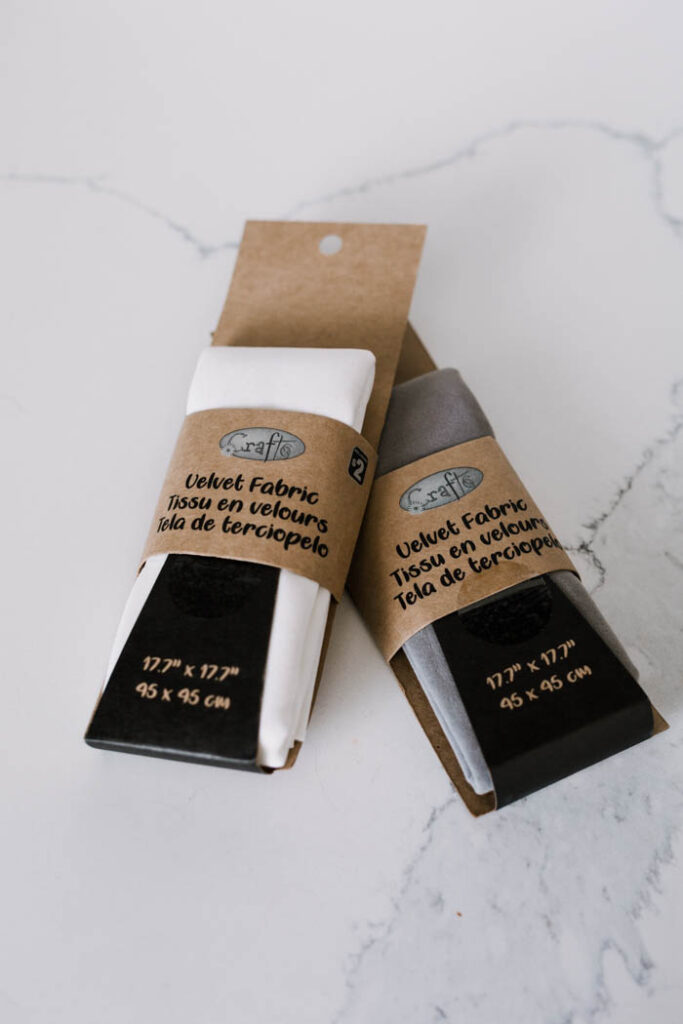
Then I found these velvet sheets! Our local Dollarama had them in the shelves and I had them in my cart immediately. Velvet pumpkins have been around for a while, but now I had a way to make mine for only $3 each.
If your dollar store doesn’t have the velvet, you can also buy a small 1/2 yard from your local fabric store.
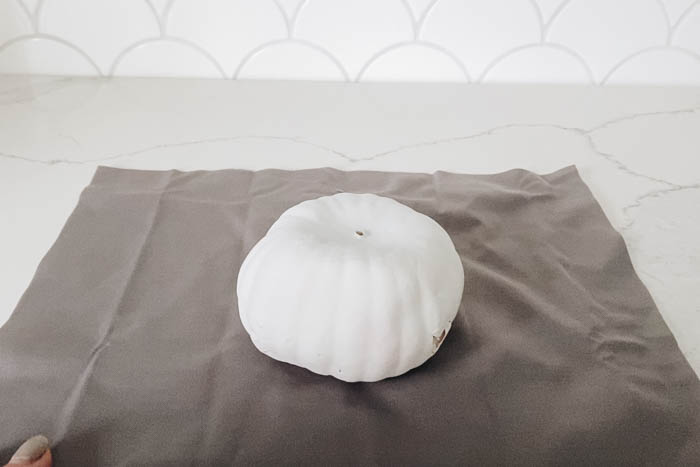
My dollar store velvet was a bit see through, so my first step was to spray paint everything white so that the orange colour didn’t show through.
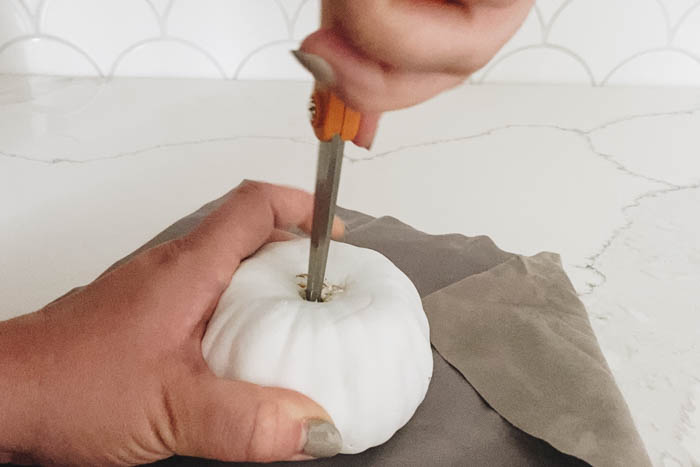
After they were spray painted, I took off the stems, and used a pair of scissors to dig into the top of the pumpkin and pull out some excess foam to make room for the velvet that will get tucked in.
You may wrap your pumpkins and find you still don’t have enough room for the excess fabric. If that happens, just unravel and remove some more foam.
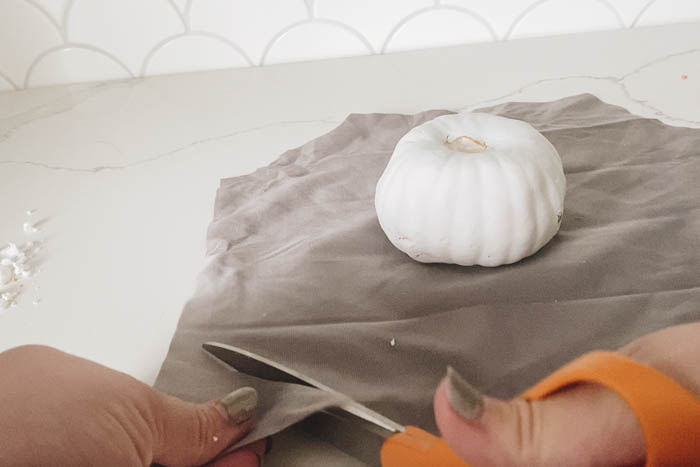
I cut my velvet into a square around the pumpkin, making sure there was enough space on each side to wrap up the entire pumpkin.
Next, I cut the corners off of the fabric square, so that I had a little less lose fabric to try and tuck into the pumpkin.
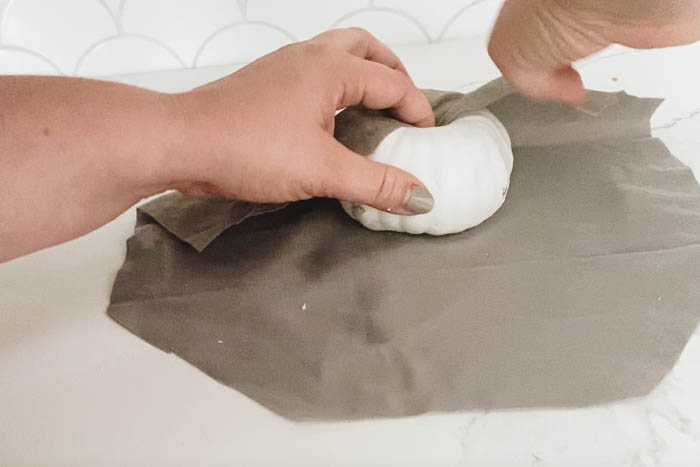
When you’re ready, start at one side and slowly wrap the velvet up the pumpkin, tucking it into the top. You can see exactly how I did this in the video below.
I also removed the stems and painted them brown to blend into the colour palette better.
Our Fall Dollar Store DIY Projects Video
If you want to see how we made these DIY velvet pumpkins, or how we made three more dollar store DIYs for fall, check out our video tutorial below!
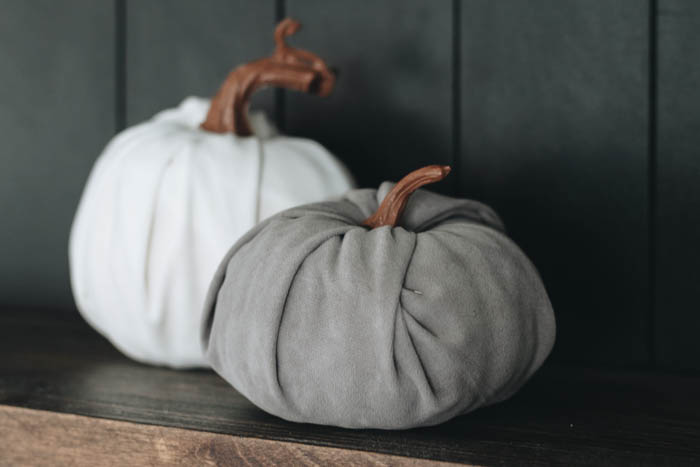
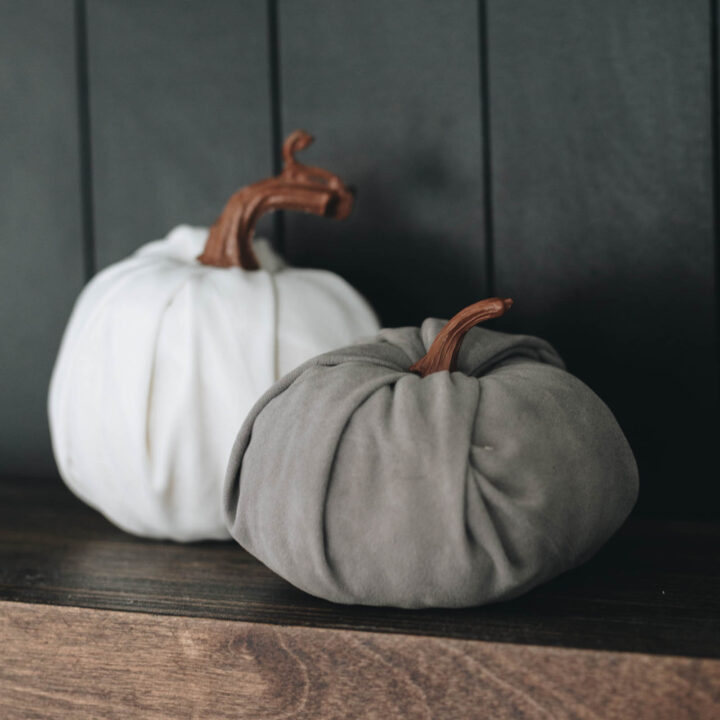
Don’t forget to subscribe to our channel while you’re there!Finished DIY Velvet Pumpkins
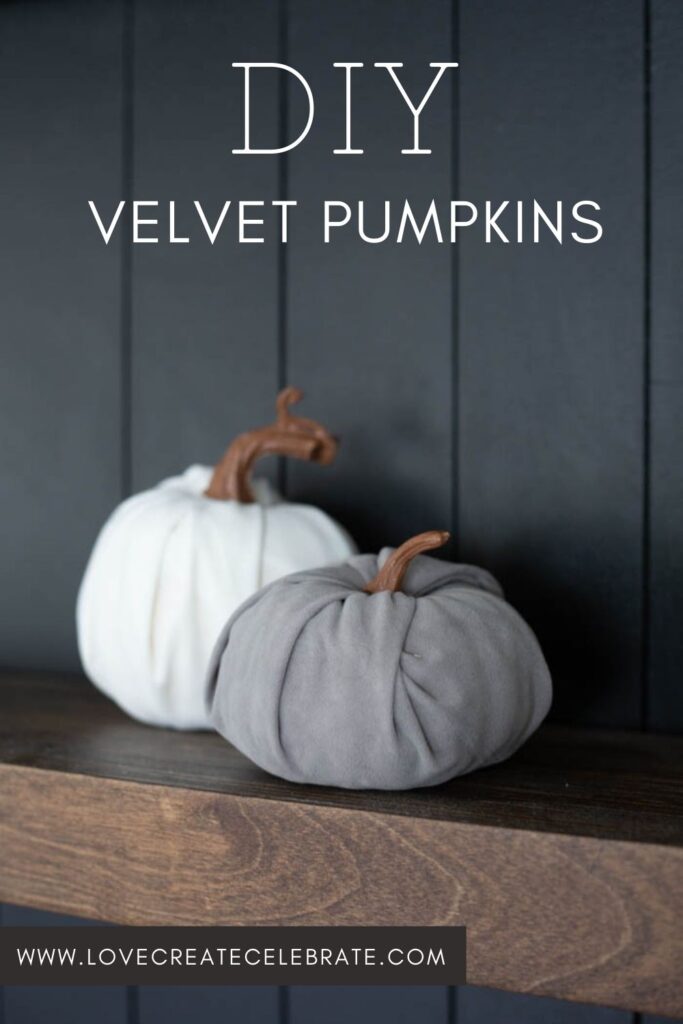
Finished DIY Velvet Pumpkins
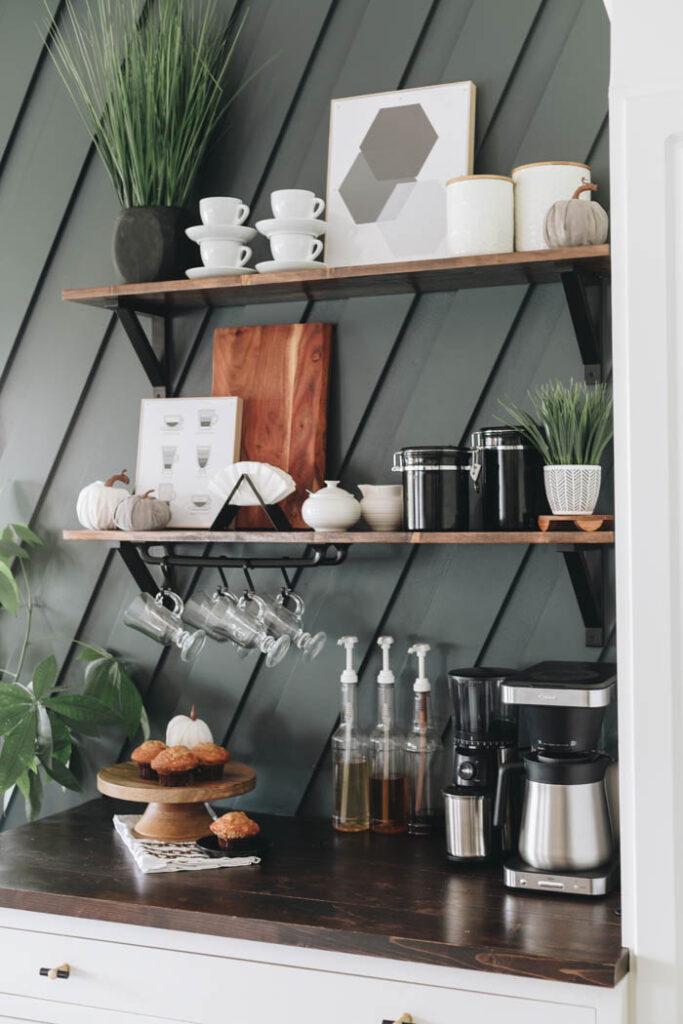
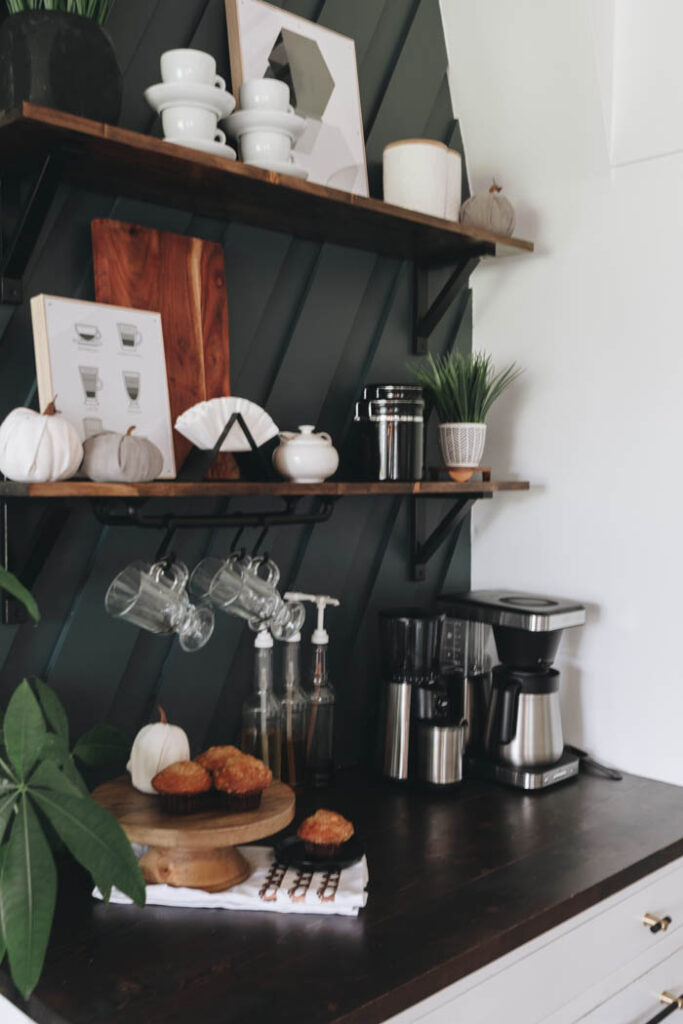
I LOVE these! I’m all about minimal decor during holiday seasons, and the four little pumpkins I made are the perfect added touch to make any shelf feel festive.
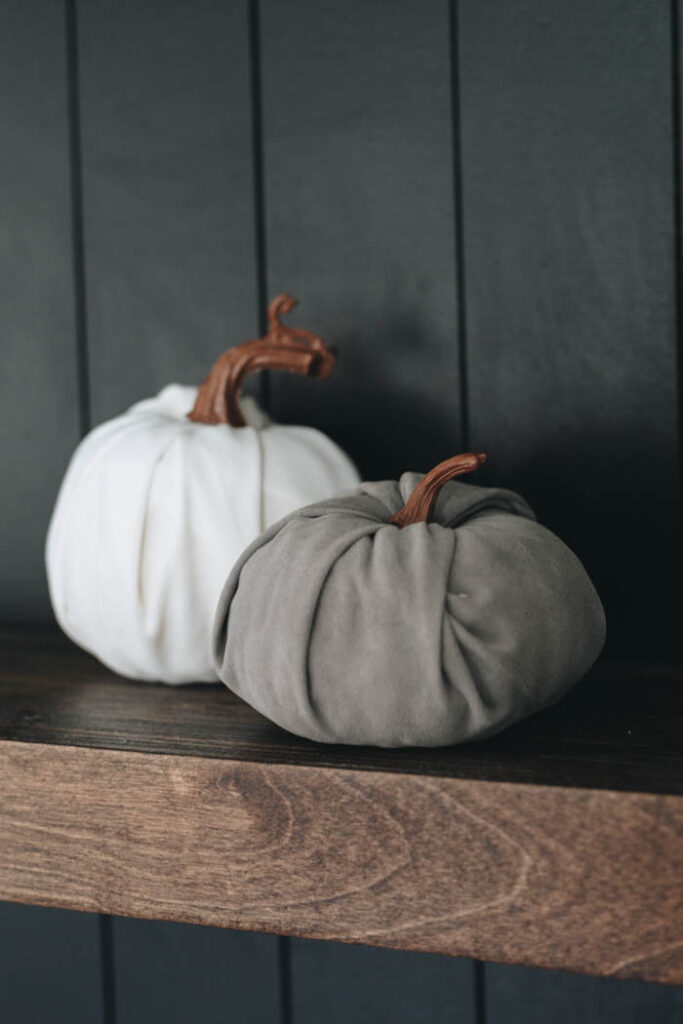
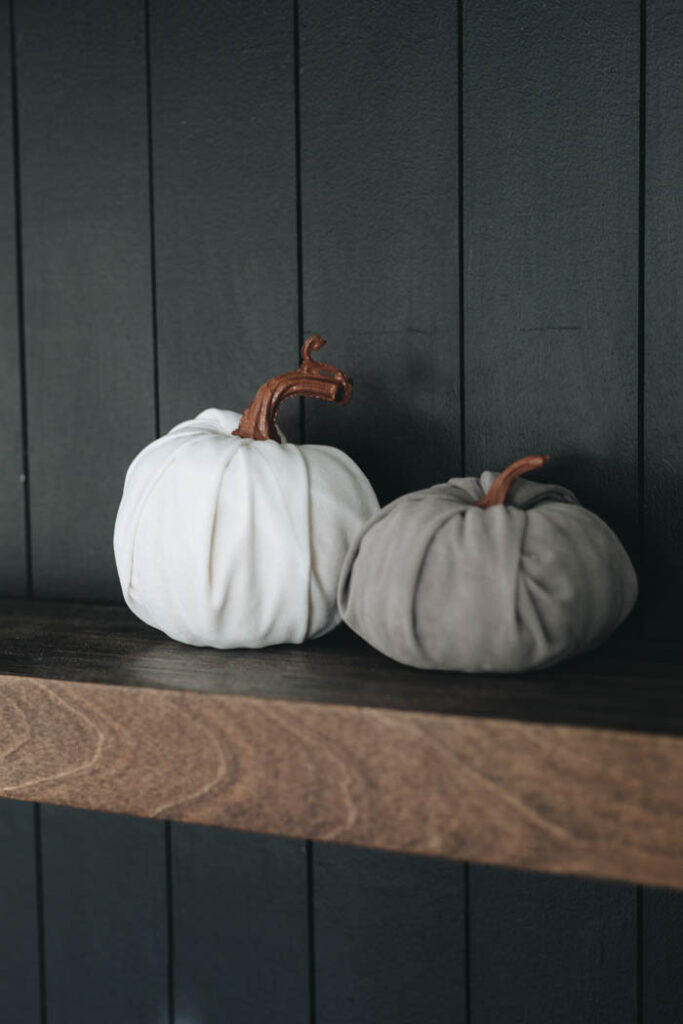
I put a few onto the coffee bar shelving this year and absolutely loved how they looked!
DIY Velvet Pumpkins
DIY Velvet Pumpkins made from dollar store supplies! Learn how to make your own fall velvet pumpkins with this easy tutorial!
Materials
- Dollar Store Foam Pumpkins
- Velvet Sheets (dollar store or fabric store)
- White spray paint
- Brown paint
- Craft Glue
Tools
- Scissors
Instructions
- Spray paint your pumpkins white (so that the orange isn't seen through the velvet.
- Cut a square of velvet wide enough to meet at the center on all sides with a little extra fabric.
- Remove the stems, and use scissors to twist a deeper hole at the top where the stem was, and remove some excess foam.
- Slowly wrap your velvet around your pumpkin, starting at one side and moving around in a circle (watch the video to see how!).
- Paint your stems brown and glue in place with craft glue.
Recommended Products
As an Amazon Associate and member of other affiliate programs, I earn from qualifying purchases.


If you liked these little pumpkins, see more of our decorating style and check out our simple and seasonal Fall Decor.