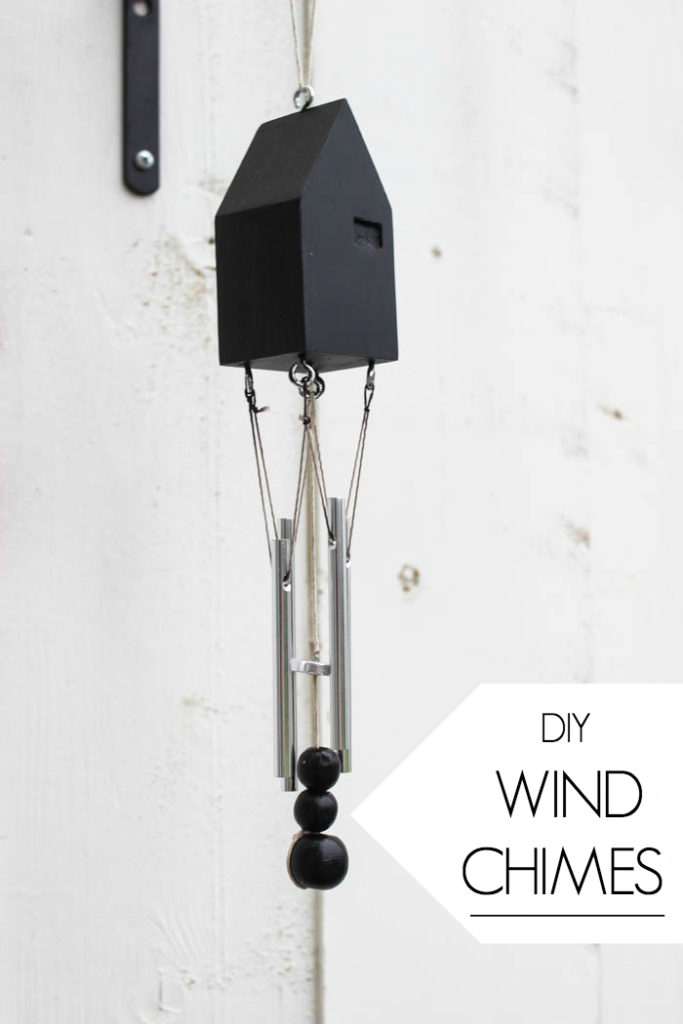
Does it feel to late in the year for a post about wind chimes?

*This post may contain affiliate links. When you buy a product through one of my links, I get a commission at no cost to you! Thanks for supporting my blog so I can continue to bring you posts like these. For more info, please see my disclosure page.*
I’m joining a great group of bloggers to share some inspiration for something we all love doing: upcycling! Thrift stores are a gold mine of neglected treasures. I usually can’t walk into a thrift store and walk out empty handed. There are some things I go for all the time, like picture frames and vases, but there are a whole lot of overlooked treasures, and we are going to show you a few amazing makeovers!
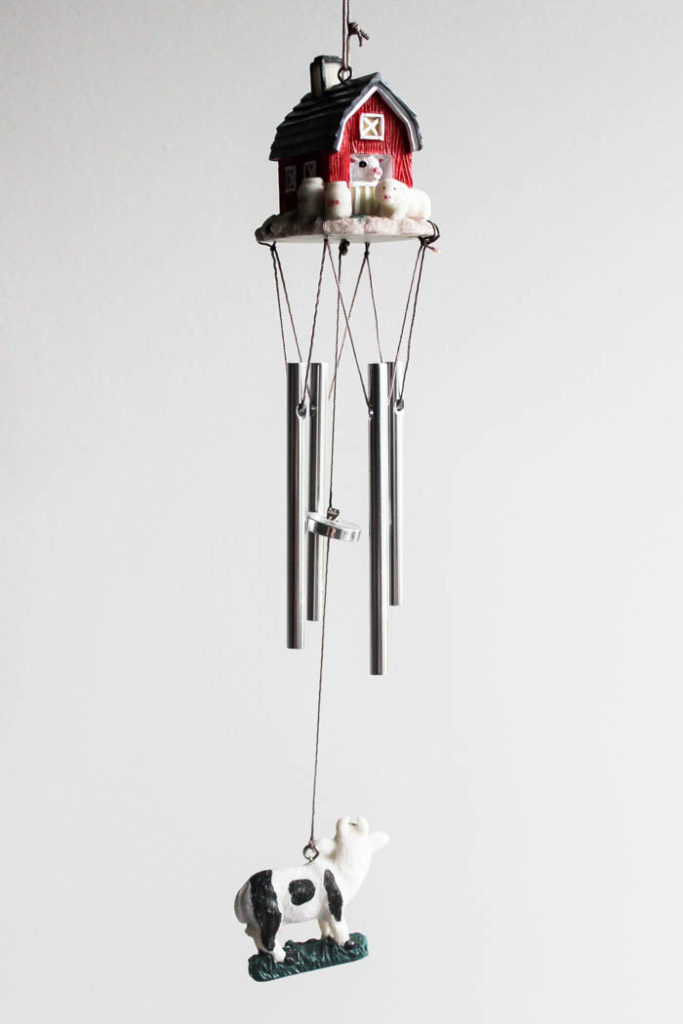
Have you seen wind chimes like these before? Farmhouse may not be my style, but I knew right away I could reuse these parts and make something beautiful!
Materials Needed to Make Your Wind Chimes:
- Old Set of Wind Chimes
- 2×4″ (cut down to 1/2″ by 2″)
- Screw eyes (3/4″)
- Speed Square
- Mitre Saw
- Drill
- Pliers
- Paint (I used Fusion Mineral Paint)
How to Make Wind Chimes:
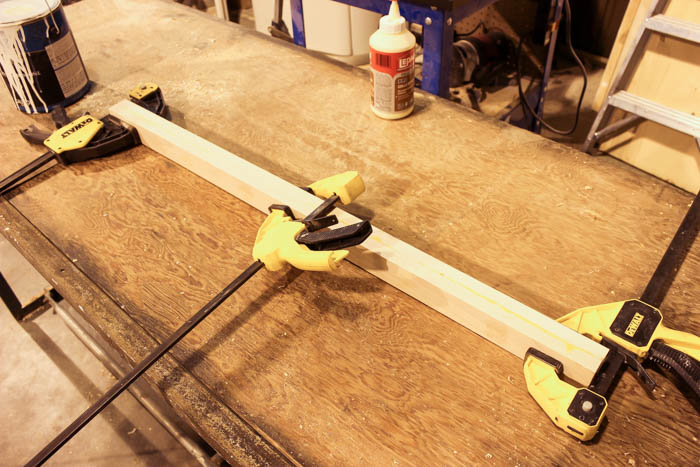
If you want to make a modern miniature house on the top of your wind chimes, start by cutting your 2×4″ board to size. We wanted to use some scrap wood from a 1/6″ board so we glued them together. I glued them and clamped them overnight. When they were set the next day, I sand them down on all sides. (This photo shows a really long piece, but you only need about 5″).
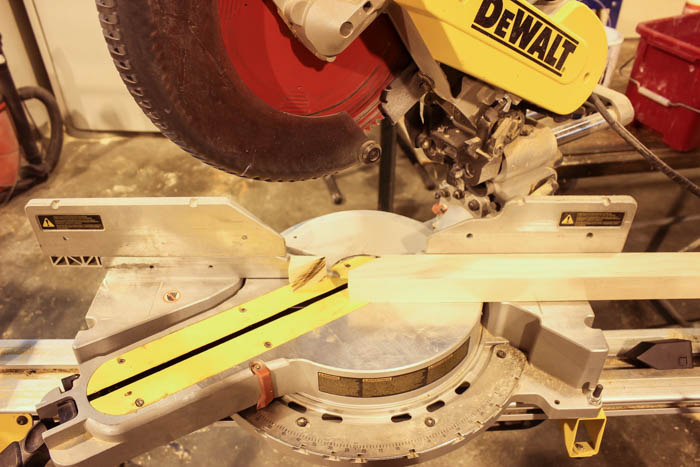
Set your mitre saw to the furtherest angle, or just under 60 degrees, and cut off the end of your new board – this will make the first side of your house roof.
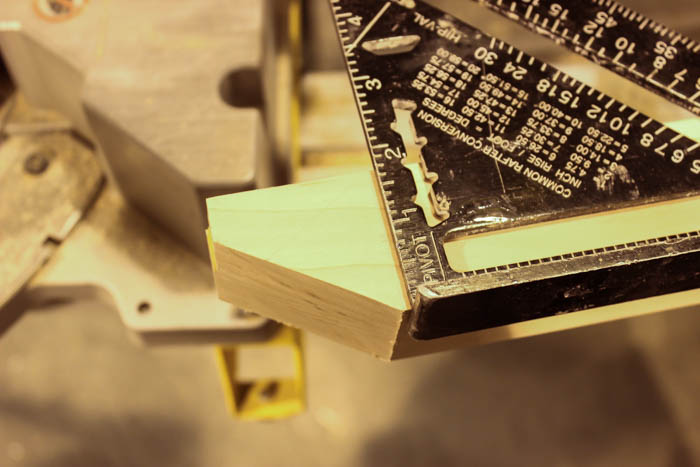
Next, use your speed square to draw a horizontal line from that corner you just created to the other side. Find the exact middle of that line (ours was about 7/8″).
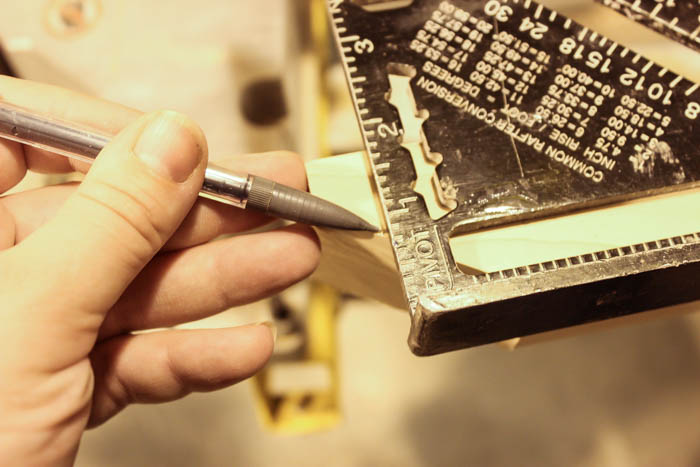
Next, slide your speed square up until your middle point (7/8″) meets your previously cut angle, and mark that spot. This is the point of your roof.
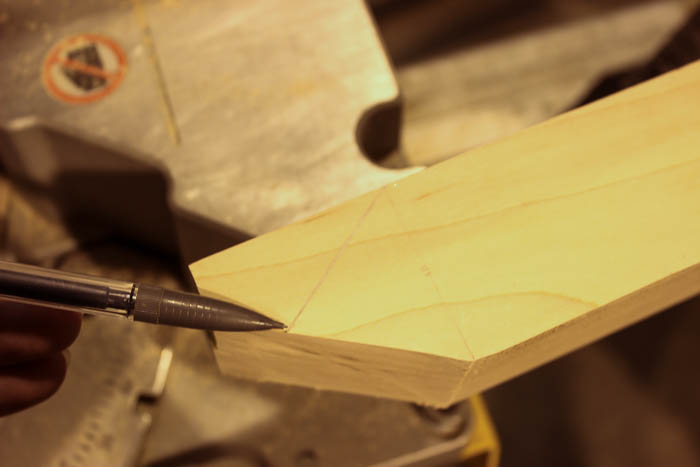
Draw a line between the point and the previous line and use the mitre saw to cut the other side of the roof.
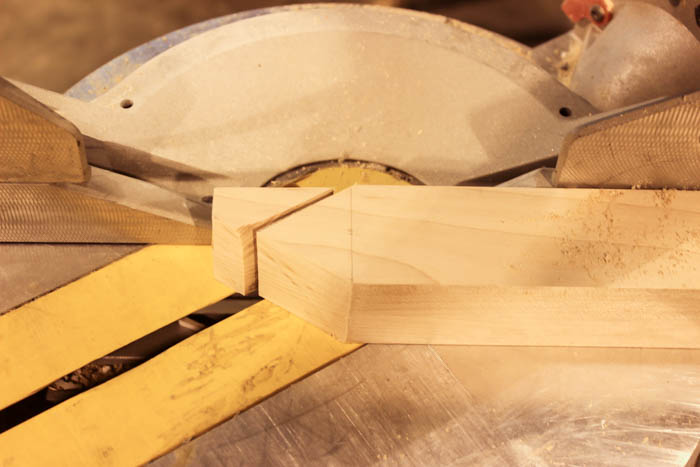
Then return your saw blade to the centre and cut your house to length.
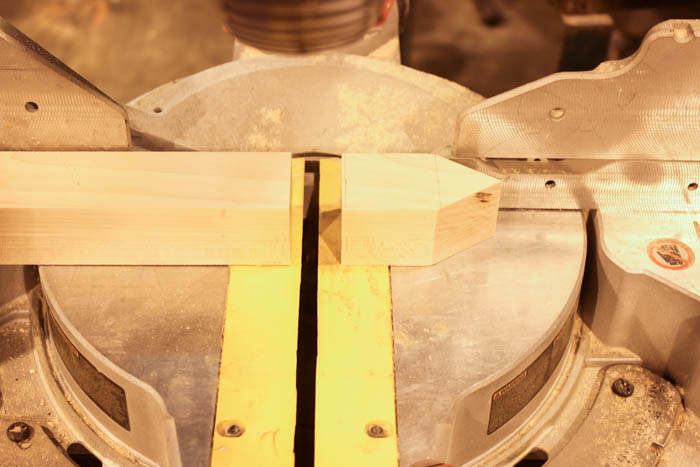
We also drew out some windows and chiseled them down. They look amazing! But they are totally unneccessary, lol.
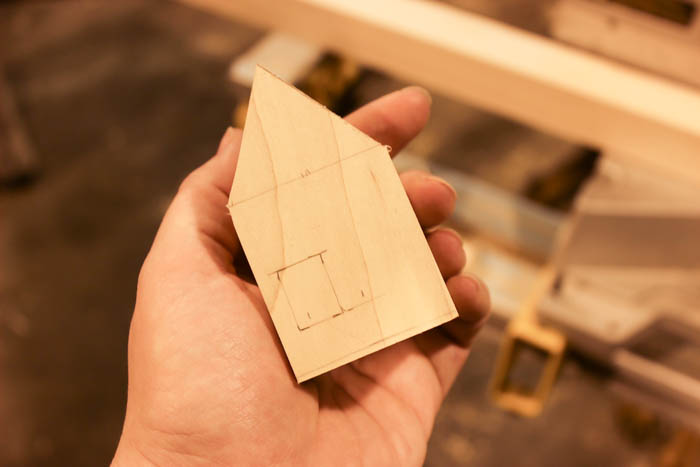
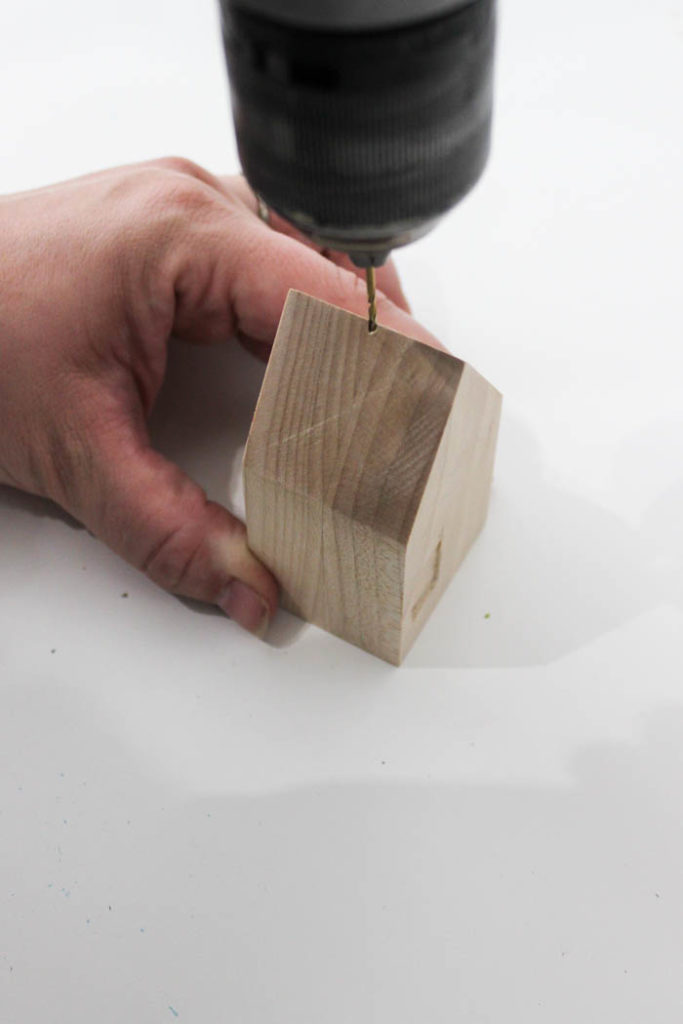
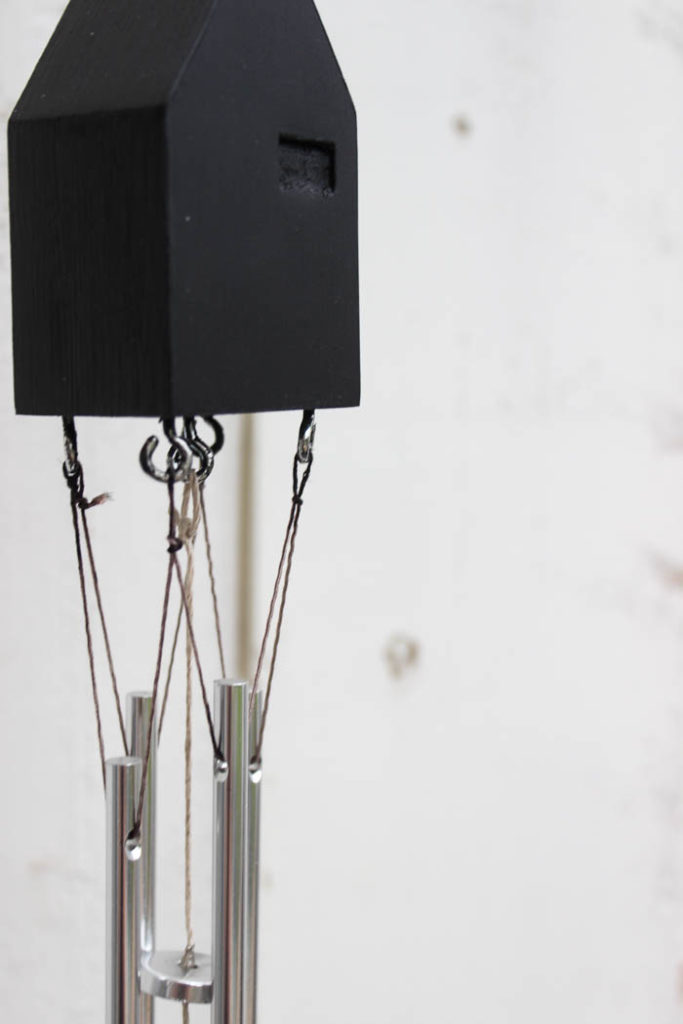
When your house is done, use a drill with a drill bit slightly smaller than the diameter of your screw eyes hooks, and screw into the top of your house. Rotate one hook into place on top, using the pliers to help.
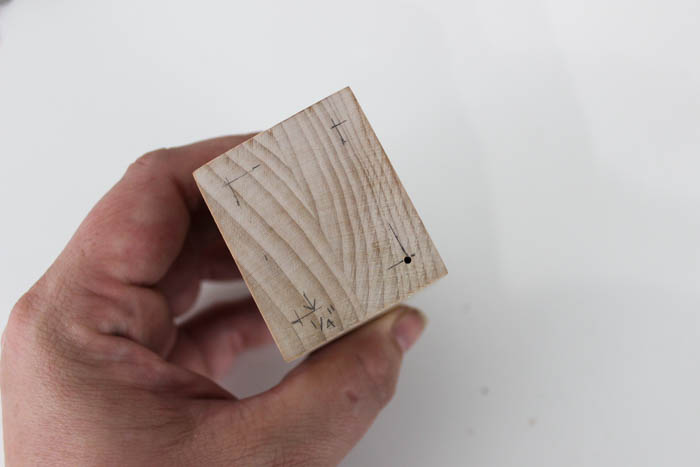
Measure the same distance from each of the four corners of the base of your house and drill into those four spots. Also, find the center of your base and drill into the center. Screw 5 screw eyes into place.
When all of your cuts are done, you can paint or sand your houses. I used black because… well, I paint everything black, lol.
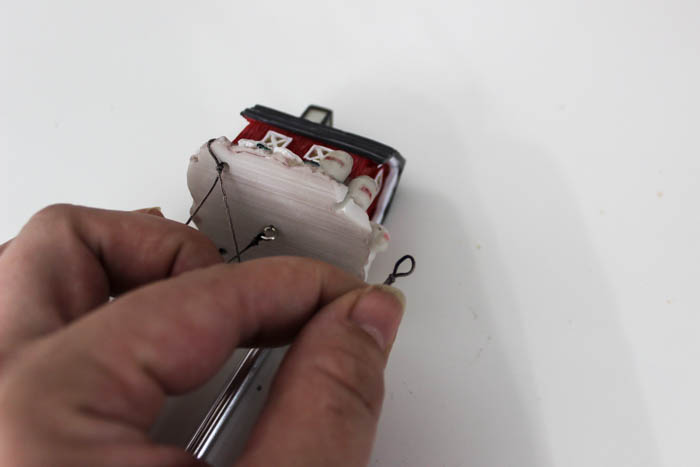
This is where our thrifted wind chimes come into play. If you already have chimes and ropes configured, why reinvent the wheel?? We took the hooks of rope off of the thrifted wind chimes, one piece as a time and put them into the new hooks we created.
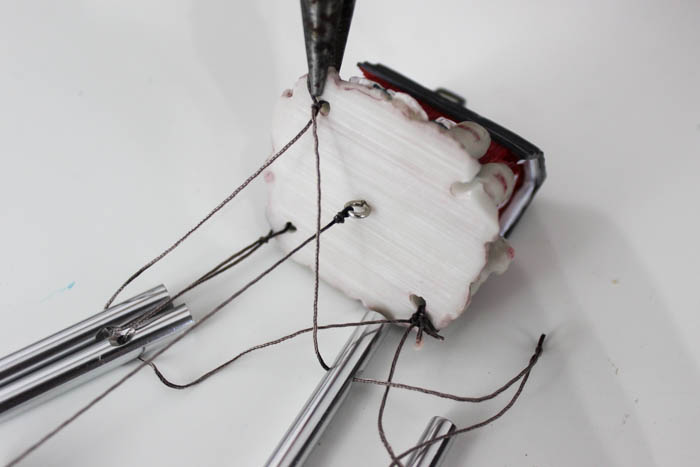
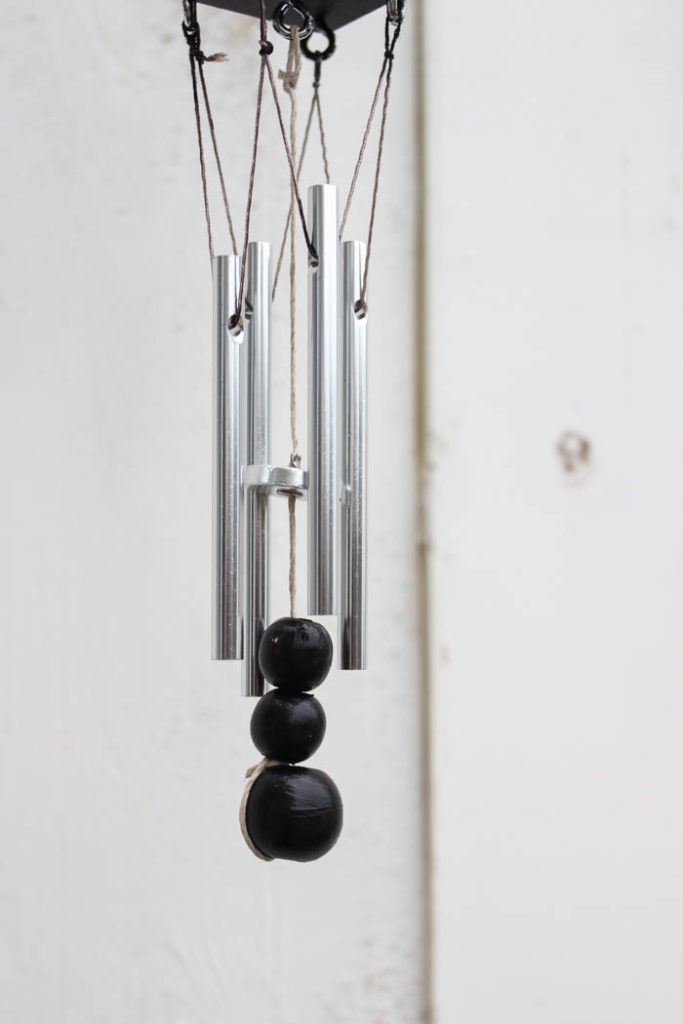
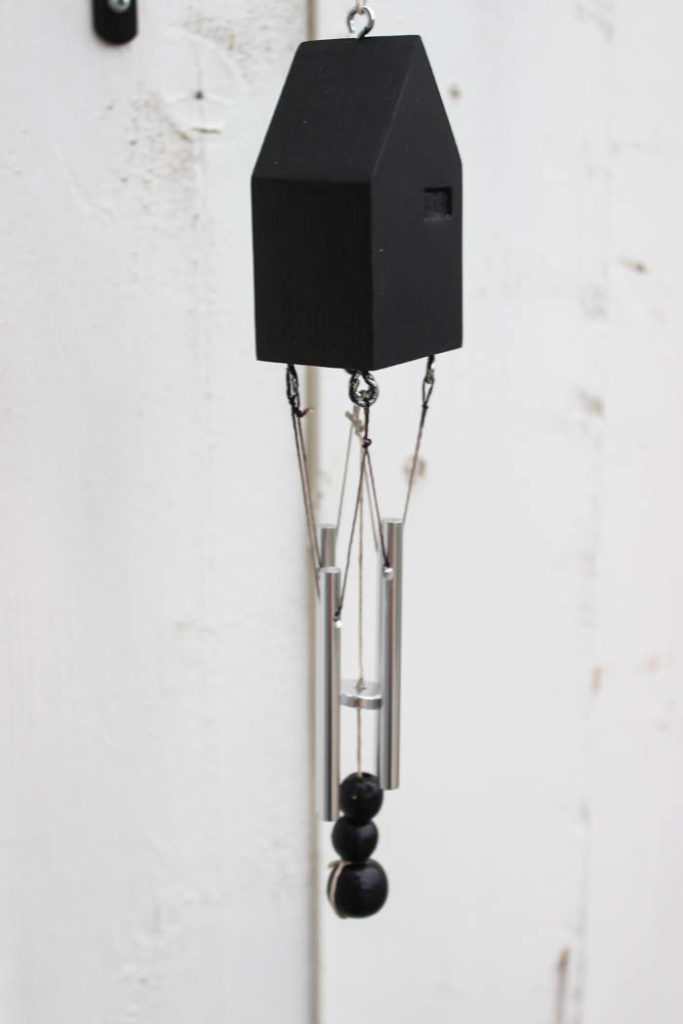
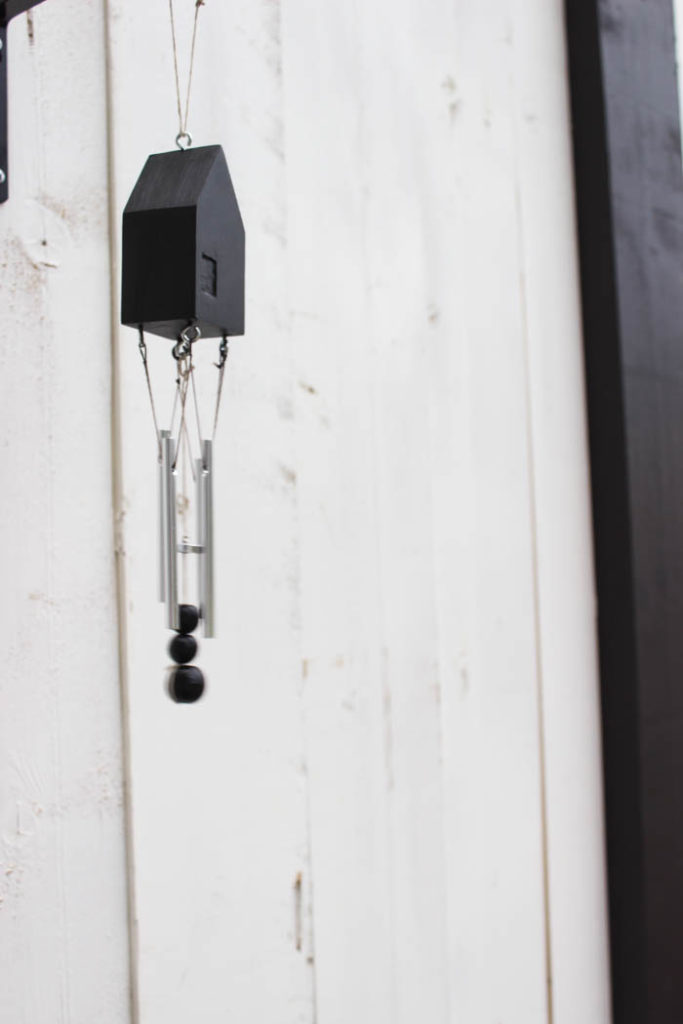
Beautiful! Now here’s a set of wind chimes that I would actually hang up!
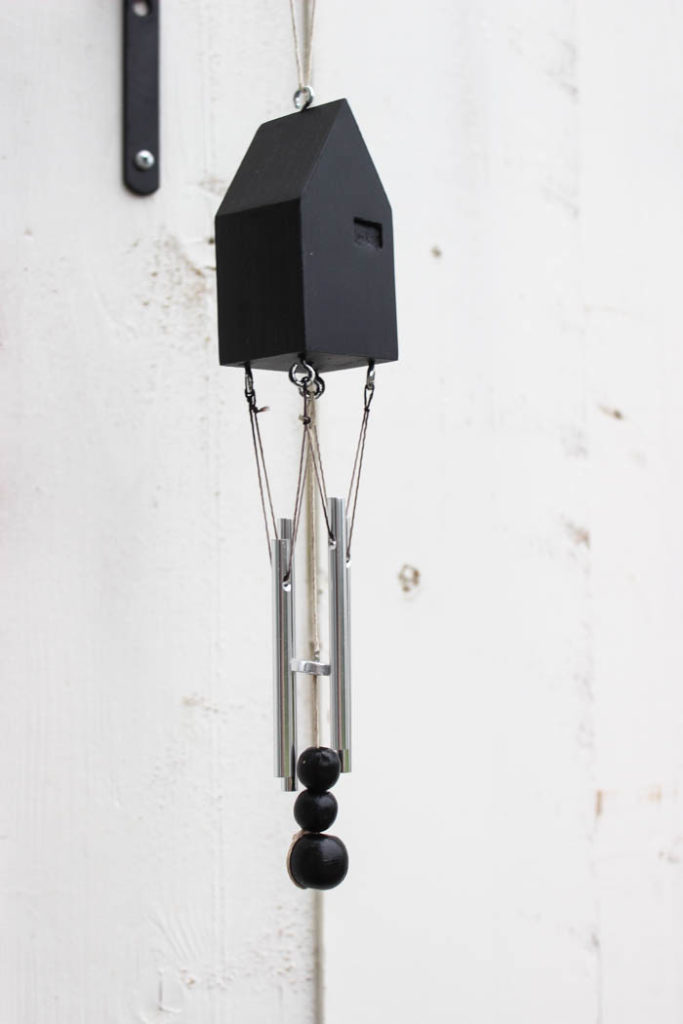
The DIY miniature house looks adorable and the chimes still sound great!
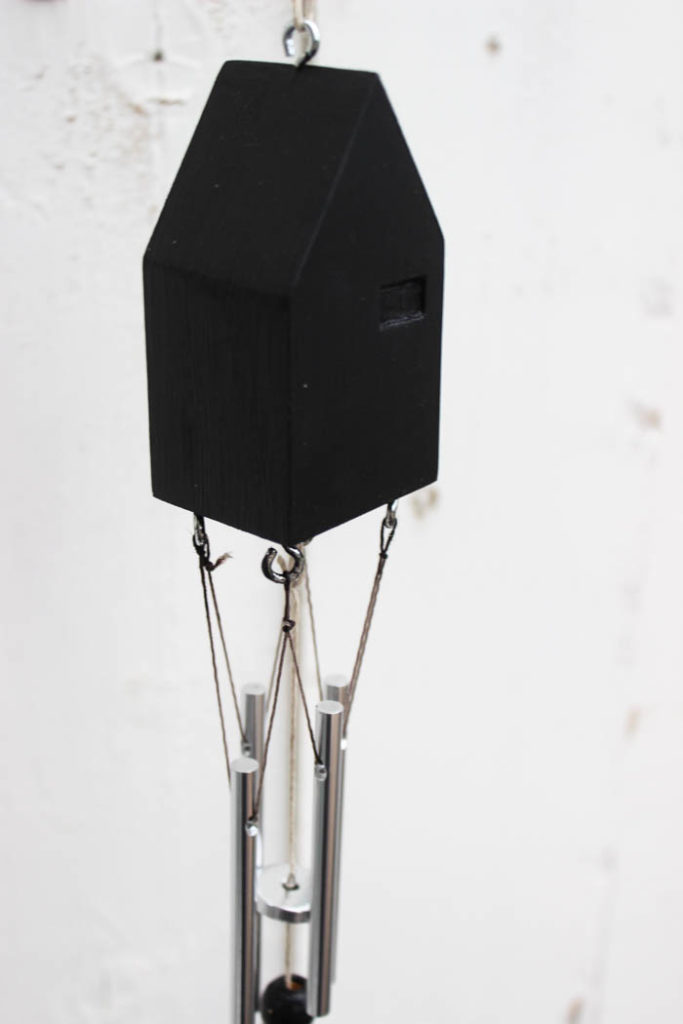
I replaced the hanging cow with three simple hanging beads. Looks pretty good, don’t you think?!
Now check out what some of my creative friends did with their thrifted finds!
Metal Bar Stools by Love & Renovations
Thrift Store Play Kitchen Makeover by A Crafted Passion
How To Paint Candlesticks by Green with Decor
How to Upcycle A Shabby Chic Mirror by Home Beautifully
White Pumpkin Decor by Making Manzanita
Thrift Store Lamp Makeover by Small Stuff Counts
Spray Painting Picture Frames by Amber Oliver
DIY Wind Chimes by Love Create Celebrate
If you like thrift store makeovers, check out these great projects:
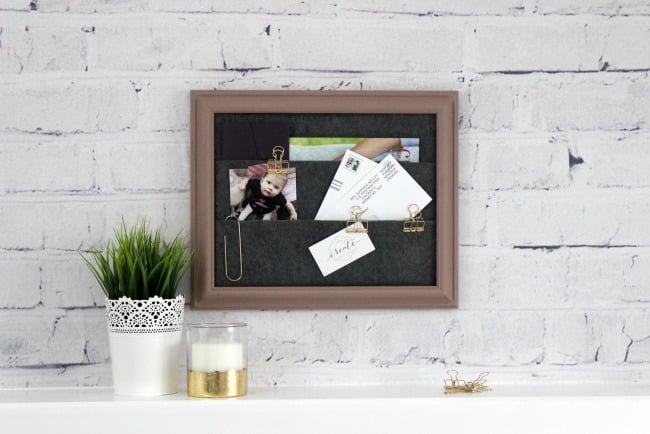


Spray Painting Picture Frames: Thrift Shop Challenge!
Tuesday 11th of September 2018
[…] DIY Modern Wind Chimes by Love Create Celebrate […]
Chelsea @ Making Manzanita
Monday 10th of September 2018
Turned out so cute! You really turned those wind chimes around and made them look so much better! Definitely fit with your style now. Great job.
Lindivs
Monday 10th of September 2018
Thanks girl! They look a lot better :)
Tania
Monday 10th of September 2018
That's so cute, I love it!
Tania
Lindivs
Monday 10th of September 2018
Thank you!! Such a fun project!
Play Kitchen Makeover — INCREDIBLE Thrift Store Transformation
Monday 10th of September 2018
[…] DIY Modern Wind Chimes by Love Create Celebrate […]
White Pumpkin Decor from Cheap Thrift Store Foam Pumpkins - Making Manzanita
Monday 10th of September 2018
[…] DIY Modern Wind Chimes by Love Create Celebrate […]