Make your own DIY Kids Tool Bench! Give an old tool bench a makeover with this easy tutorial and some spray paint!
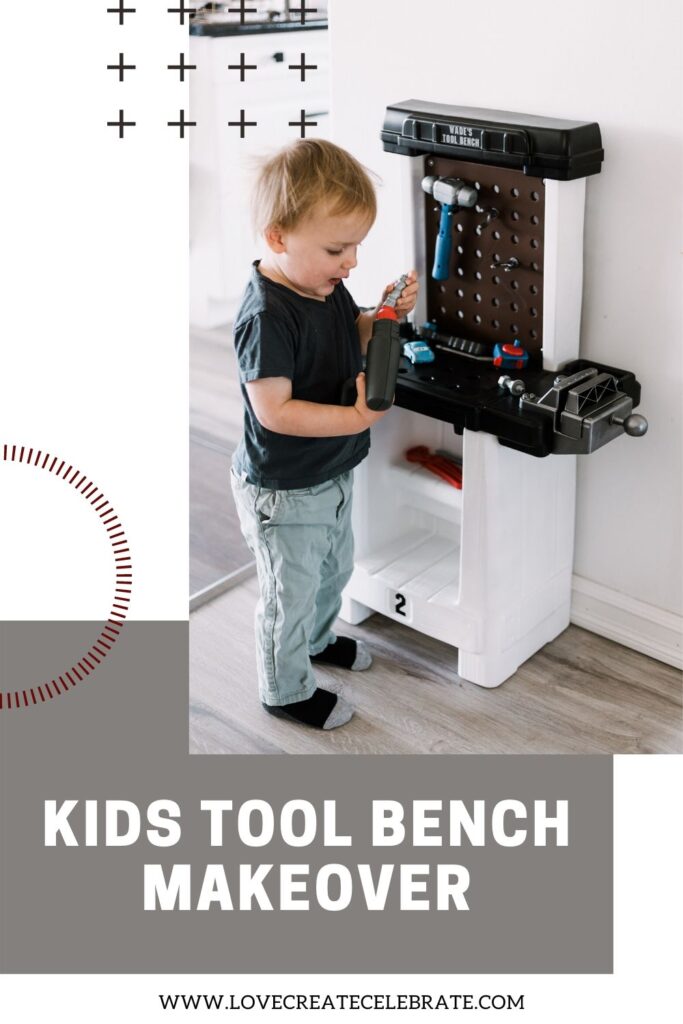
When my son turned two earlier this year, I was searching for the perfect (affordable!) gift for him. His interests: tools, cars, tools, cars, & tools. So naturally I looked for something in one of those two categories and ended up doing a quick DIY Kids Tool Bench Makeover!
*This post may contain affiliate links. When you buy a product through one of our links, we get a commission at no cost to you! Thank you for supporting our blog so that we can continue to bring you posts like these. For more information, please see our disclosure page.*
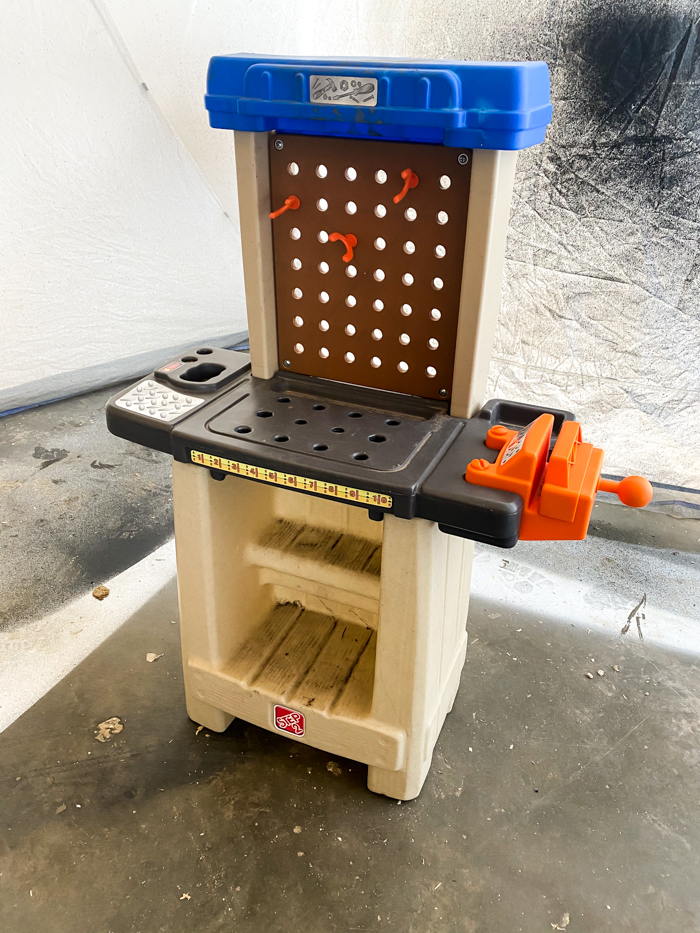
This is the piece we found! We actually got it for FREE from our local “drop & swap” where people dump stuff they don’t want anymore. It was a little bit worn, and asking for a makeover, but I knew we could do it!
How to Makeover a DIY Kids Tool Bench
This entire makeover only took a few hours! The most frustrating part was going back and forth 4 or 5 times to spray paint, lol. But the process is very easy!
There are so many great plastic toys out there, from houses to tool benches, all over facebook marketplace and buy and sell sites! All they need is a little TLC! A good wash and some spray paint and you can transform any of these little toys.
Materials and Tools Needed to Make Your Tool Bench
- An old plastic tool bench
- Acetone
- Heat gun
- Scraper
- Spray Paint (that adhere’s to plastic!)
- Spray clear coat
- Sharpie (optional)
- Kids tool kit
Instructions for the Kids Tool Bench Makeover
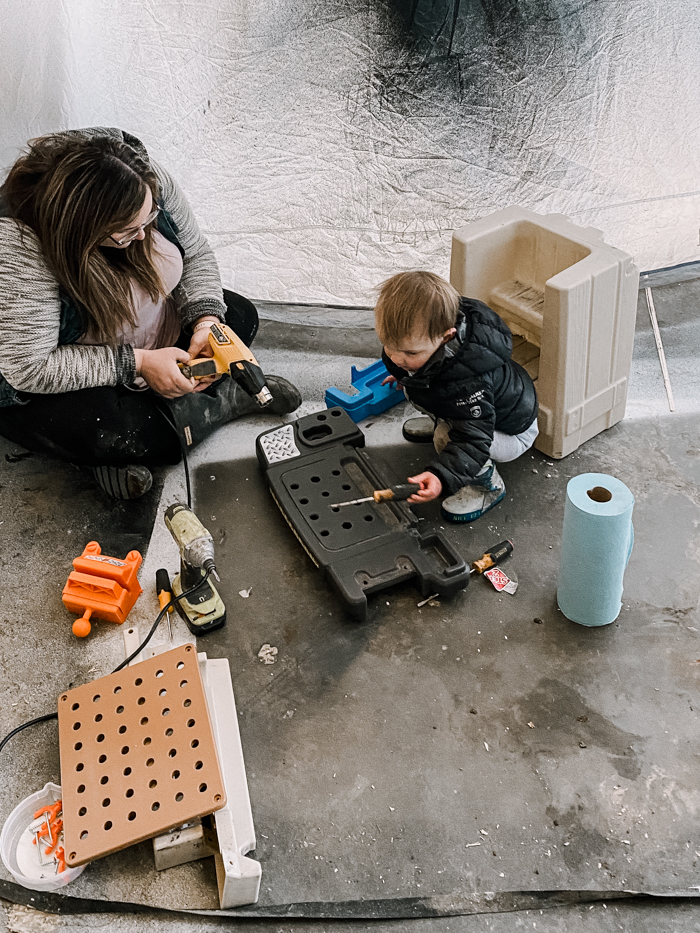
The first step to our makeover was to take everything everything apart and wash it all thoroughly, including the many cobwebs that were stuck in the cracks…. lol.
My son actually got upset with me while I was taking this apart, and was too young to understand that I was going to put it back together, lol. Don’t worry though, he will be happy at the end!
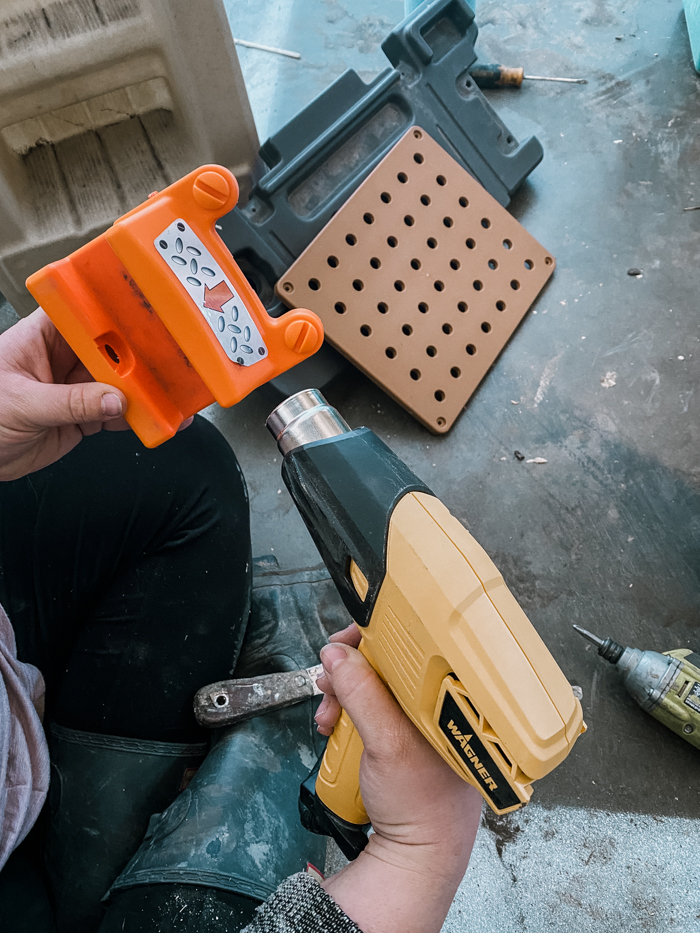
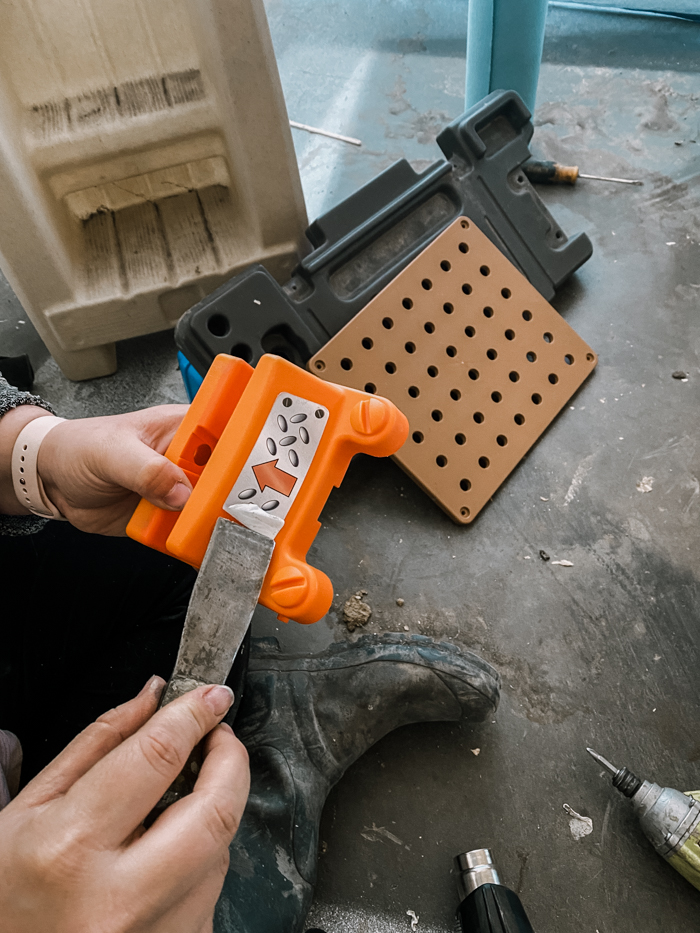
Next, we used a heat gun to take off all of the stickers. For one, they are pretty tacky… and two, I didn’t want to have to spray paint around them or anything. We’ve used this heat gun in previous projects, like our concrete planters, and we’ve always been very happy with it!
You just have to heat up the edges of the sticker to lift the adhesive, and then you can use your fingers, or a scraper to remove the rest of the sticker.
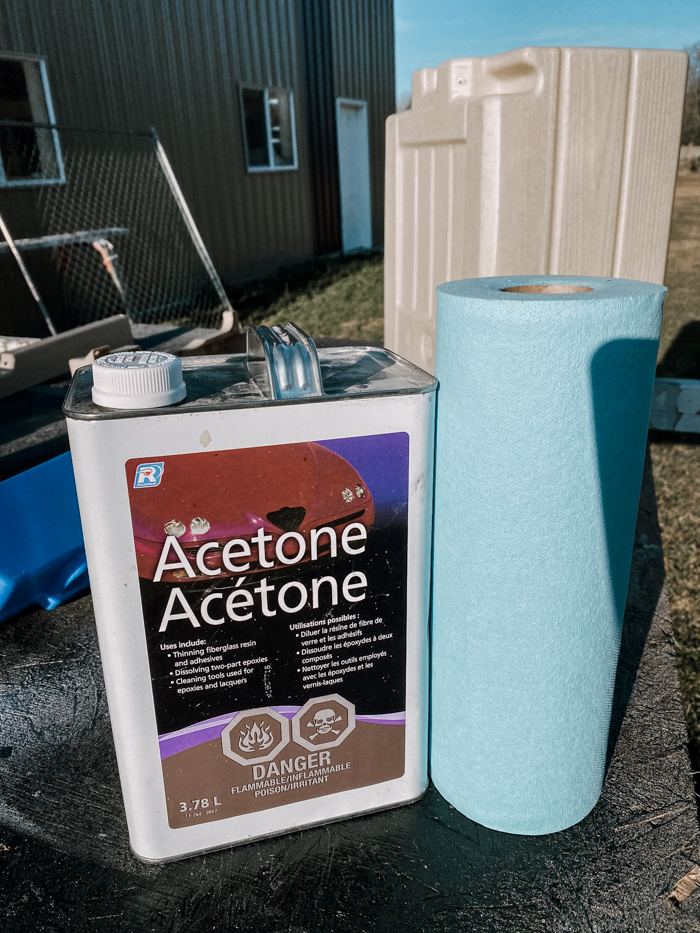
After we washed everything off, we wiped it all down with acetone to remove any grease or grime, to remove any leftover glue, and to help the spray paint adhere to it.
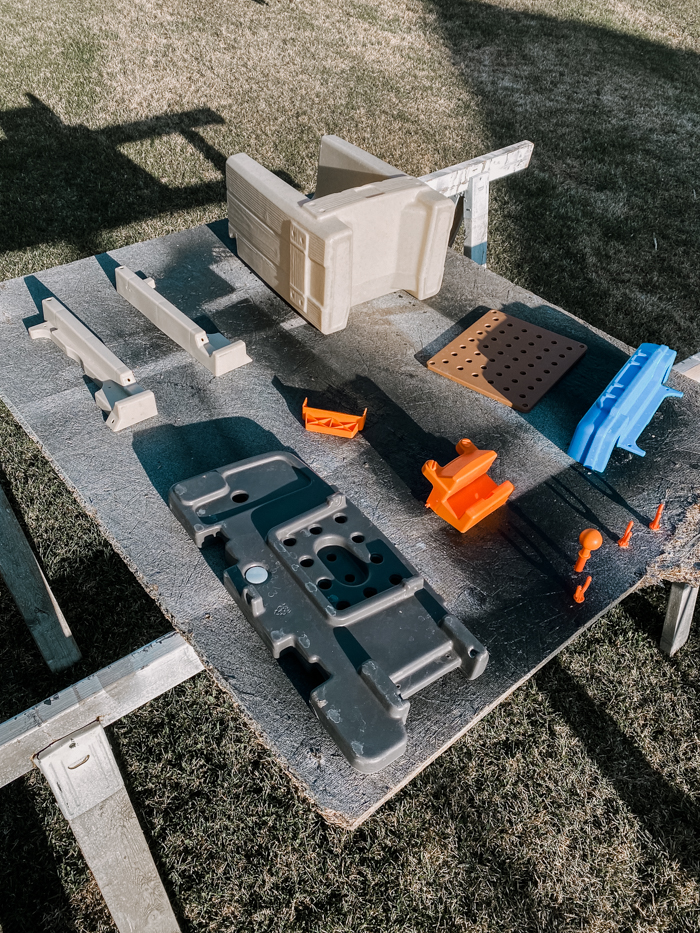
We laid out everything in the sun to dry, and then sorted into the different colour groups so that we were ready to spray paint the individual pieces.
The most important tip is to make sure that you are using s spray paint that adhere’s to plastic! The Rustoleum ones are personally my favourite. We made this tool bench for our son about 6 months ago, and the paint still looks like new!
Technically you don’t have to spray the back, or the parts that will overlap, but I would definitely recommend it if you don’t want people to know that your project is a DIY – always do it right the first time!
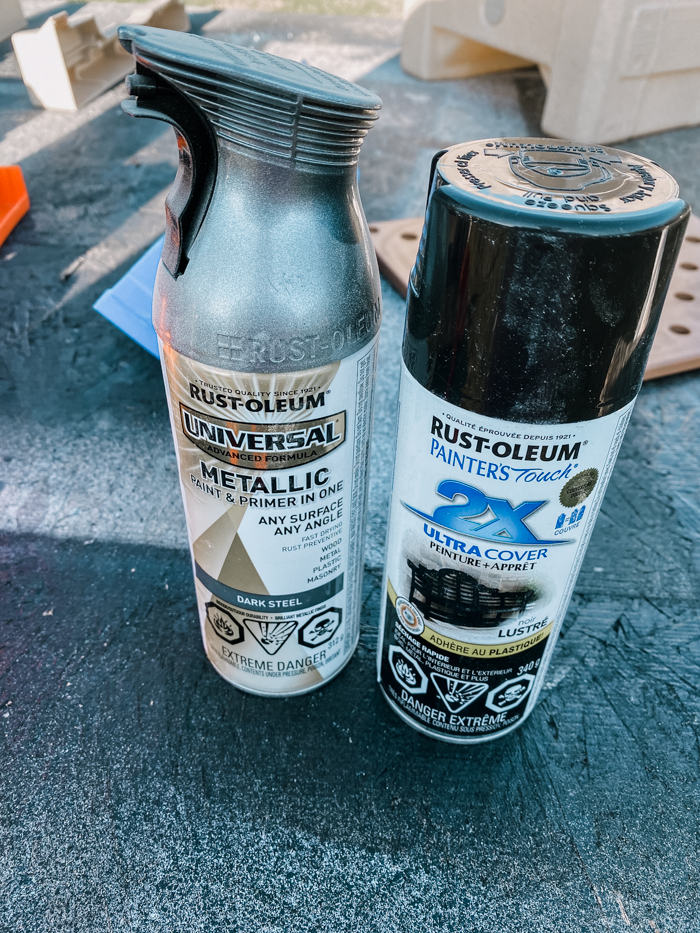
Painting the tool bench will require many coats. Make sure you do one light coat of spray paint first on all sides, and then full coats after that. It took about four coats to get a really nice finish – especially on the white pieces that needed a bit more coverage.
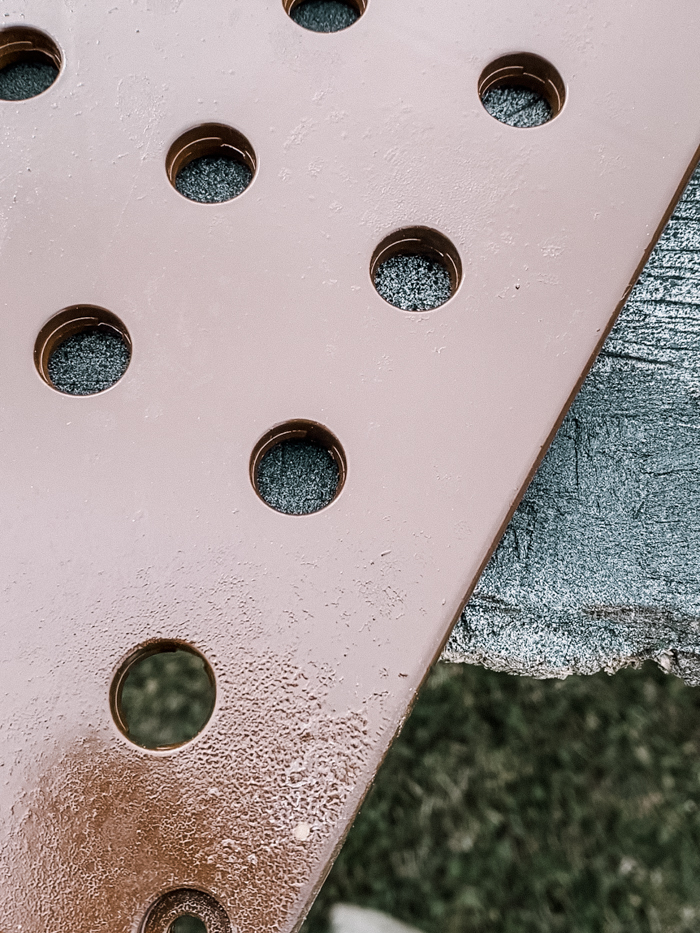
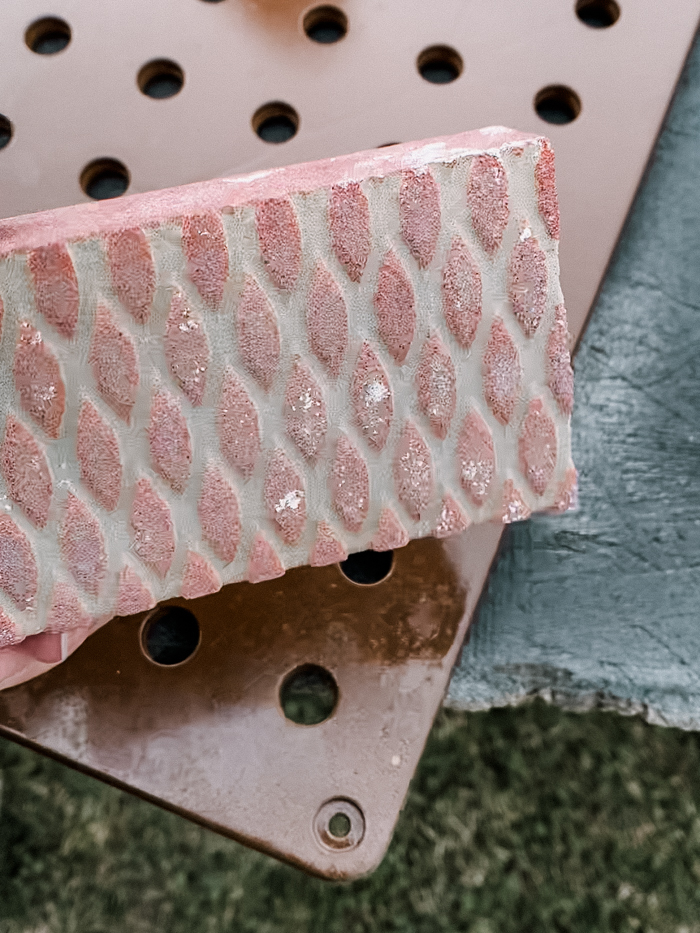
If your paint reacts to the plastic, like ours did in this first photo. All you have to do is sand down the reacting part and paint again lightly. Our next coat went on beautifully!
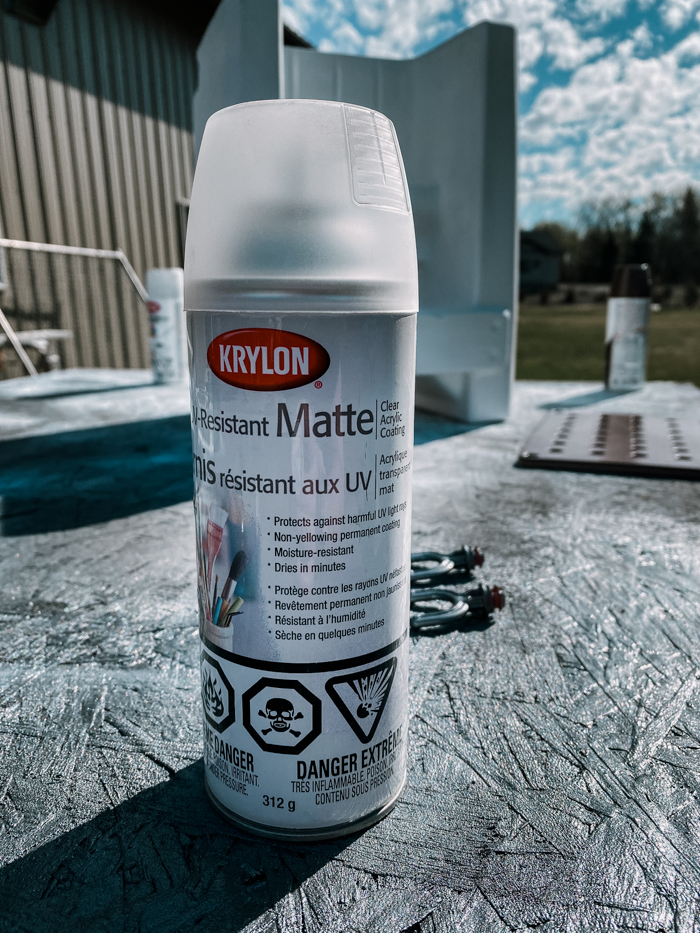
Finally, we sprayed everything with a protective clear coat. To be honest, I don’t know if this step was necessary, but it felt good to have another extra protective coat after all this work, and our tool bench still looks amazing!
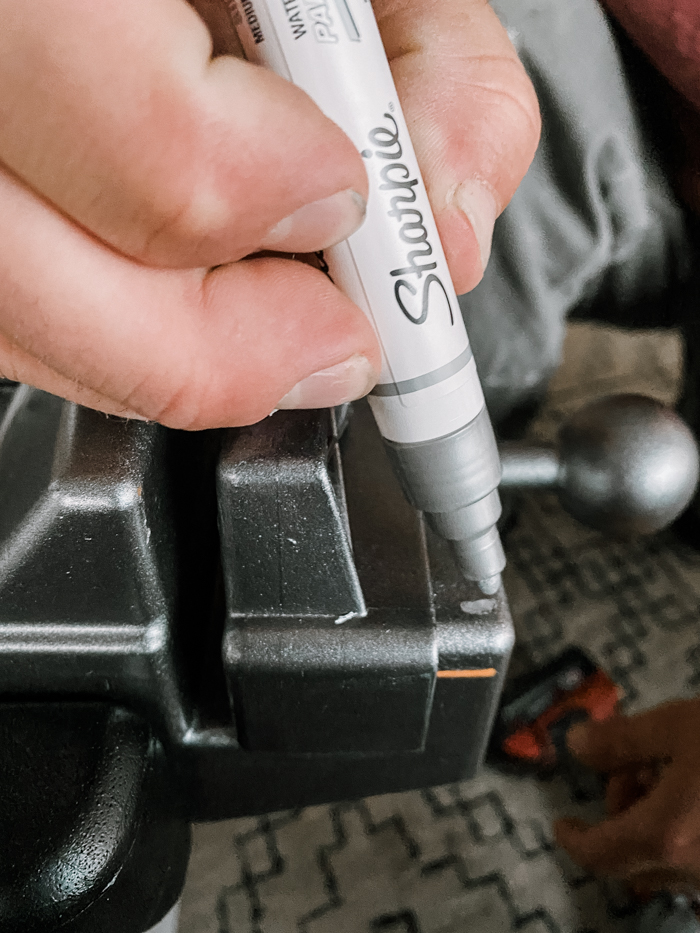
One other concern with our DIY kids tool bench makeover, is that we had some moving pieces. When we reassembled everything, the moving pieces were so tight that they still ended up scraping the paint off in the parts where the pieces slid.
Our best solution for this was to add some sharpie marks. We just used the same colour as the paint, and it can’t be scraped off, and blends in beautifully.
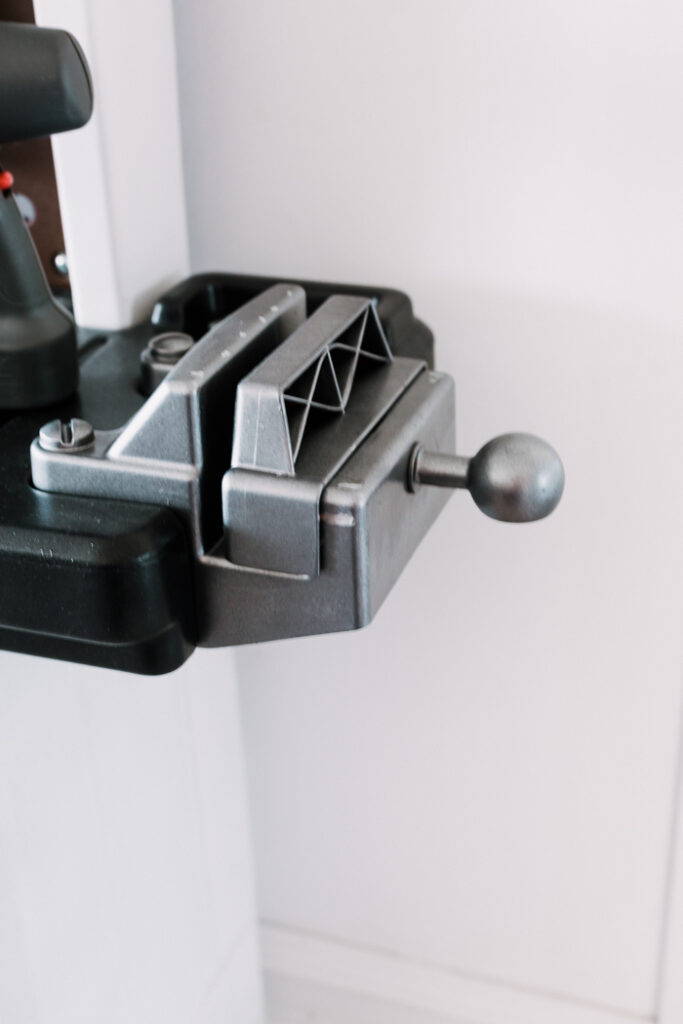
My husband may have gone a little overboard adding silver lines where he didn’t need to, lol. But it blends in and looks great.
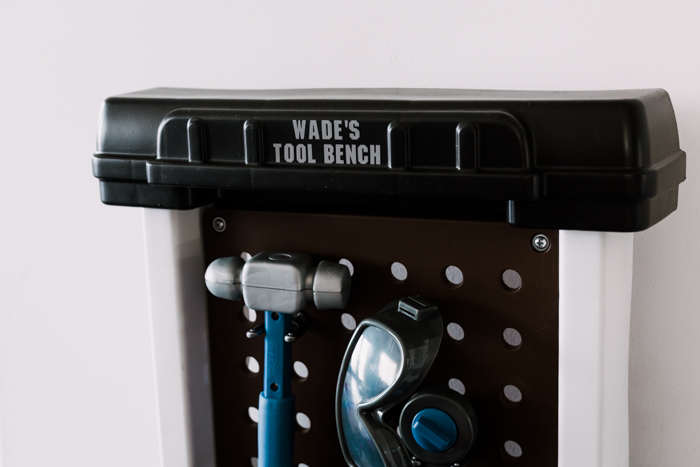
I also used my Cricut cutting machine to add a few custom labels. This step is totally optional, but you can add some vinyl words, and remove them when you’re done, or when you’re giving your tool bench to another child.
Our Finished Kids Tool Bench
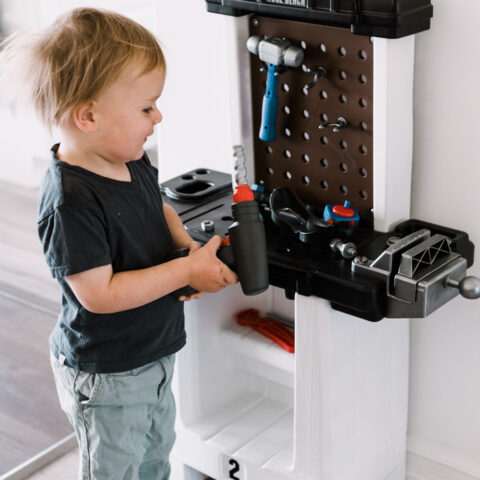
Here’s the finished DIY kids tool bench when we gave it too our son. I’m so happy with the new colours and the little tools that we added!
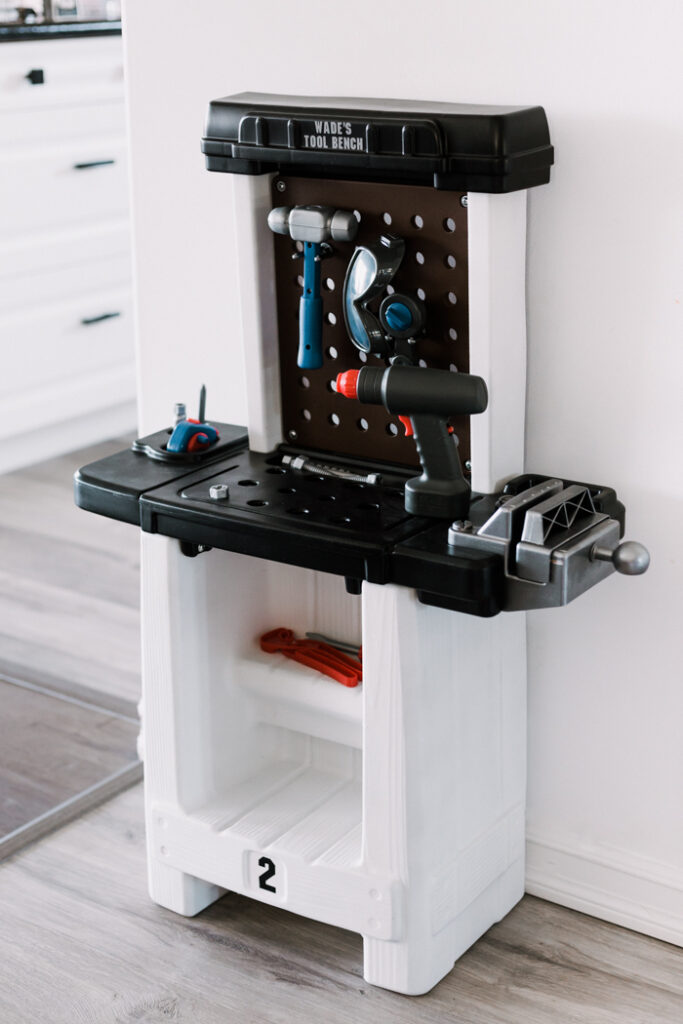
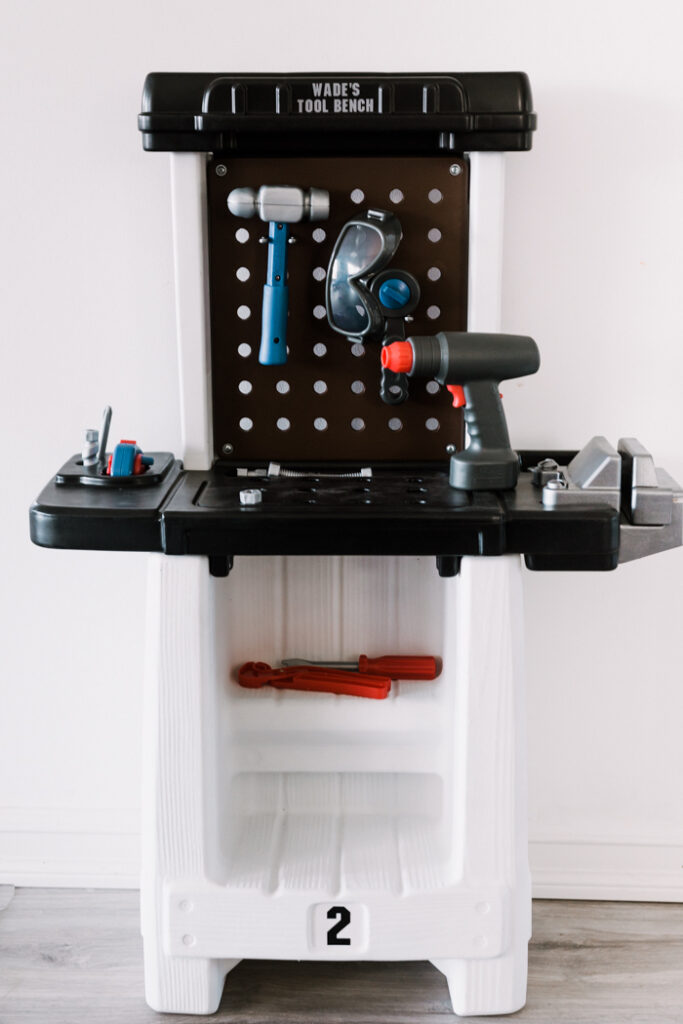
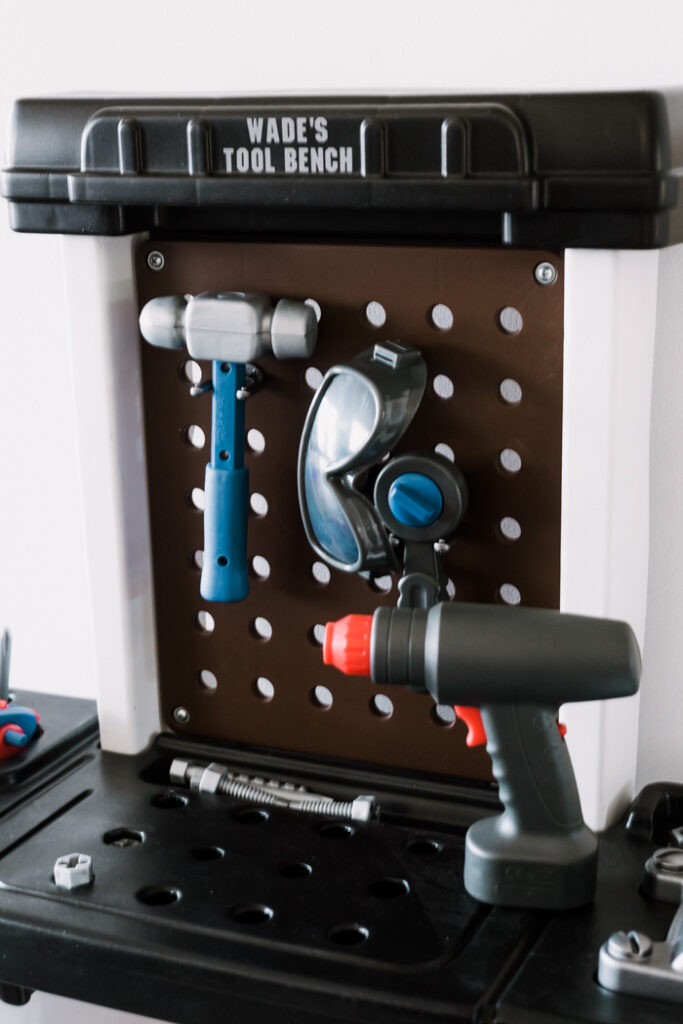
My son literally played with it all day! He still plays with it all the time. It cost us nothing to make, just some time and effort.
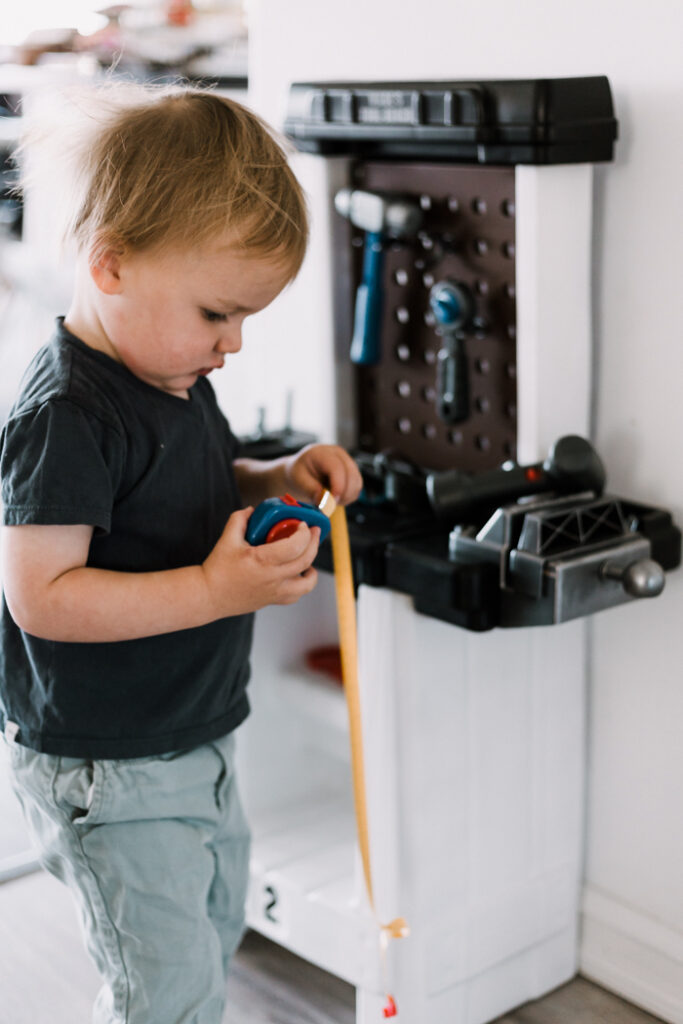
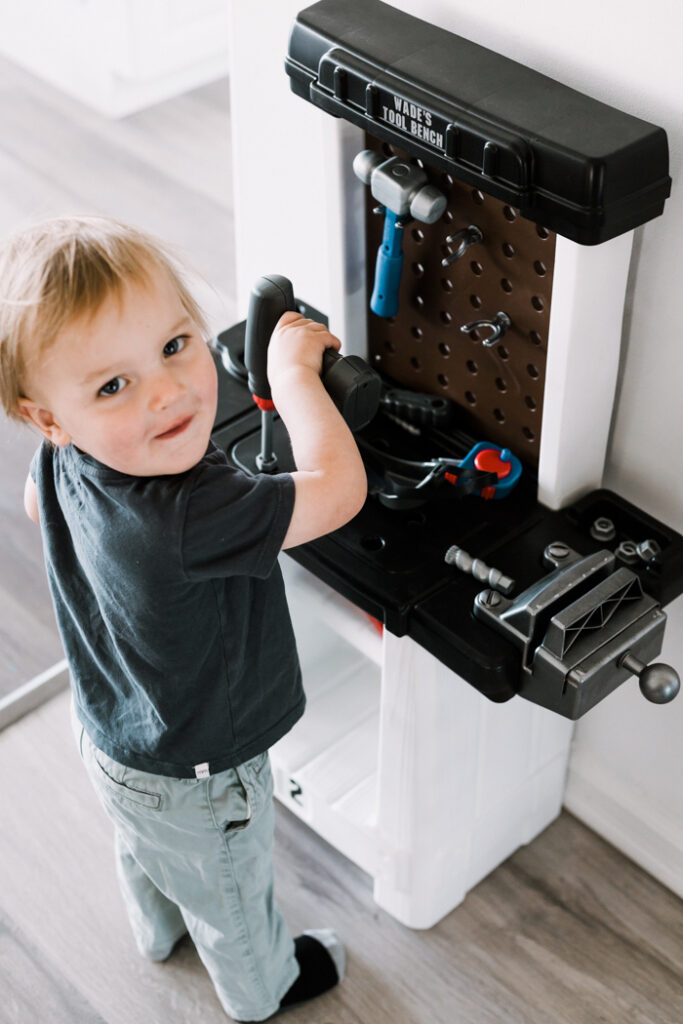
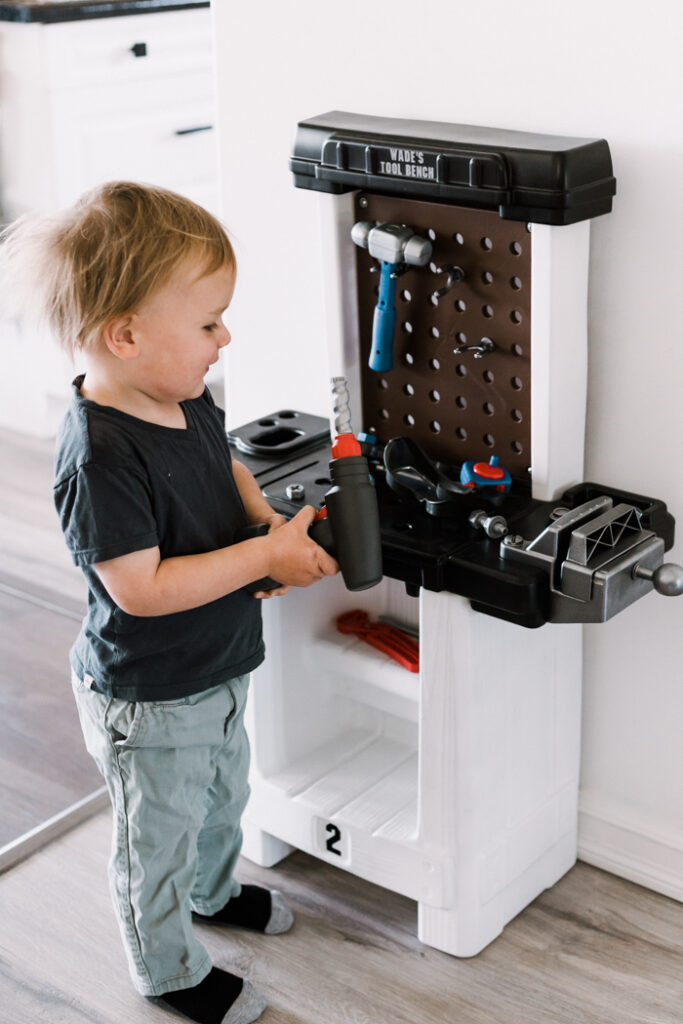
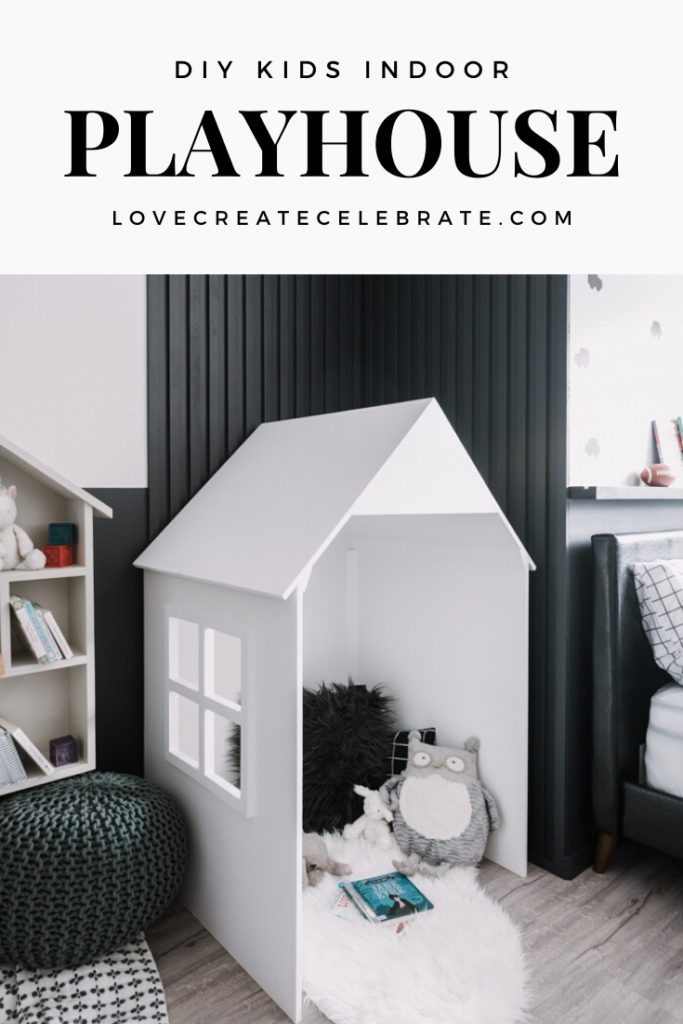
If you’re looking for another fun DIY for kids, our DIY Indoor Playhouse is another favourite at our house!
Kids Tool Bench Makeover
Make your own DIY Kids Tool Bench! Give an old tool bench a makeover with this easy tutorial and some spray paint!
Materials
- An old plastic tool bench
- Acetone
- Scraper
- Spray Paint (that adhere's to plastic!)
- Spray clear coat
- Sharpie (optional)
Tools
- Heat gun
Instructions
- Take old tool bench apart
- Wash pieces and clean off with acetone
- Use a heat gun and scraper to remove any unwanted stickers
- Use a plastic-safe spray paint to paint the individual pieces (see post for tips!)
- Re-assemble tool bench
Recommended Products
As an Amazon Associate and member of other affiliate programs, I earn from qualifying purchases.

