Want to try beautiful DIY Cane Furniture? This tutorial will show you how to prep, soak, and install cane during an easy cabinet makeover!
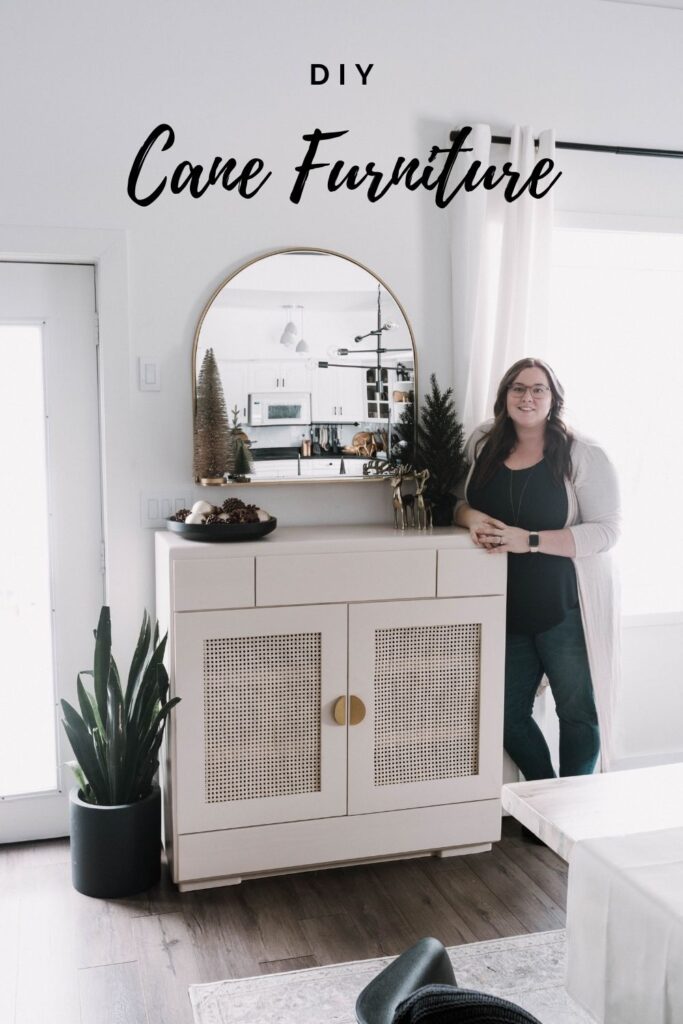
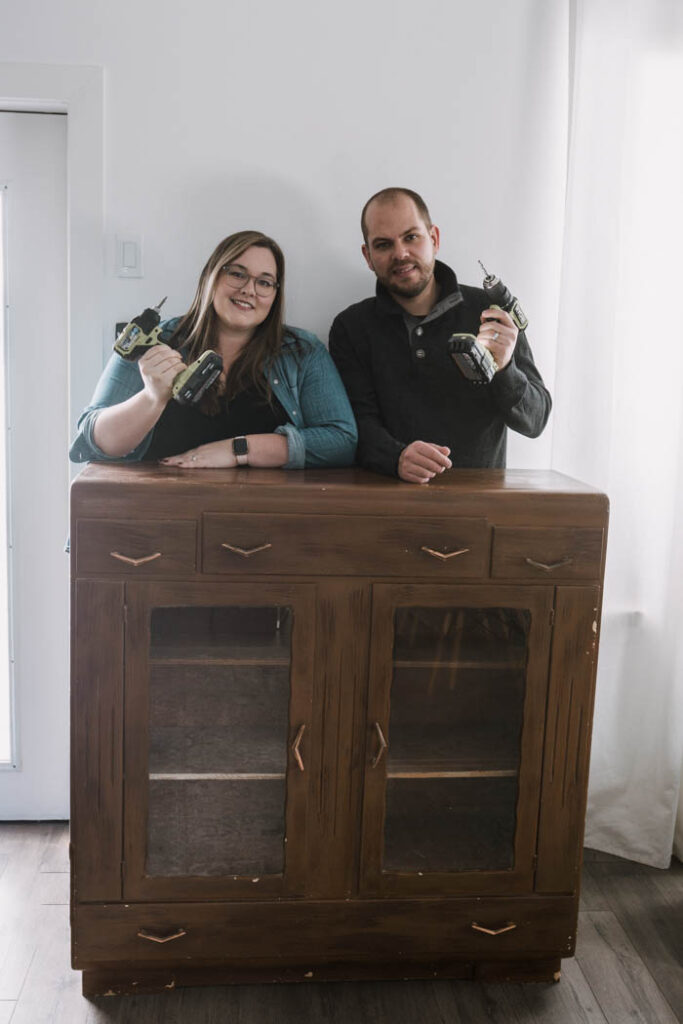
Furniture flips just may be one of my favourite DIYs to take on! If you’ve been hanging out here for a while, then you know that I love taking affordable things and making them look like expensive home decor! This time we thrifted an old cabinet and tried our hand at some DIY Cane Furniture for the first time to do this beautiful cabinet makeover.
*This post may contain affiliate links. When you buy a product through one of our links, we get a commission at no cost to you! Thank you for supporting our blog so that we can continue to bring you posts like these. For more information, please see our disclosure page.*
This project originally came from a partnership we had with Kijiji Canada on Instagram. If you’ve never heard of Kijiji, it’s a Canadian buy, sell and trade site, where people can easily post their items to sell, and search for anything they are looking to buy or trade with from other sellers.
We used Kijiji Canada to find this old cabinet and I’m so happy I searched on their site because it was the PERFECT cabinet to fill the space!
DIY Cane Furniture: Cabinet Makeover
Once we found our thrifted cabinet, there were a few details that we wanted to change. The doors and the panels beside the doors both had some intricate details on them that we didn’t love. I also didn’t love that the drawer fronts were all different heights, so we decided to tackle all of those changes before we replaced the glass doors with caning.
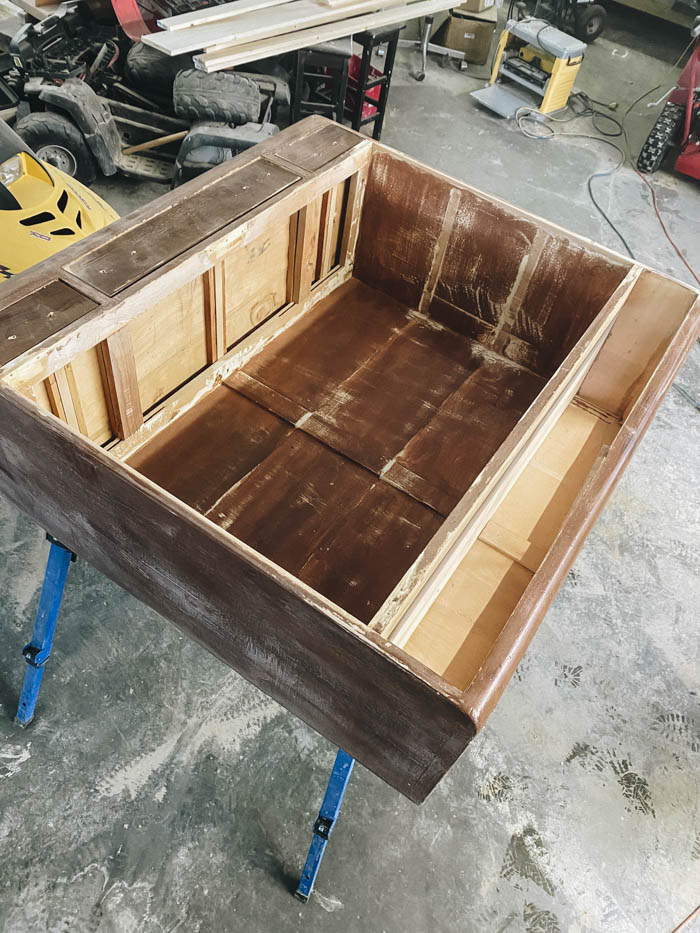
Customizing our Thrifted Cabinet
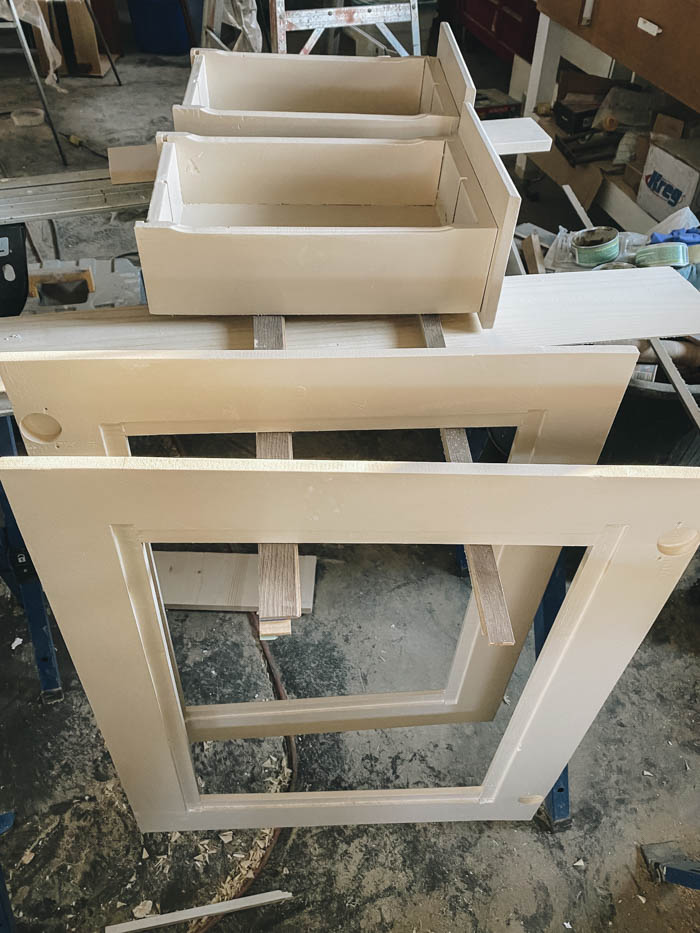
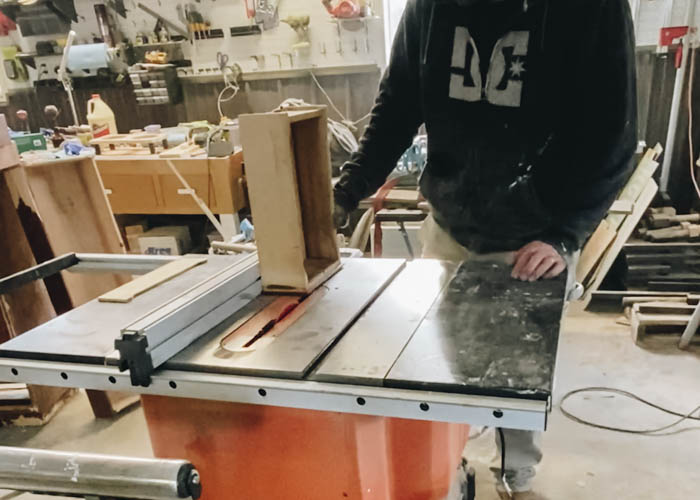
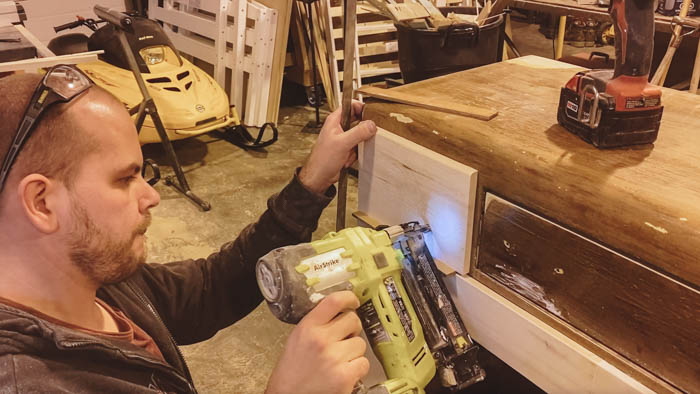
We started by removing the doors and panels that came with the cabinet. We cut the edges off the the drawer fronts using a table saw, and then they actually slid very nicely back into the cabinet, so we didn’t have to pry the whole front board off, we’re just getting ready to make new fronts. We made new fronts with 1/2″ pine board and cut them all to the same height so that they were ready to install.
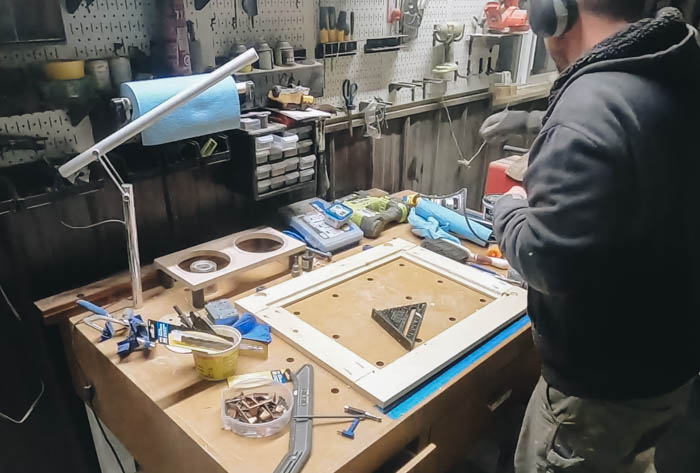
For the cabinet doors, we built them to fit across the entire front of the cabinet (without panels), and routered a groove into the inside edge to attach and hide the caning afterwards.
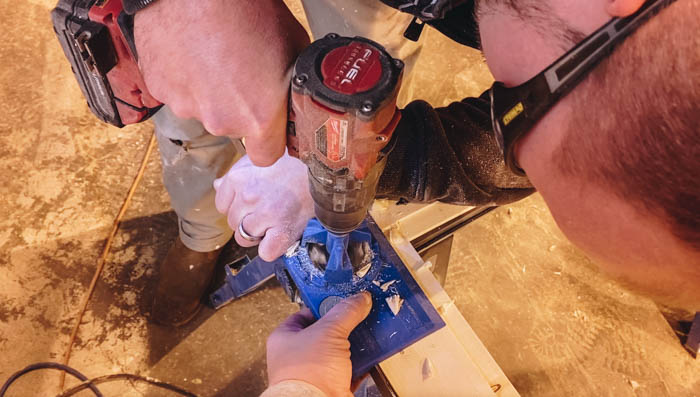
To attach the cabinets, we used hinges and the Kreg Cabinet Hinge Jig to set the proper location, etc. for the hinges.
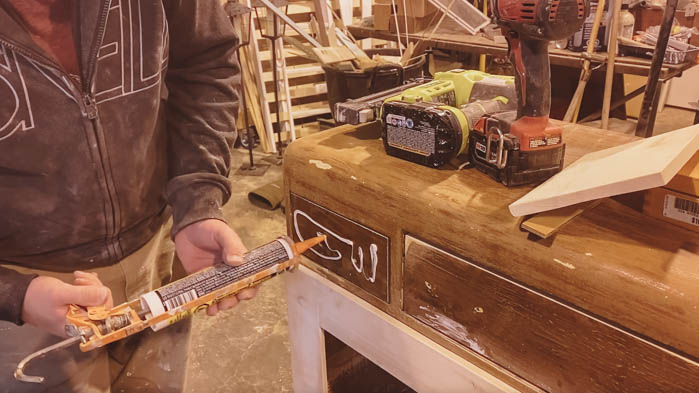
For the drawer fronts, we used construction adhesive to glue them in place (making sure to use consistent shims so they were the right distance, etc. apart), and then used a staple gun to attach them.
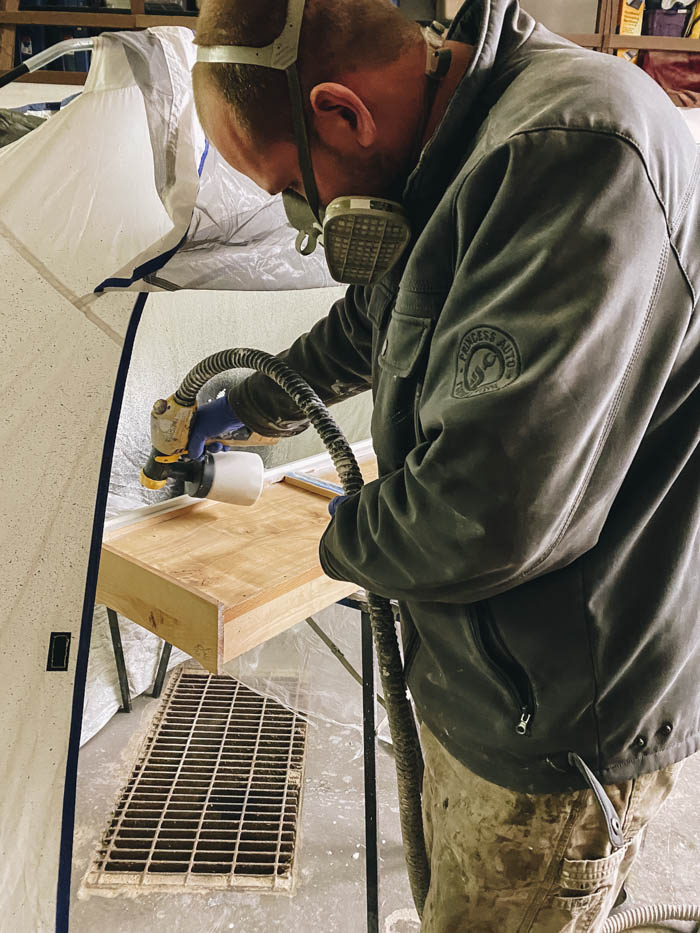
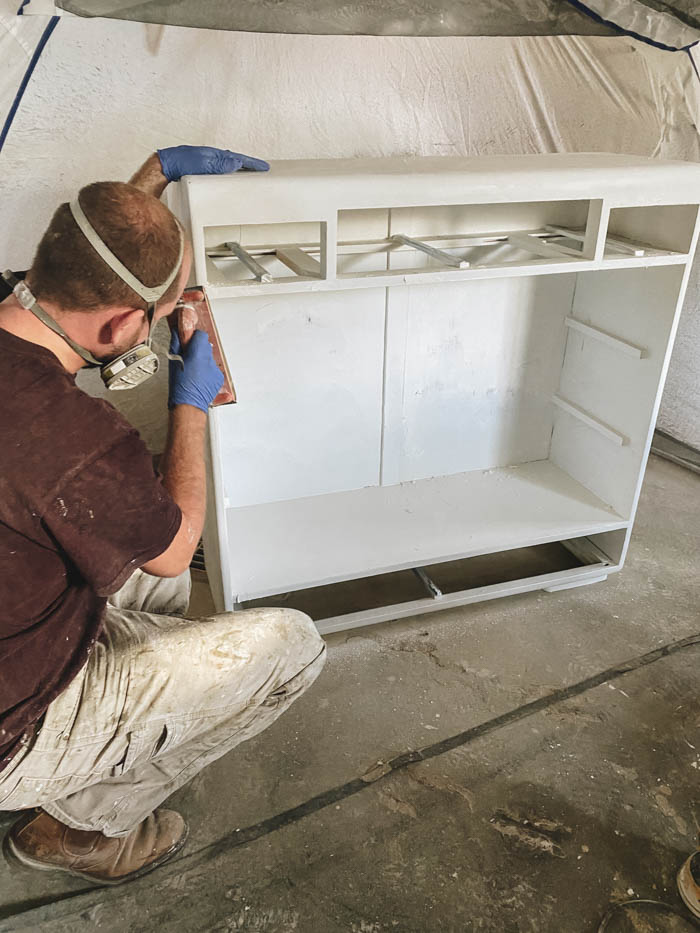
When everything was built, we used the paint sprayer to paint a coat of primer on the entire cabinet. When the primer was dry, we sanded down the entire piece, and then did a coat of paint with our paint sprayer.
The paint colour is called Desert Fortress by Valspar. I love the colour. I was a bit worried when we first opened the can because it looked very peachy, but the tone after it dried was the perfect creamy beige!
How to Add Cane to the Cabinet Doors
This was the most fun part of the entire project! I’ve seen a few cane furniture pieces around and I really wanted us to try our hand at something custom ourselves.
There were a couple of things we had to order ahead of time so that we were ready to finish off the cabinet:
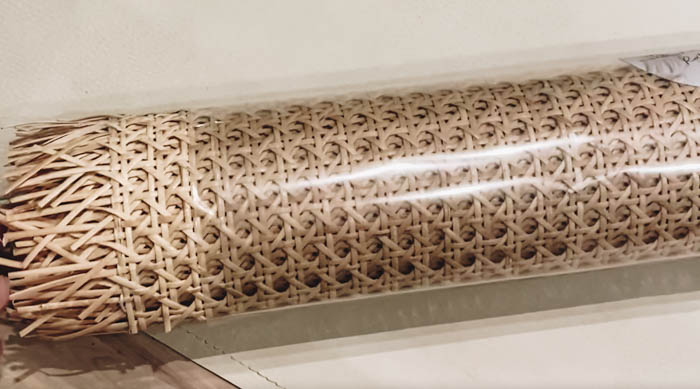
- Cane or rattan (another source)
- Basket reed
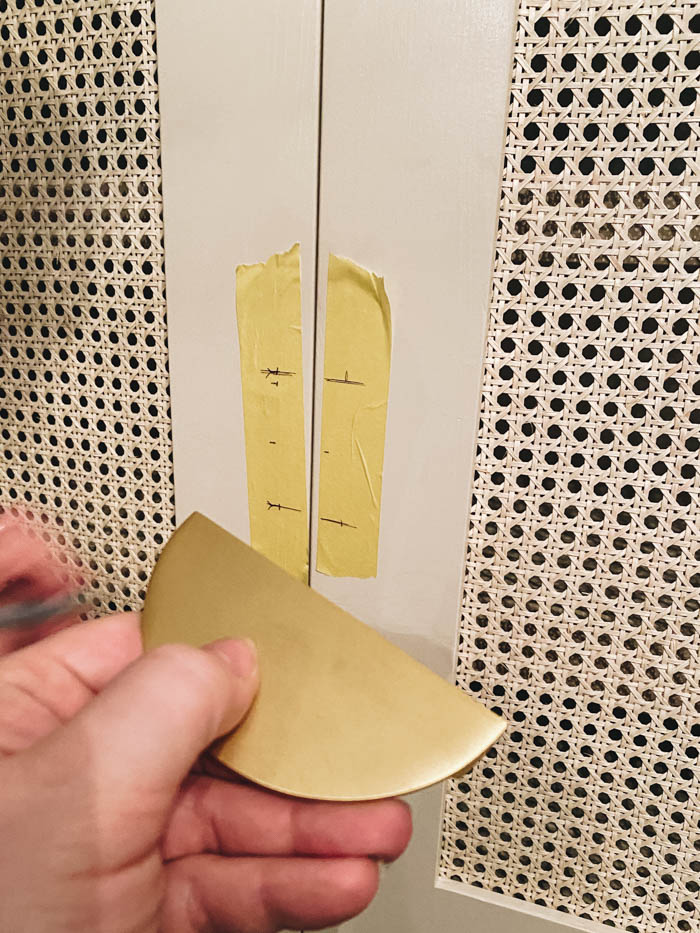
- Brass Handles
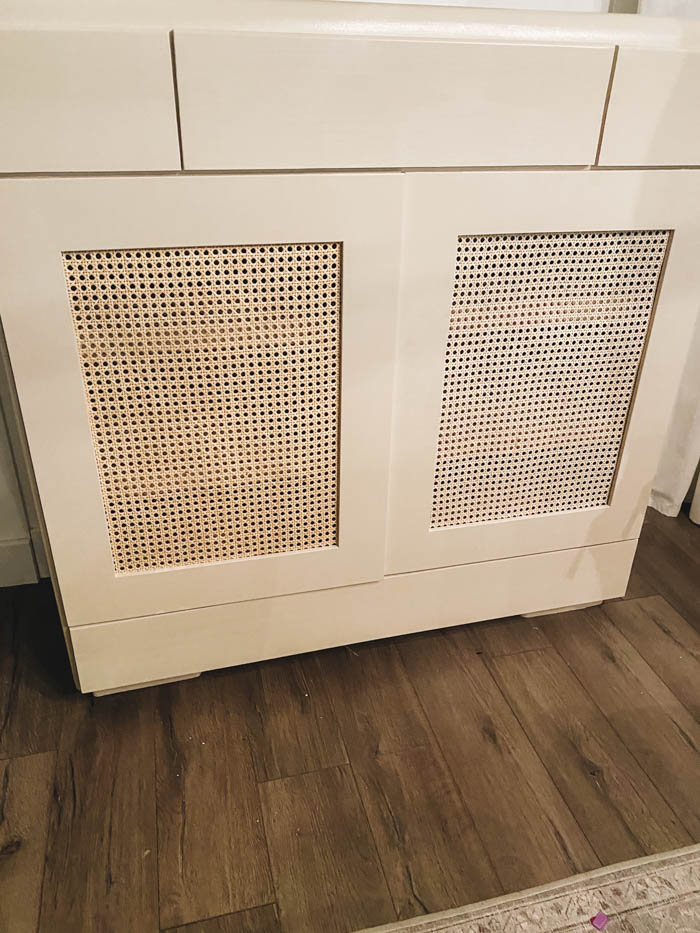
First we cut down the caning to size using a regular pair of scissors. Then we had to decide which side to use, so we temporarily attached them to doors so we could get a better look. One side is actually coated and clearly the side that is meant to face outward, but we really loved the look of the back side against our paint colour, so we chose to face the back side outward.
Only time will tell how well this holds up, but we’re hopefully that we can keep it facing this way because we love the look (although honestly, both look good!).
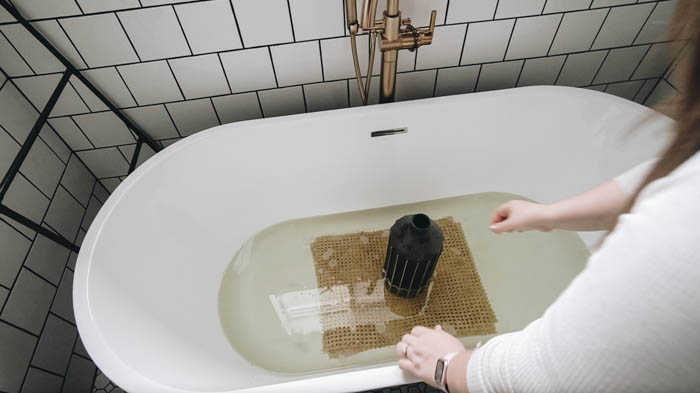
Once you have your cane panels at the proper size, you need to soak them before installing. We filled out tub with lukewarm water and let them soak for 30-45 minutes.
We actually tried installing them without soaking them first, and it resulted in loose, curvy cane panels that we weren’t happy with, so don’t skip this step! Soaking loosens the fibres, and then as it all dries, the fibres tighten again (shrink), and it sits nice and tight in your cabinet doors.
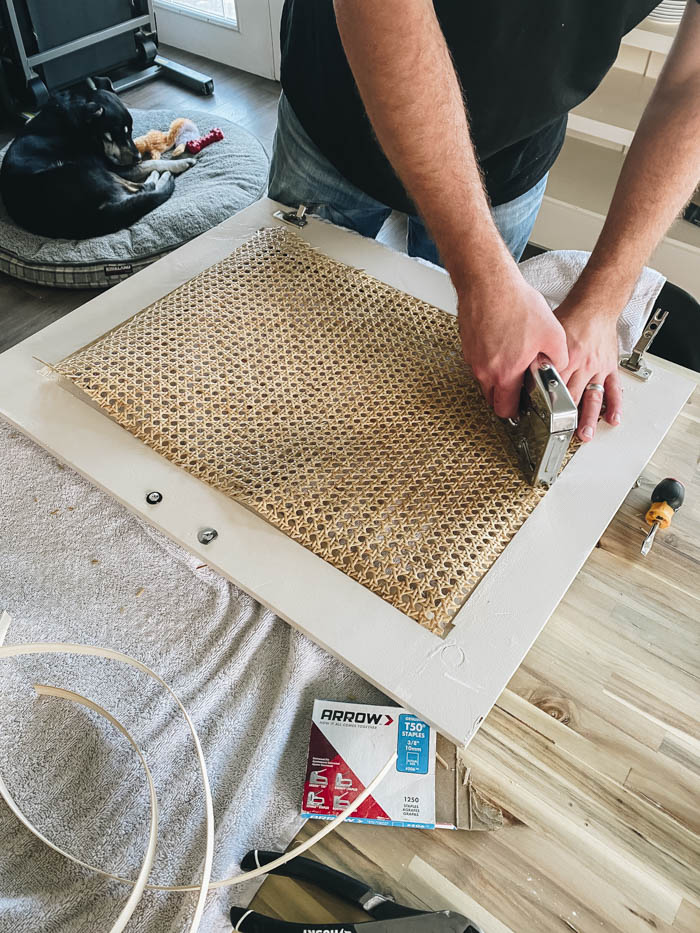
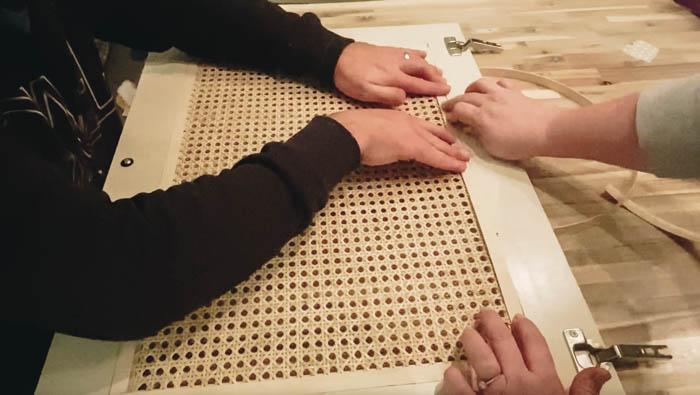
After you remove the caning, attach it to your doors with a staple gun, while it’s still wet. Don’t leave it too loose, or it could still dry loose, and don’t pull to hard or the caning can actually warp your cupboard doors as is shrinks.
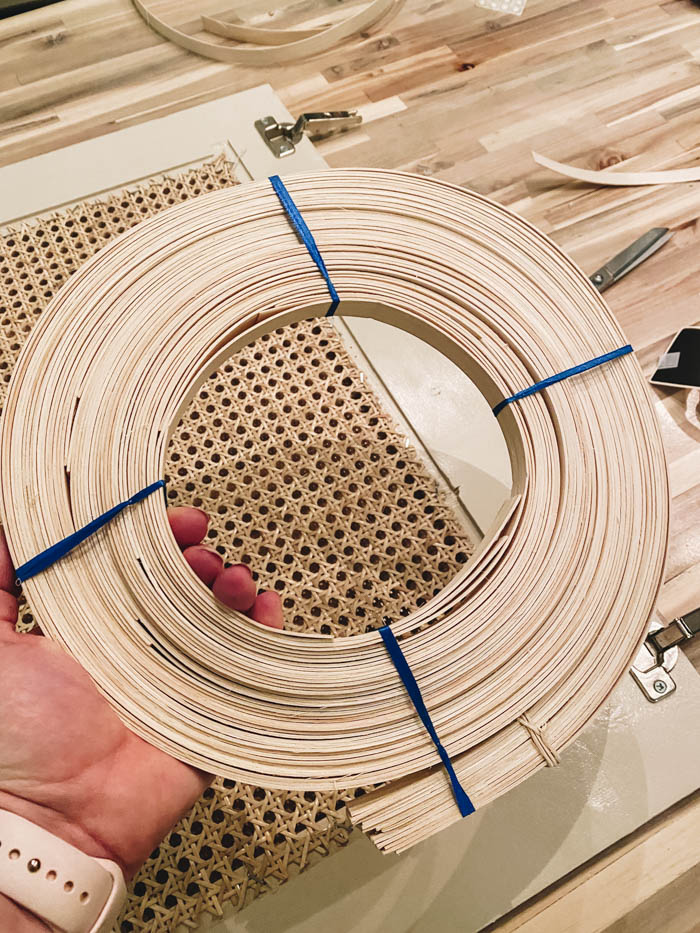
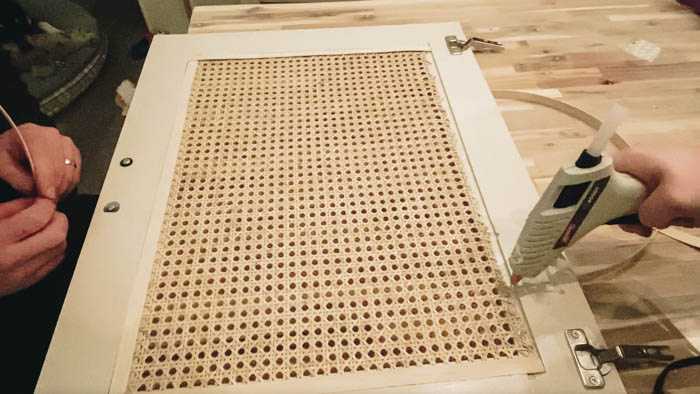
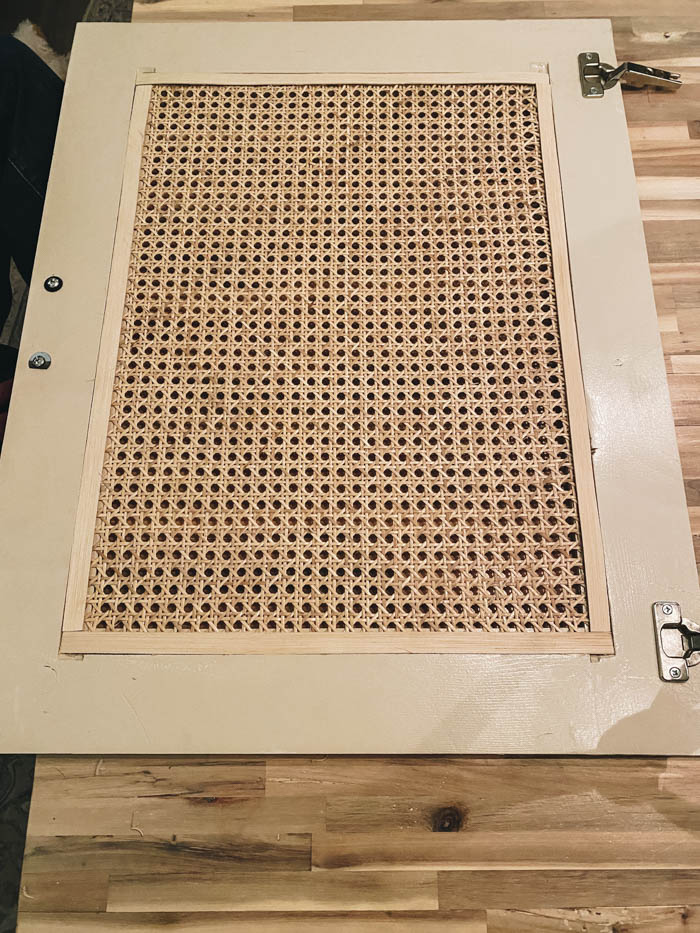
Finally, I wanted to finish off the interior so that it wasn’t just a bunch of frayed edges. To do this, I added basket reed. We cut it down to size, and then hot glued it to the edges of the inside of the cabinet, were the caning was staples onto the door.
It’s not perfect but it’s a beautiful way to finish off the look, and it’s on the inside of the cabinet, but the finish still looks more custom.
Video Tutorial of Our Caned Cabinet Makeover
If you want to see the entire process of flipping this cabinet from dated, to modern and beautiful, you can watch the video below! You’ll also see why Russel got very mad at me mid-project!
Don’t forget to Subscribe to our Channel while you’re watching!
Our Finished Cane Furniture Project
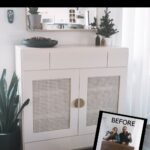
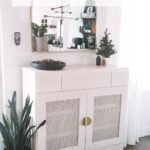
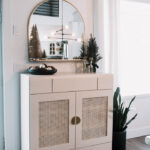
You may have already seen in the video, but here’s a few more pictures of the finished cabinet. This is EXACTLY what I envisioned for a cabinet in this space, and I honestly could not be happier with the results!
We’re using this as a “curio” type cabinet to store all of the treasures we want to keep, but don’t necessarily want everyone to see all of the time (i.e. not meant for open shelving).
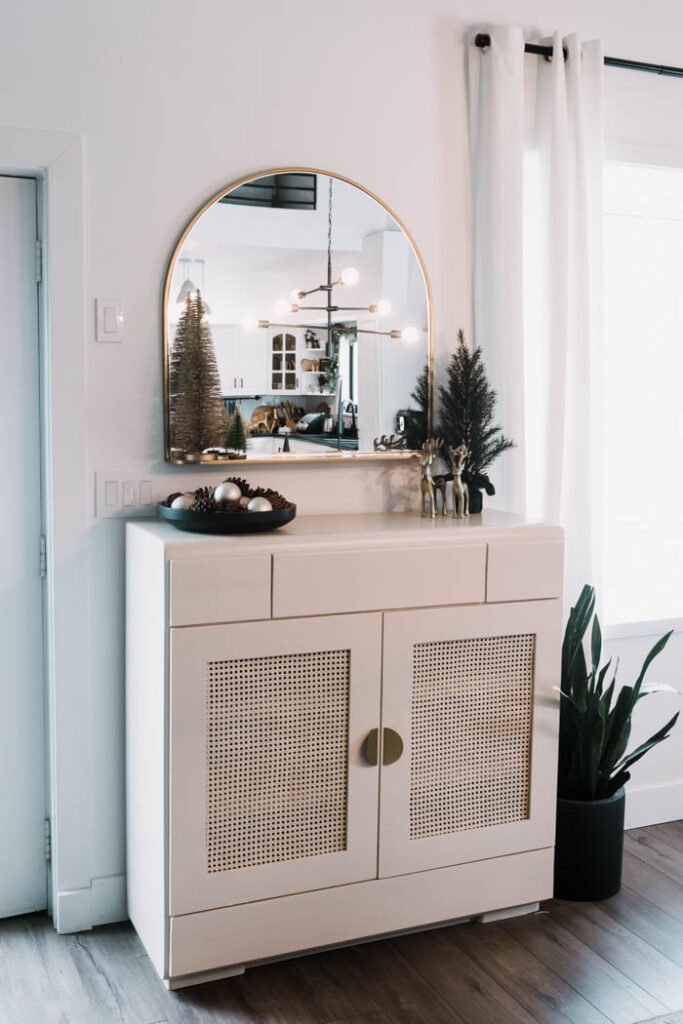
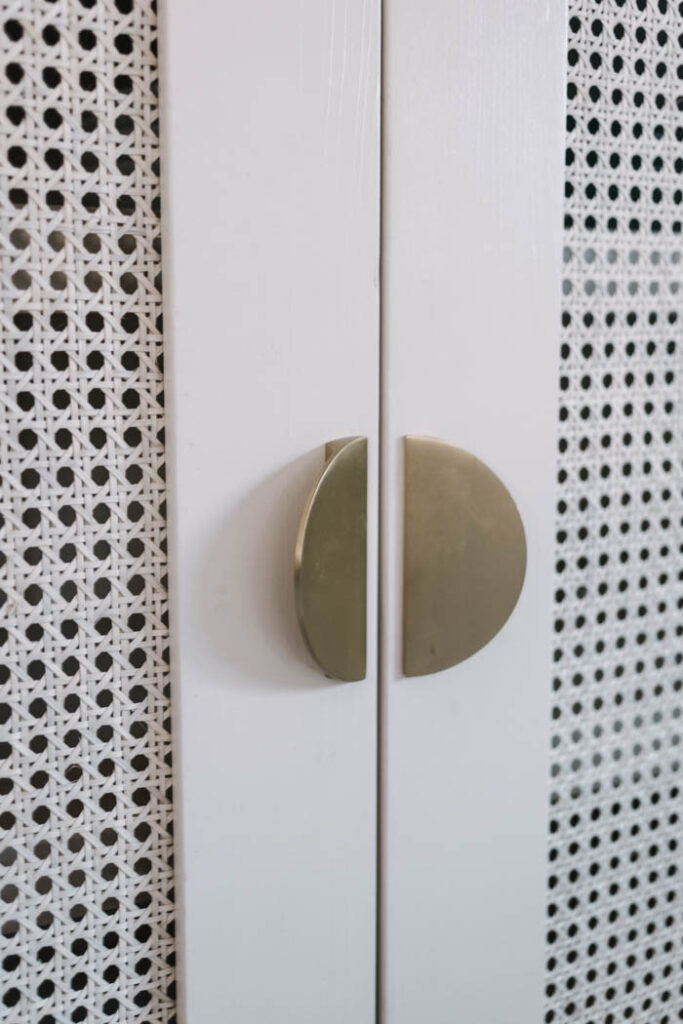
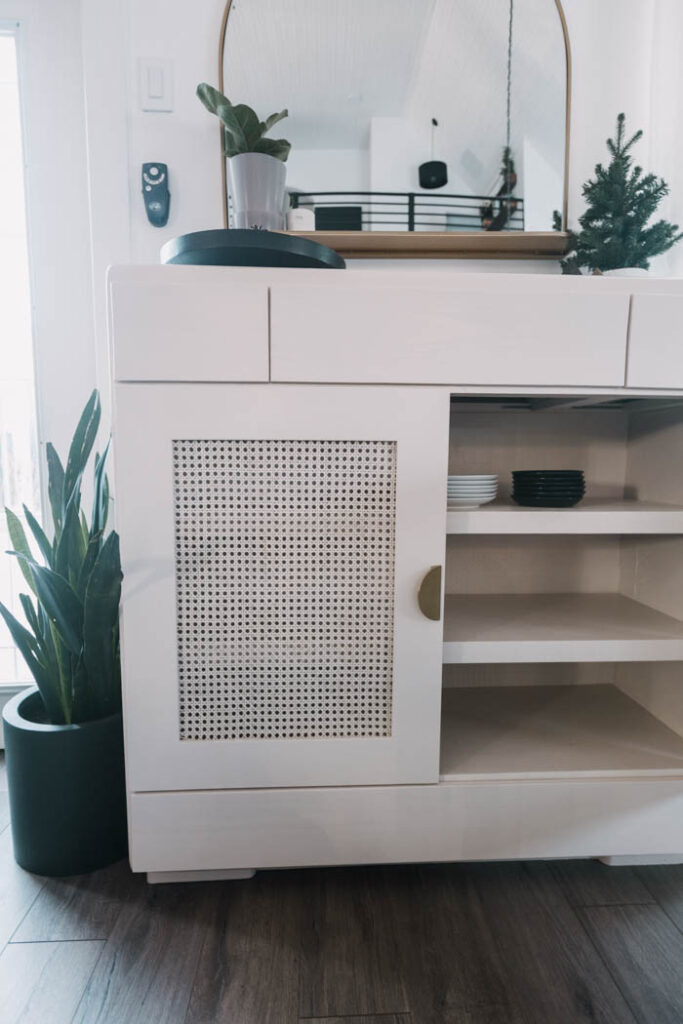
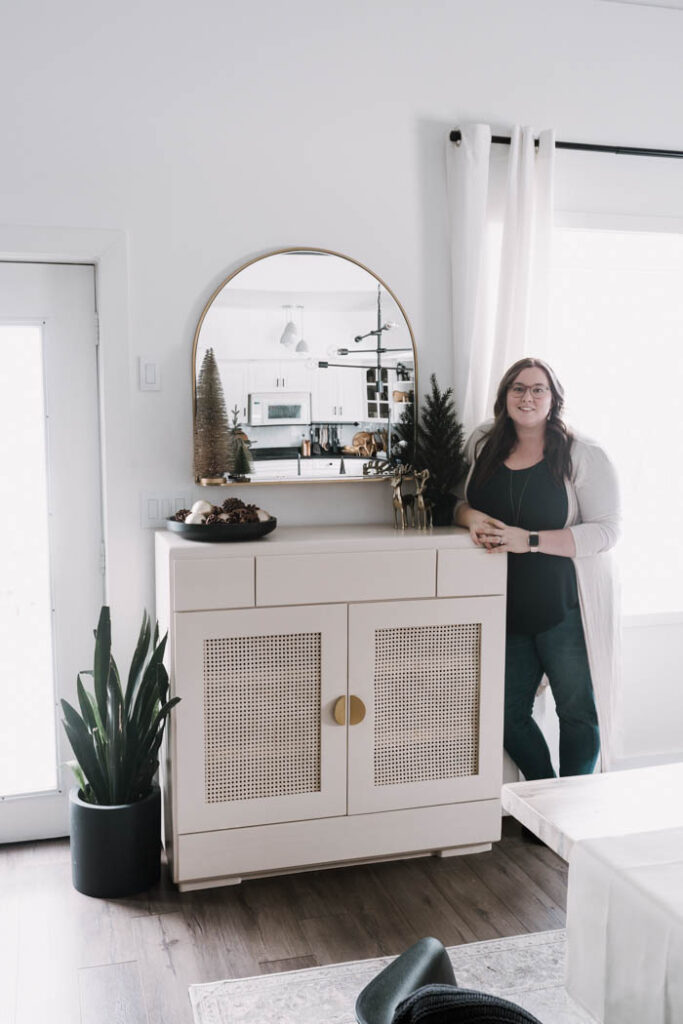
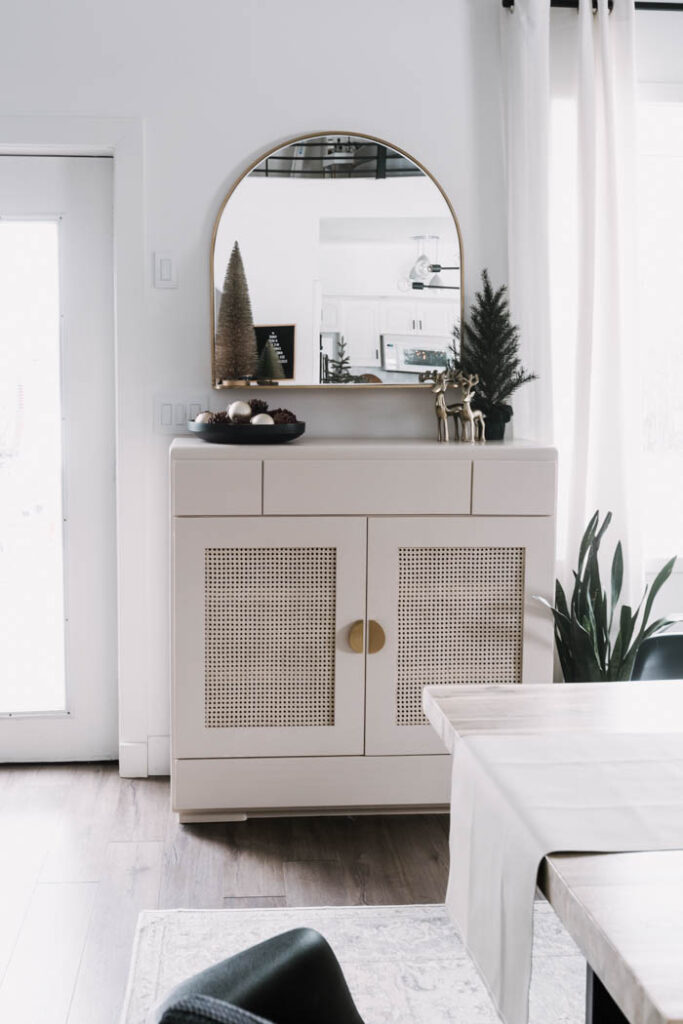
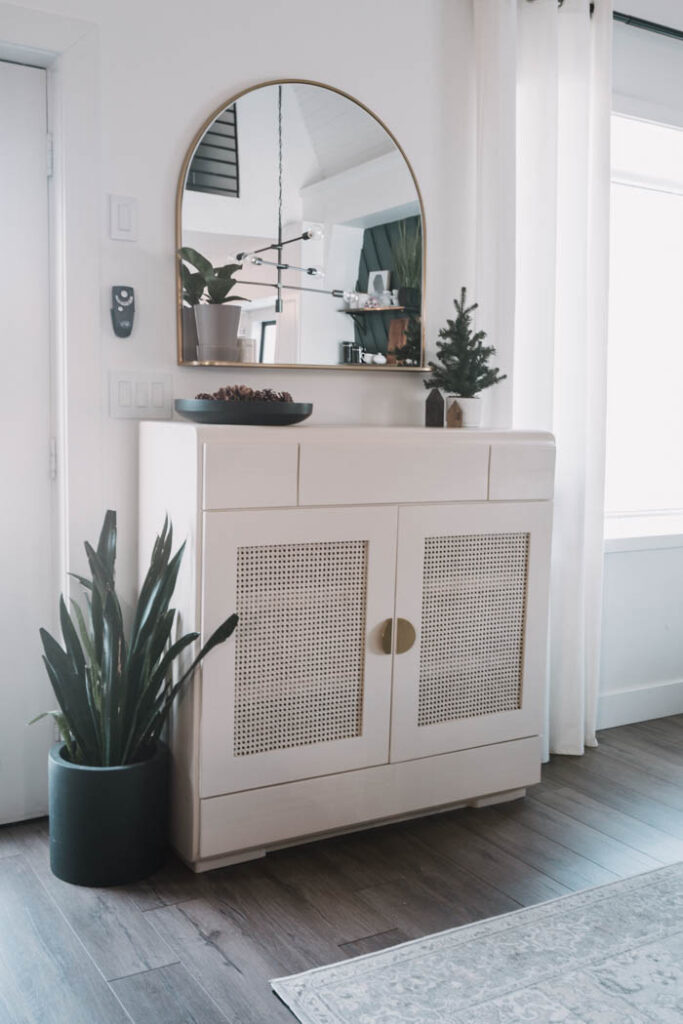
Hope you enjoyed the project! If you have any questions about doing your own DIY Cane Furniture, just ask below!
DIY Cane Furniture
Want to try beautiful DIY Cane Furniture? This tutorial will show you have to prep, soak, and install cane during an easy cabinet makeover!
Materials
- Cane or ratten
- Flat basket reed
Tools
- Scissors
- Staple Gun
- Hot Glue Gun (optional)
Instructions
- Start by using scissors to cut your caning to size for your furniture piece
- Once you have the correct size, you need to soak the caning. Soak in lukewarm water for 30-45 minutes.
- Remove cane from water and use a staple gun to adhere to the sides of the cabinet doors. Not too tight or too loose, just pull gently. Staple in the corners first, then along the edges.
- When cane dries, you can cut basket reed to go along the edges and hide the frayed edge. Use a hot glue gun to adhere the reed (or any other strong glue if desired).
Notes
To see how we transformed the entire thrifted cabinet, please see our full blog post or video tutorial
Caning can be found here: https://rstyle.me/+2XyfP-wvvu5FlCBNwpgb4g
or here: https://rstyle.me/+E3ZlTolWoivjE5l8MBfPzQ
Recommended Products
As an Amazon Associate and member of other affiliate programs, I earn from qualifying purchases.
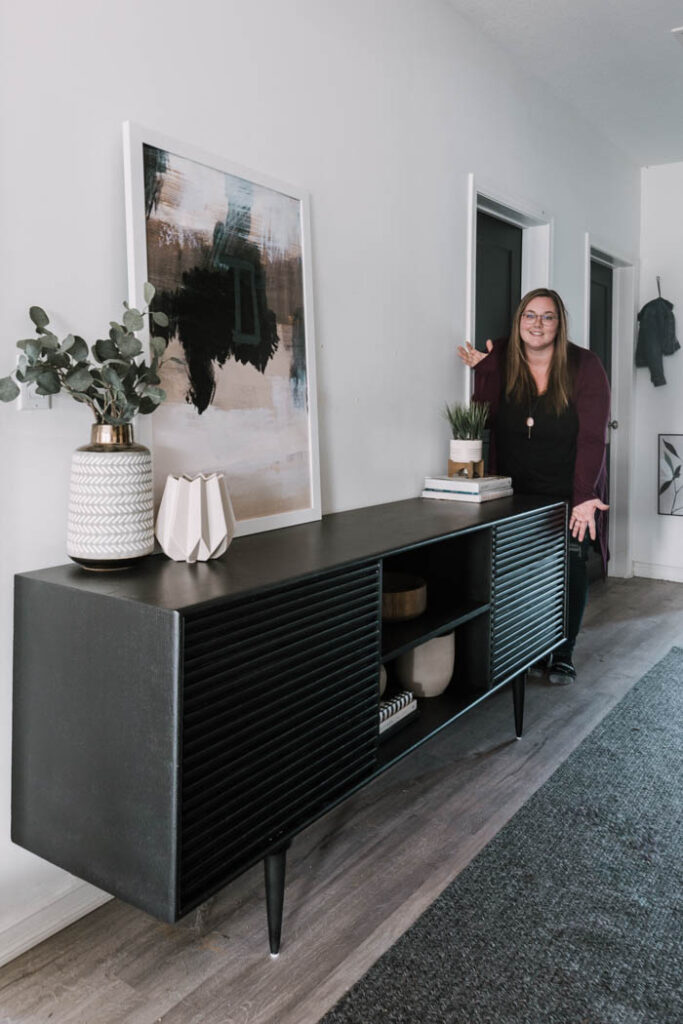
If you love furniture flips, you’ll love seeing how we transformed this sideboard!



Raneem
Thursday 2nd of September 2021
Hi. I love the look! What’s the color you used? Did you paint the rattan too? If so, did you prime it? How many coats of paint? I’m trying to redo my headboard! Thank you
Lindi
Friday 3rd of September 2021
Hey! I think it's called Desert Fortress by Valspar! We didn't paint the rattan, but we did turn it around so that the softer side was showing. Hope that helps!
Navi
Tuesday 29th of June 2021
I love this! However, when I used a staple gun, it cracked my cabinet door. Is there something else that can be used?
Lindi
Monday 5th of July 2021
Oh no! You could just use small nails and a hammer too. It's probably the pressure from the gun that cracked the wood. Good luck!