
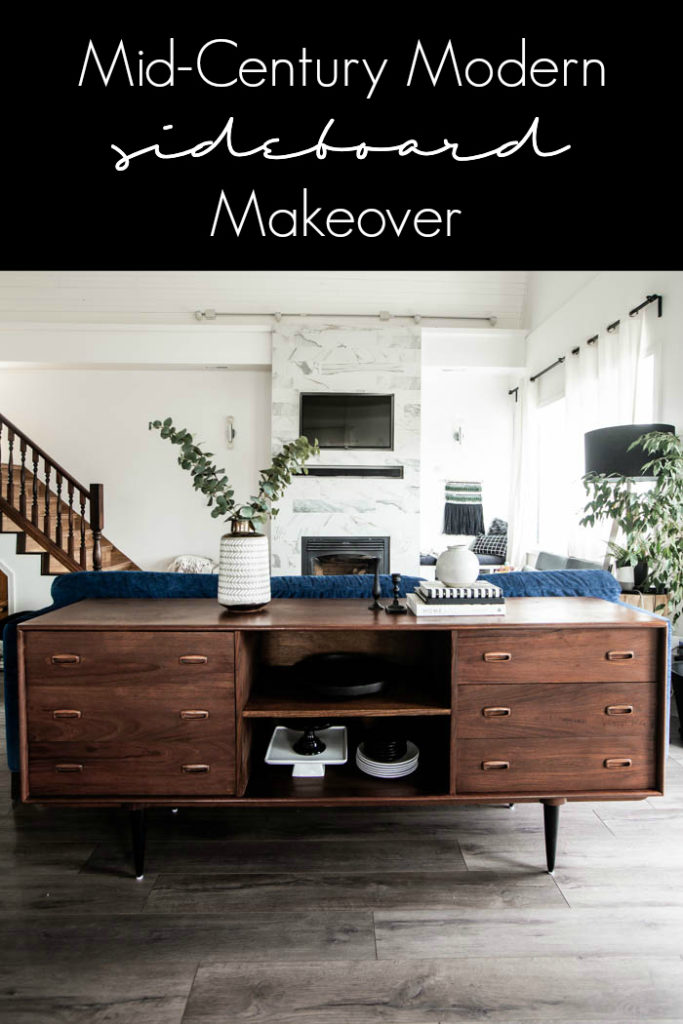
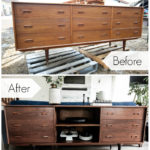
You will love this mid-century modern sideboard makeover! Learn to do your own DIY furniture makeovers with this tutorial!
Have you ever heard of people learning to do something and thought, “man, I wish I could do that!” Watching someone juggle or paint or play violin? Sorry, I can’t help you with any of those… but I CAN help you learn how to refinish furniture! I’ve had so many people say to me, “I’d love to try and fix up this table one day” or “oh, I wish I knew how to re-stain that dresser”. I always tell them, “you CAN!” but I’ve never given them the tools to learn how to do it. Today, I’m fixing that. I’m doing a Mid-Century Sideboard Makeover, and I’m sharing the entire process with you from start to finish. All of the stripping, sanding, and staining! No more excuses my friends.
*This project was sponsored by Rustoleum Canada. As always, opinions are 100% my own. For more information, please see my disclosure page.*
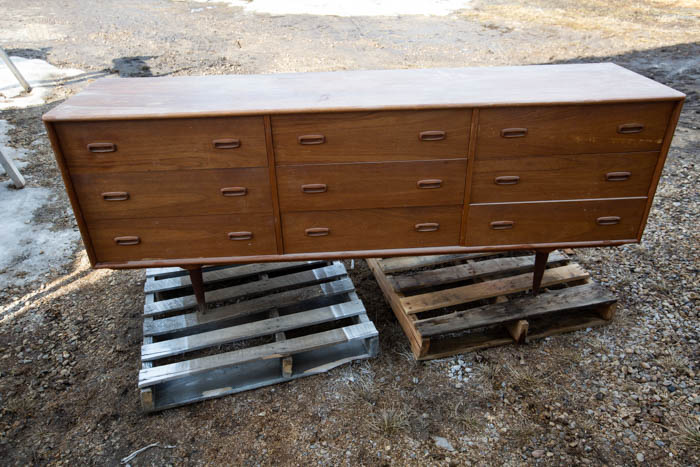
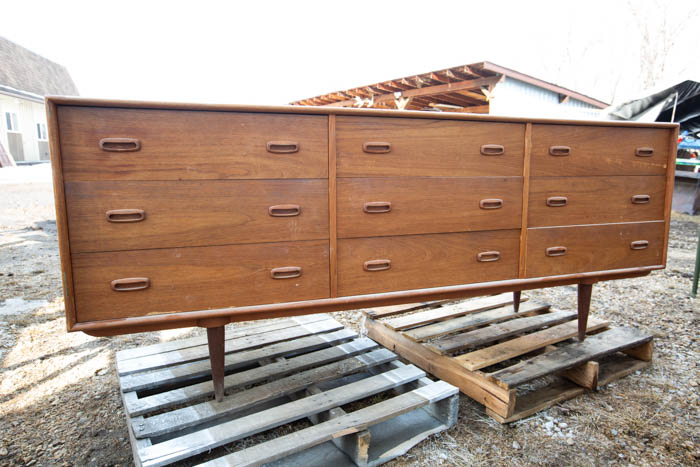
So here is the backstory on this little buffet. We actually have had it sitting in our garage for about six months. We have a local “Drop and Swap” where you can pick up old pieces or drop off old pieces. We have done both, and usually the selection isn’t all that great, but this little gem was a GREAT find. My husband sent me a picture, and by the time I had called him back to say “YES!”, he had already loaded it into his truck.
We knew right away that we were going to give this piece a makeover because there were a few nics and scratches, and we weren’t big fans of the current stain colour. We also loved the idea of removing some of the damaged drawers and adding a shelf instead. when Rustoleum Canada asked us to share a project on their page, we were more then happy to tackle this one. The entire project is featured on their page!
Here’s everything used to makeover our mid-century sideboard:
Tools:
Drill
Impact driver
Brad nailer with 2” nails
Orbital sander (or similar)
100 and 220 grit sand paper
Clamps
Gloves & mask (for paint stripper application and removal)
Eye protection
Glue
Putty knife
Roller and brushes (for stain)
Materials:
Varathane Wood Putty – Natural Pine
Piece of similar wood for addition of shelf (we had a piece of oak)
Paint Stripper
Acetone
3 Varathane Professional Clear Finish 340 g Aerosol
Varathane Stain (we used Varathane dark walnut)
Surface protectors/sliders for the bottom of legs
How we did our Mid-Century Modern Sideboard Makeover:
We shared this entire story on Instagram. You can rewatch it on the Rustoleum Canada page in the saved highlights. Because of this, all of the videos are filmed vertically, but it will still give you great idea of how to strip and refinish furniture!
Here is the entire process written out step-by-step:
- If you are removing drawers to create a shelf, the first step is to take out the drawers and remove the drawer rails. Since our rails were wooden, we just used a putty knife and chisel to pry them off.
- Use paint stripper to loosen any varnish. Apply paint stripper generously and wait according to the instructions on the product.
- Scrap varnish with a putty knife when ready. Use an SOS pad to rub off any additional varnish.
- Sand to remove any stain and varnish. If your piece just has a wood veneer like ours did, sand lightly so that you don’t remove the entire veneer. After using the paint stripper, the old stain and varnish should come off easily and not require very much sanding.
- If you are staining your furniture legs, remember to complete these steps on the wooden legs as well. If you are spray painting the legs wipe them down with Acetone to remove and grease or oils, and then use Rustoleum Spray paint to finish them.
- Once the piece is sanded, you can putty any scratches or marks. If you removed rails earlier, you must putty any marks from the removal as well. To do this, mix Varathane wood filler (we used Natural), with a little bit of water, and wood from the back of your sander (this will be wood that you just sanded off of your piece, so it will help create a perfect match for colour and stain after).
- Cut wood for your new shelf. If at all possible, try to find a piece that matches the wood on your sideboard. Measure your opening and use your saw to cut it to size.
- Attach the shelf using brad nails and wood glue.
- Before you stain, use Varathane’s wood conditioner on your sideboard to help it absorb the stain easily and evenly.
- Stain your piece with your wood stain of choice. We used Rustoleum’s Dark Walnut for our piece. Let it sit according to the directions on the can. Add as many coats as you like until you get the desired darkness.
- Use Varathane clear finish to varnish your piece.
You can follow these basic steps for any furniture makeover. If you have the right tools available, it’s easy for anyone to learn how to refinish furniture.
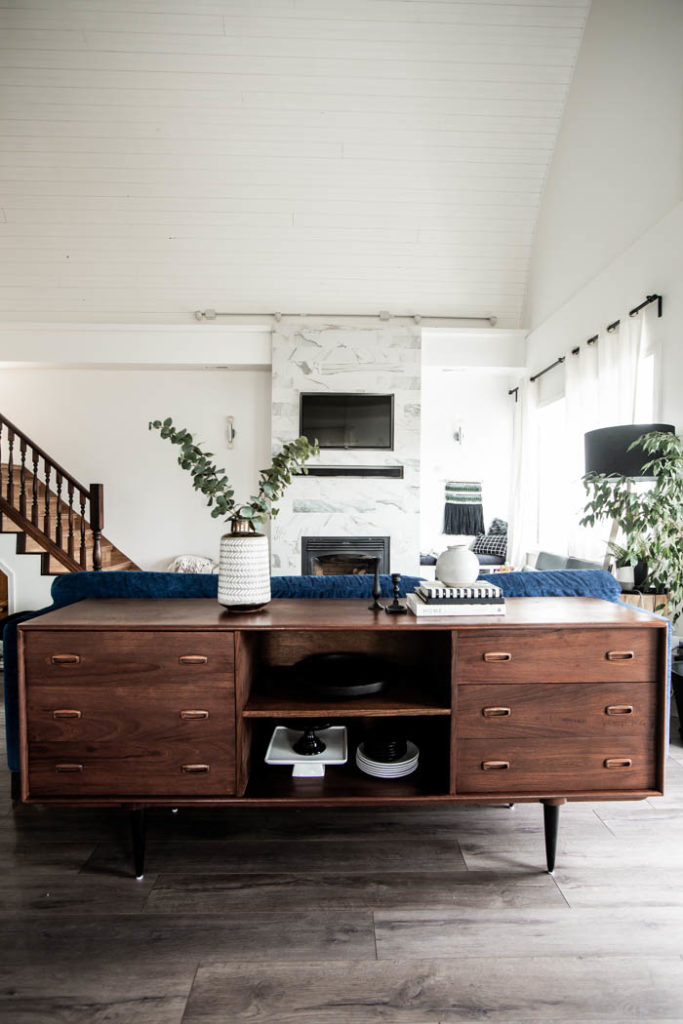
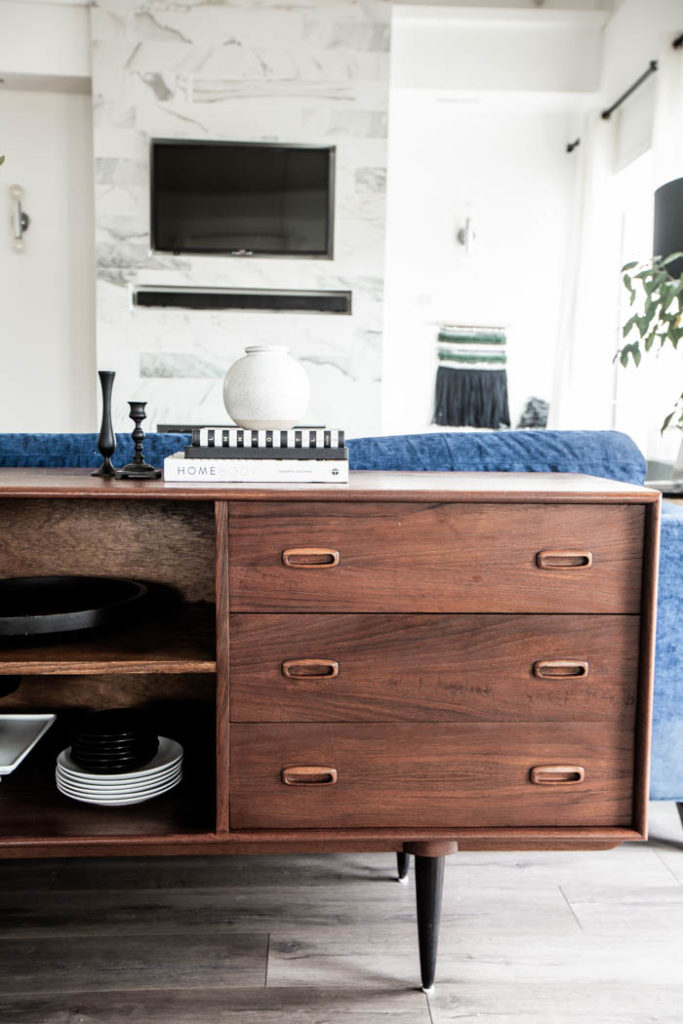
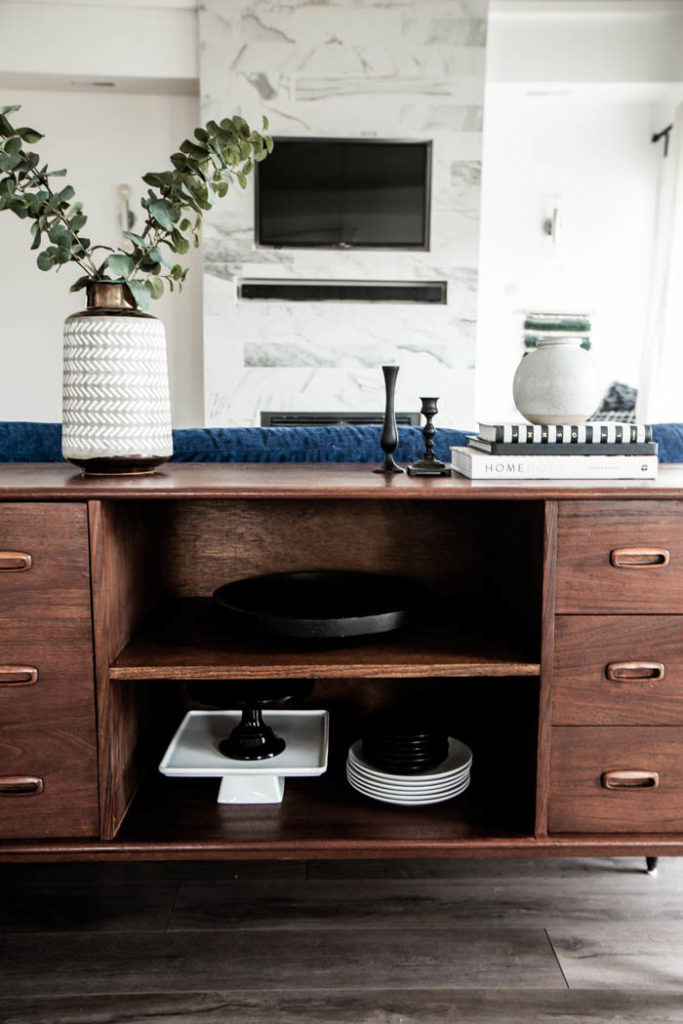
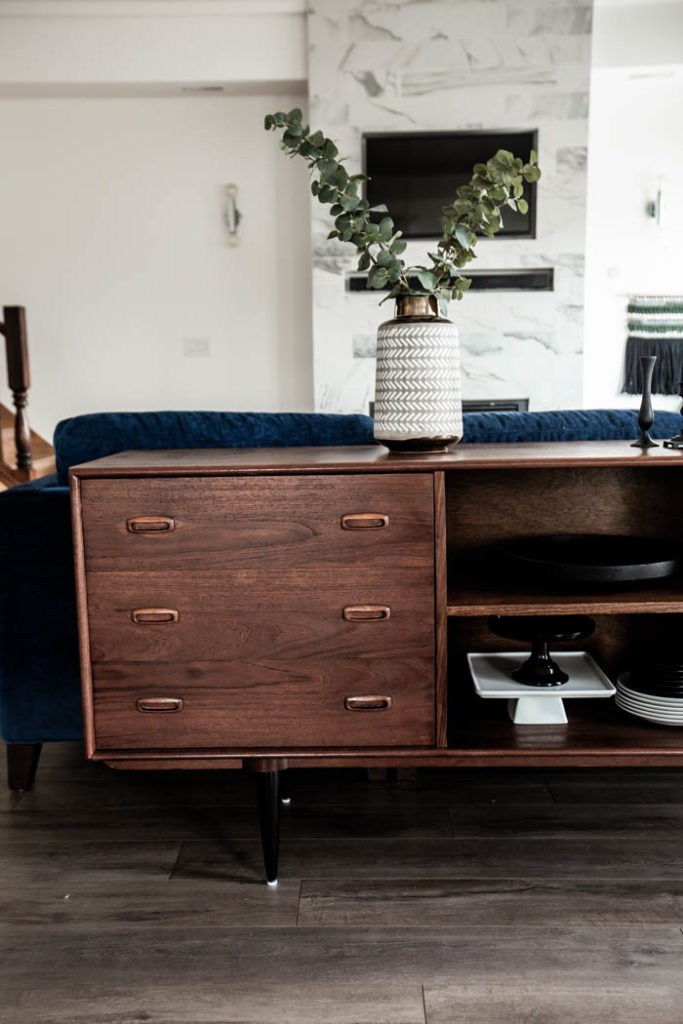
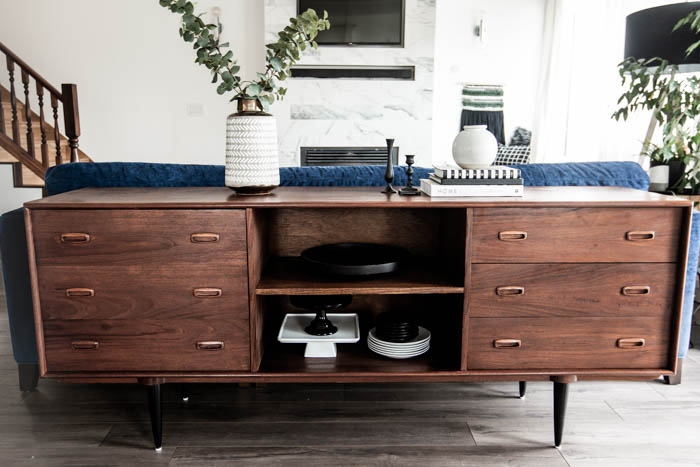
Here’s how our piece turned out:
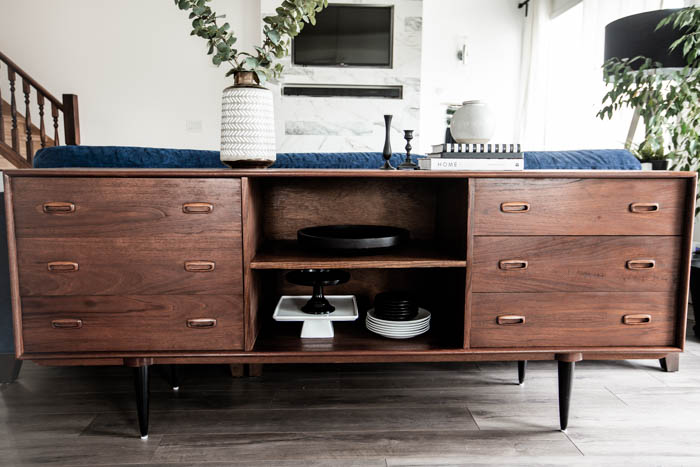
It looks like it was custom built for this space behind our couch and I couldn’t be more in love with this makeover!
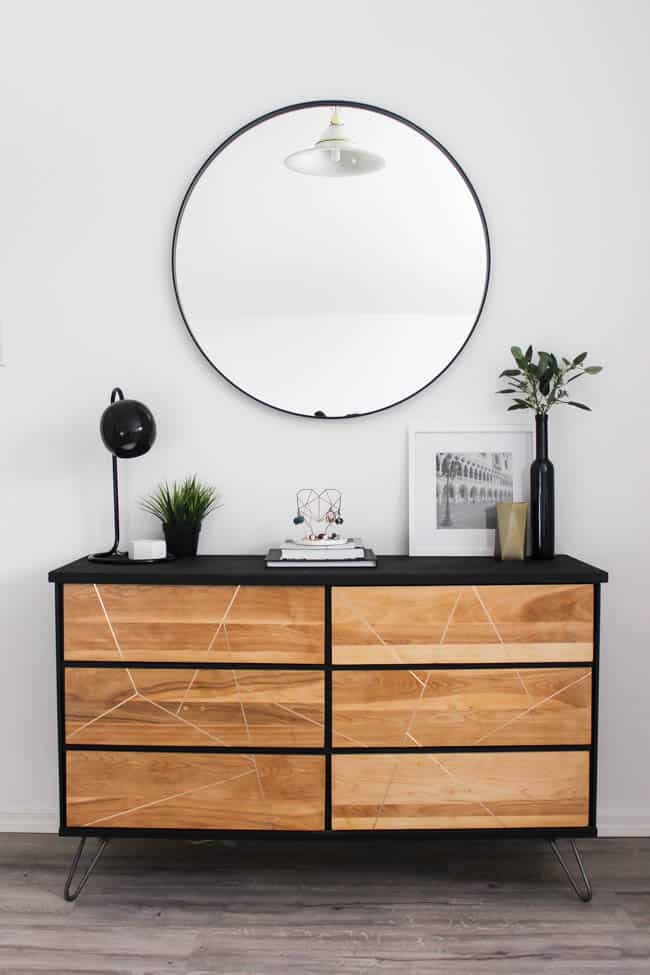
If you love a good furniture makeover, you may love this DIY Dresser Makeover too!


Kippi
Thursday 18th of April 2019
I love this makeover I just pinned it! Happy Easter, Kippi #kippiathome
That Sassy Life coach
Wednesday 10th of April 2019
Where did you buy your cabinet from? :)
Lindi
Wednesday 10th of April 2019
We got it for free from a local Drop & Swap place!