
Baby Doll's Crib
A beautiful DIY Baby Doll's Crib with free downloadable woodworking plans. This DIY baby doll cradle will be loved for years by your littles ones. A great tutorial for that perfect piece of DIY baby doll furniture.
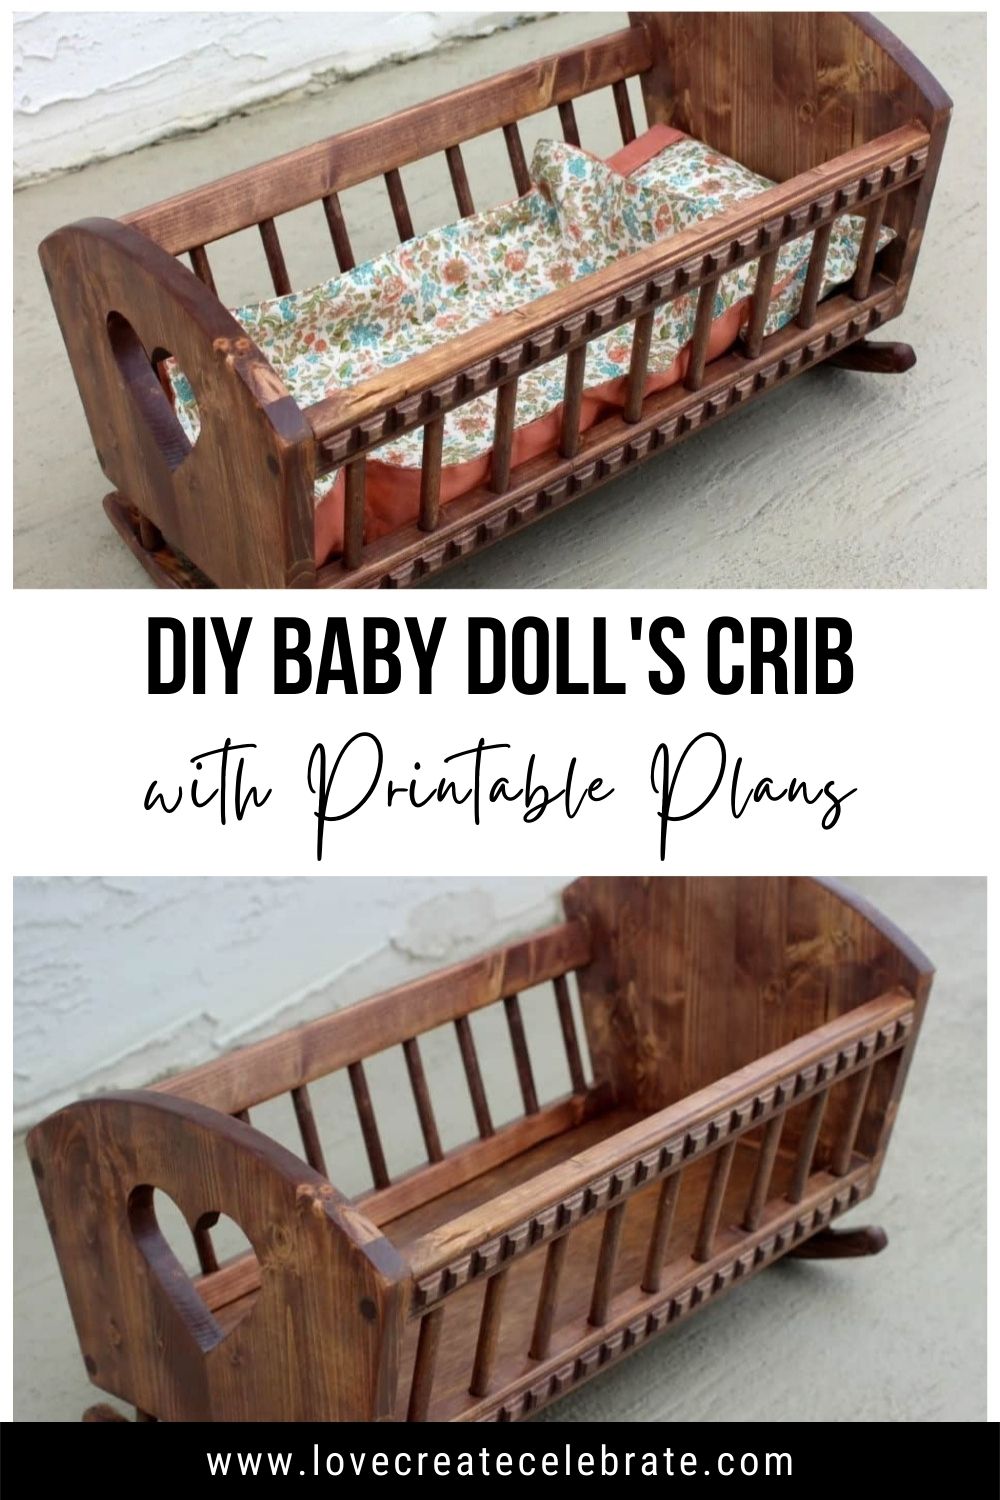
It's that time of the month again! We are completing our second month of the Home Depot Gift Challenge. This month, it was my turn to choose ONE product and ONE recipient. I chose to have everyone use wooden dowels in a gift for a child. My husband and I were already planning this project for our friends' daughter. I'm so glad I could make our Baby Doll's Crib fit into the challenge perfectly this month!

*This post may contain affiliate links. For more information, please read my disclosure policy*
I promise that I will not always complete projects that are this difficult! I would NOT have been able to do this on my own. But if you have intermediate woodworking skills (or access to someone like me!!), Then you definitely can do it!
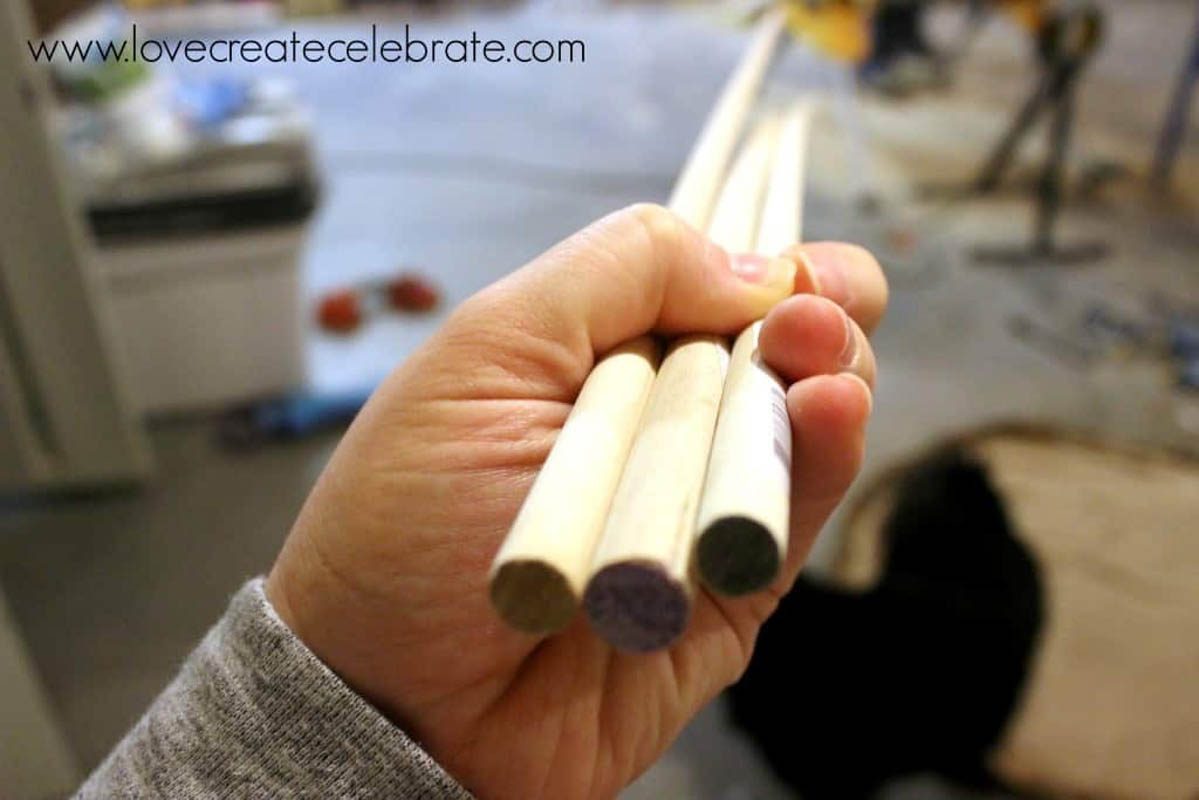
Everything You Need to Make This DIY Doll Cradle:
Materials:
1 4'x4' ¼" thick plywood
3 7/16" dowels x 48" long
1 ½" dowel x 48" long
1 ¾" thick - 12"x96" pine shelf board
8 1 ¼" screws
wood glue
Plus the tools you see below!
If you would like to try this project out for yourself, download the doll cradle plans here:
DIY Baby Doll's Cradle Plans
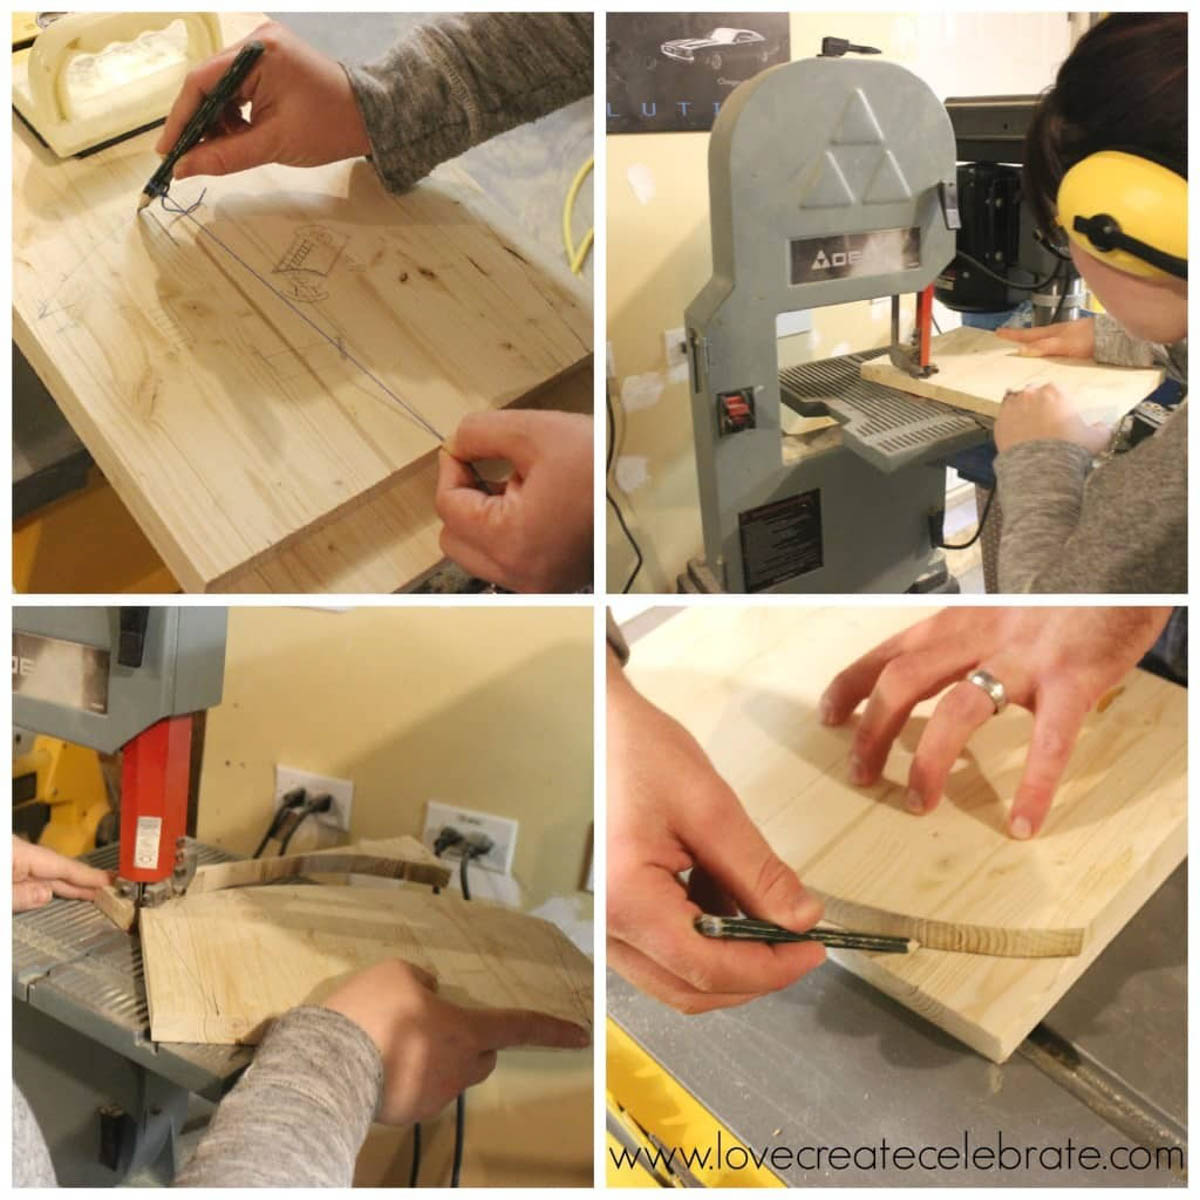
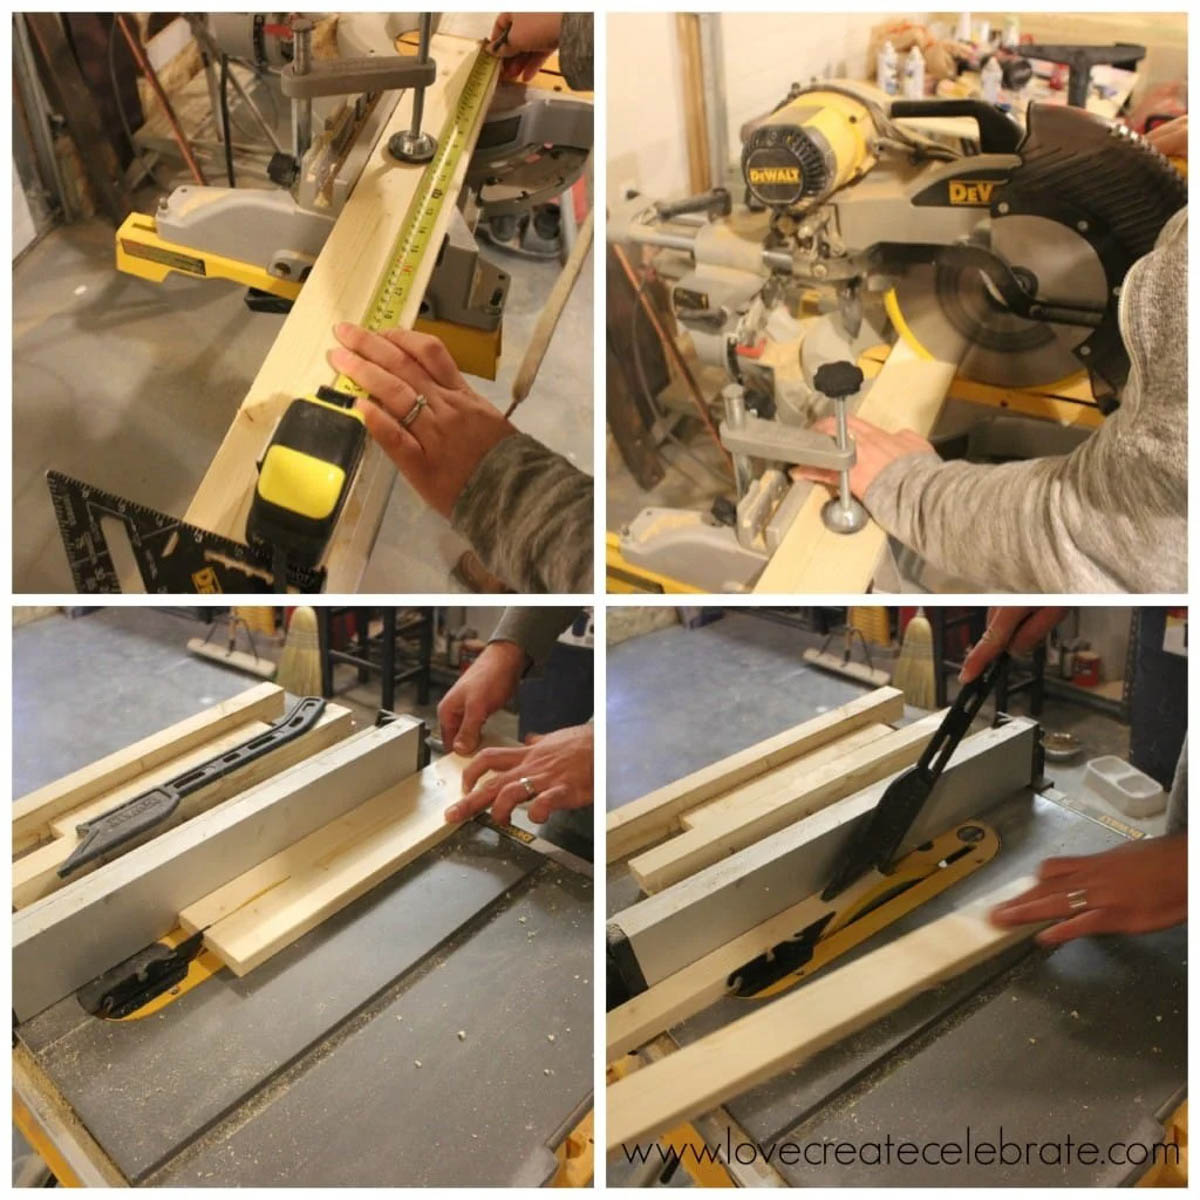
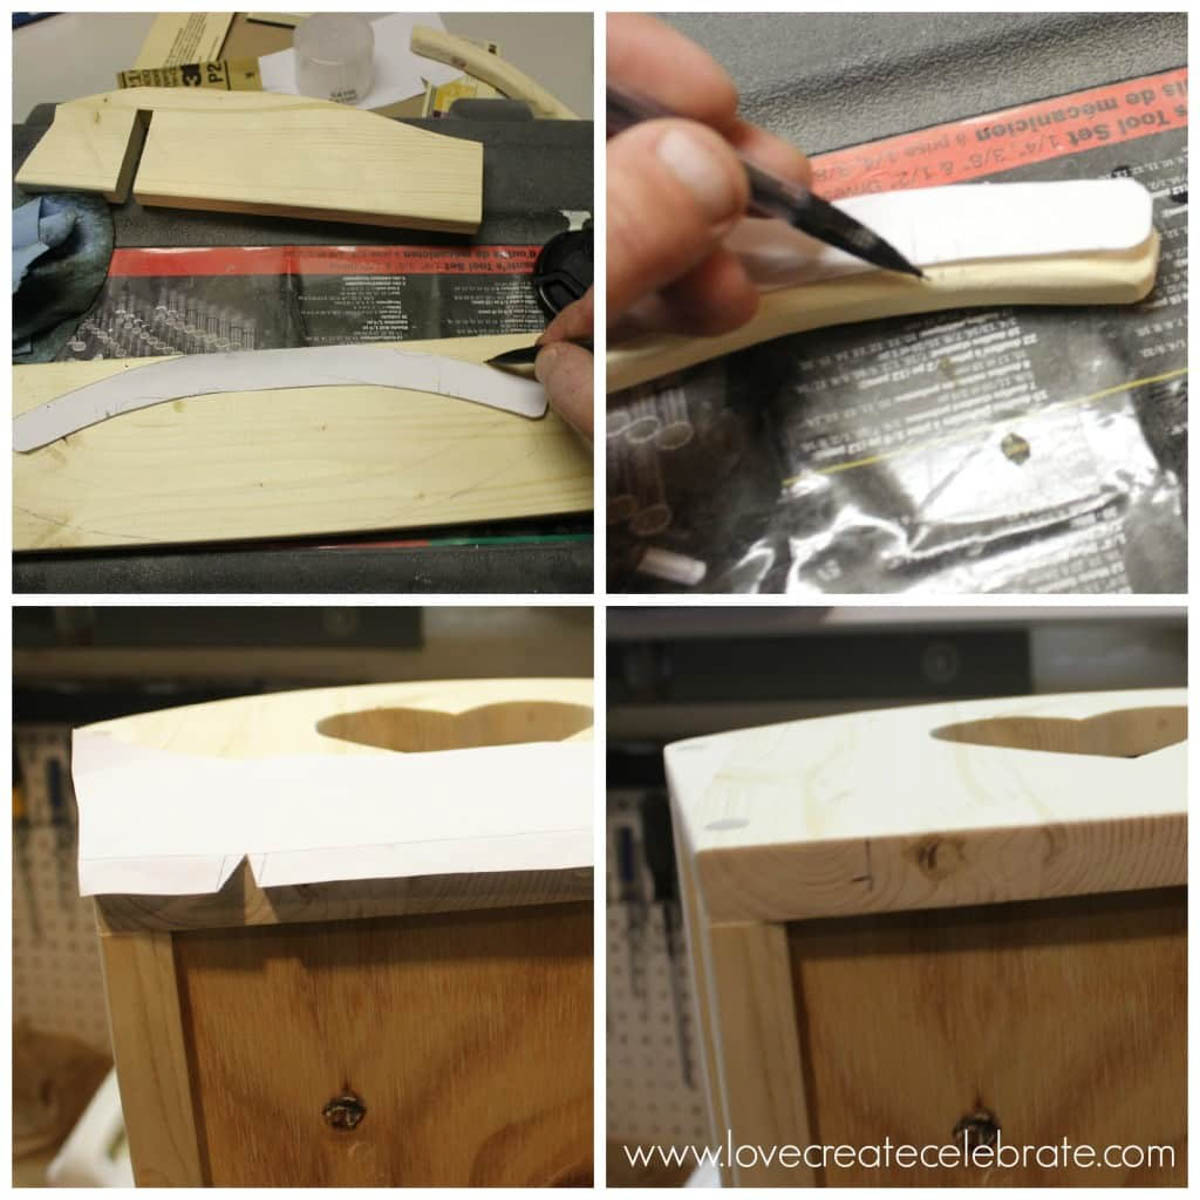
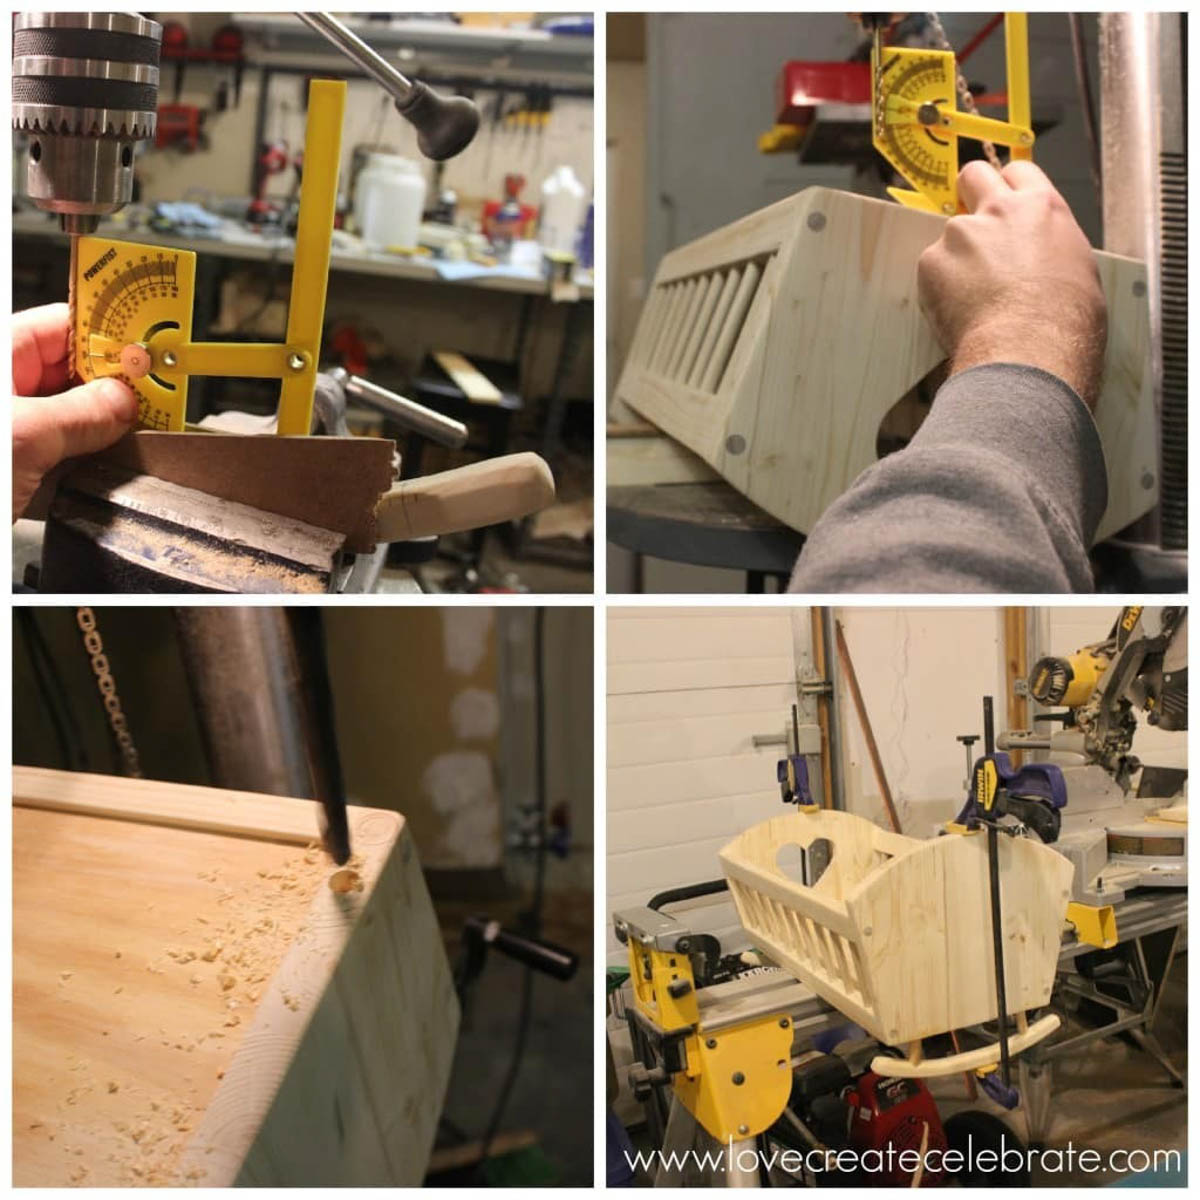
The crib plans pretty much tell the story, but I wanted to include pictures of the process to, so here are a few collages to give a step-by-step photo guide.
Start by making the headboard and footboard.
Next, we cut the wood slats for the crib rails.
Then we did the drilling and sanding for the crib rails.
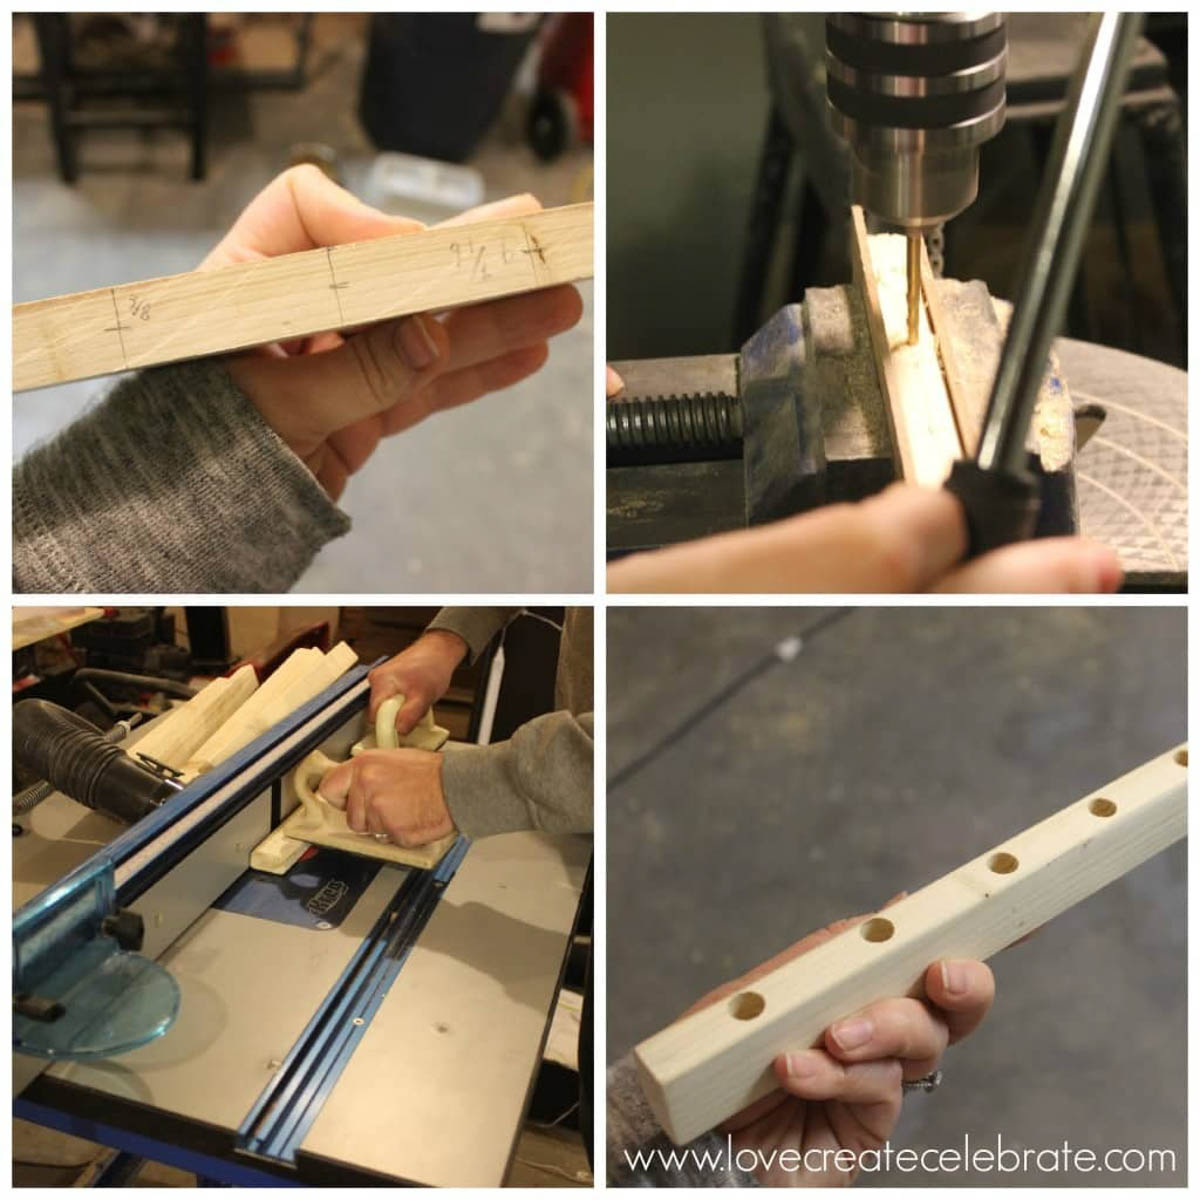
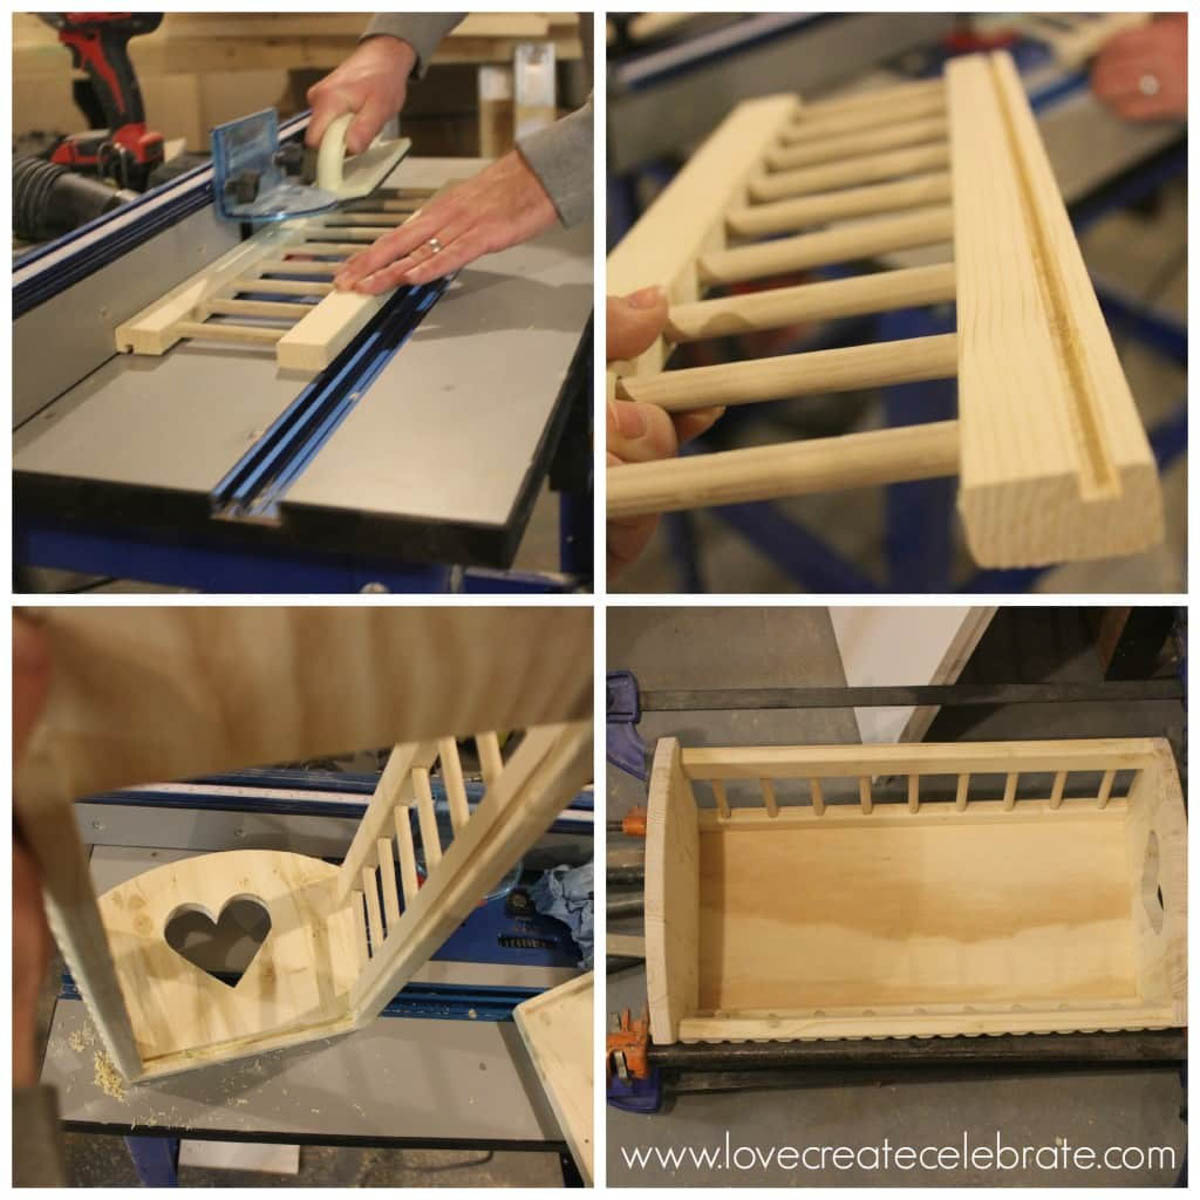
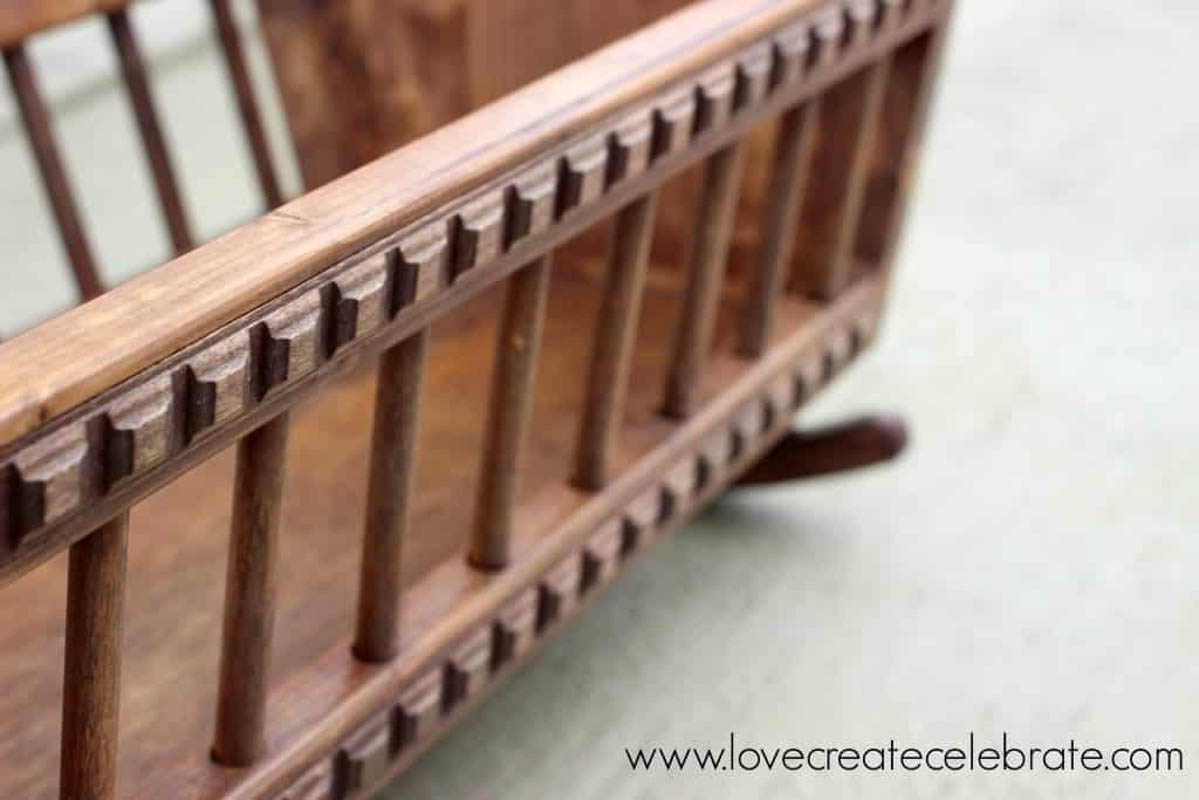
This next step is optional. We used the router to cut a grove into the wood, that would exactly fit our piece of trim. This was ALL my husband's idea and he was right, because it looks amazing on the final product!

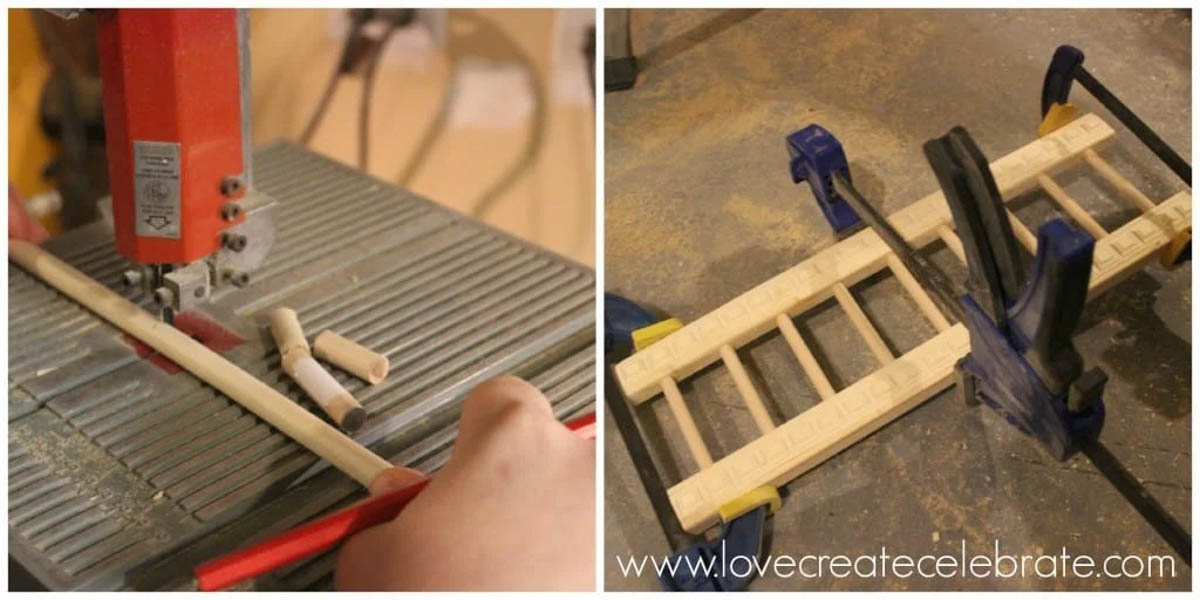
Here's where those amazing dowels came into play! We cut the dowels to fit perfectly into the drilled holes and glued them in place between the side rails.
You could easily just nail or screw the floor into the bottom of the crib frame, but we routered out slots to side the floor into :)
One last spot for those wonderful wooden dowels to shine! We used them to plug the holes from drilling the rails into the headboard and footboard.
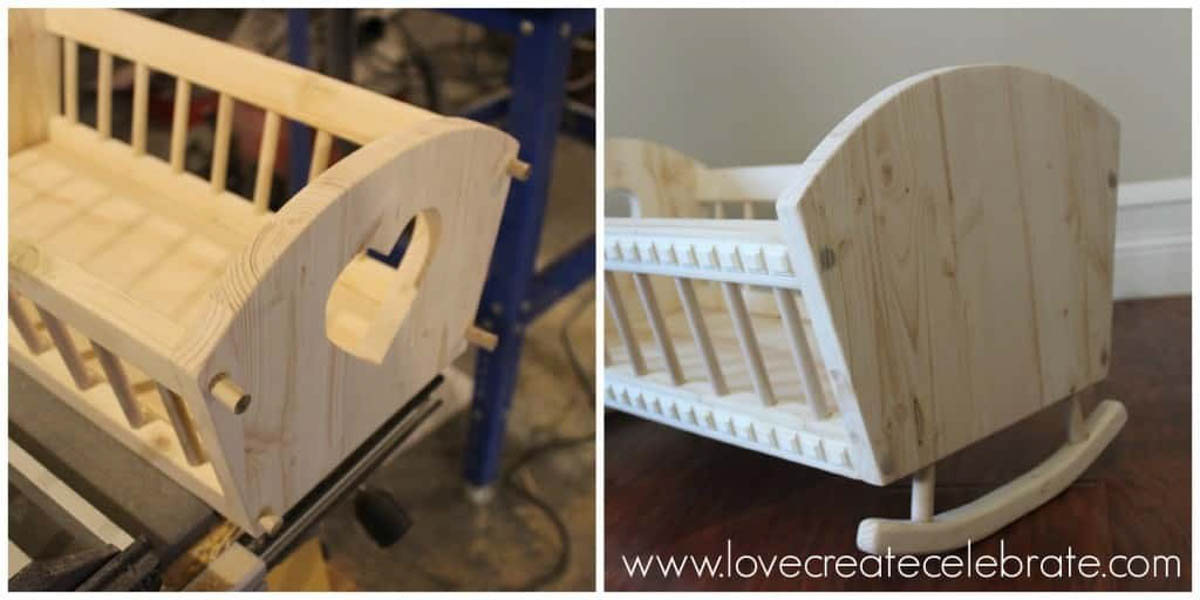
Then, you can use all of the templates in the Doll Cradle Plans (downloadable above) to cut and mark the wood pieces to add the rockers to the bottom.
Add the rockers on, glue them in place, and wait for it to set!
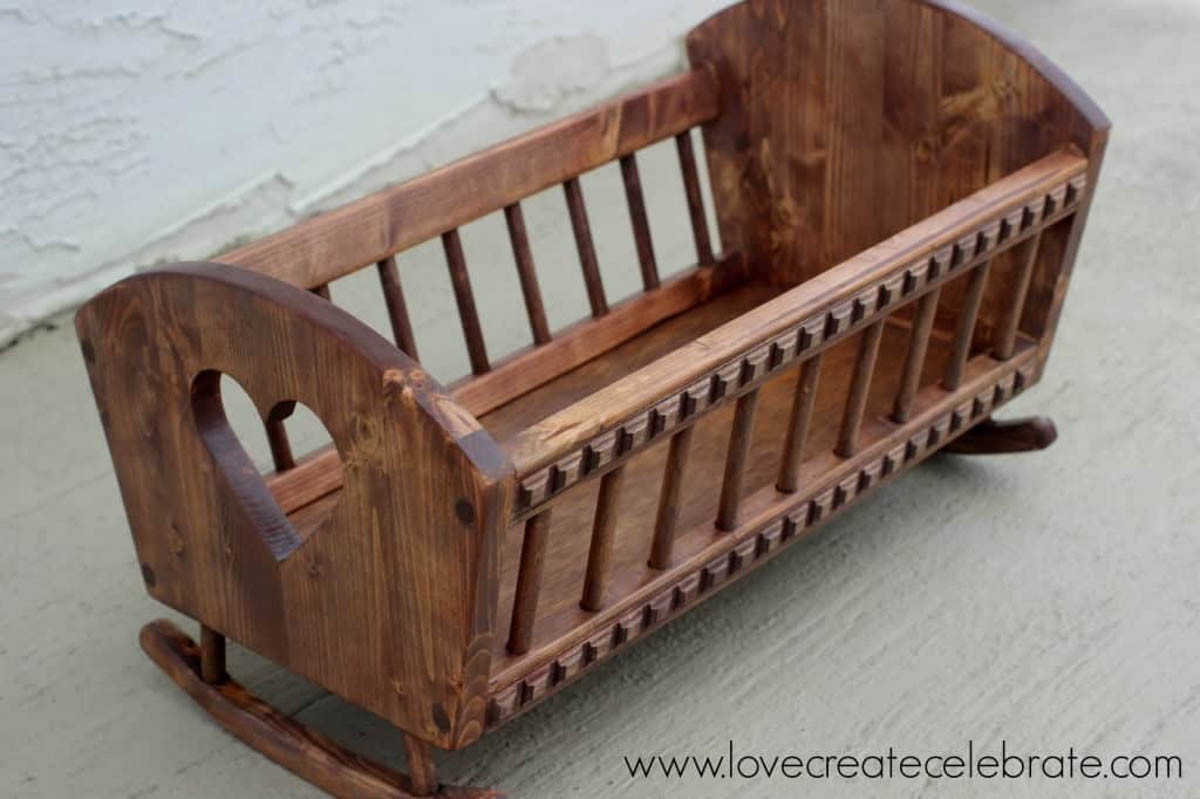
This was our final product before we stained it. Soooo happy with the final product!

Since this was a gift... might as well wrap it the way a child would like! We formed a house shape out of some huge cardboard pieces that were lying around the garage, then we covered that with kraft paper and used sharpies to decorate our wrapped up house :)


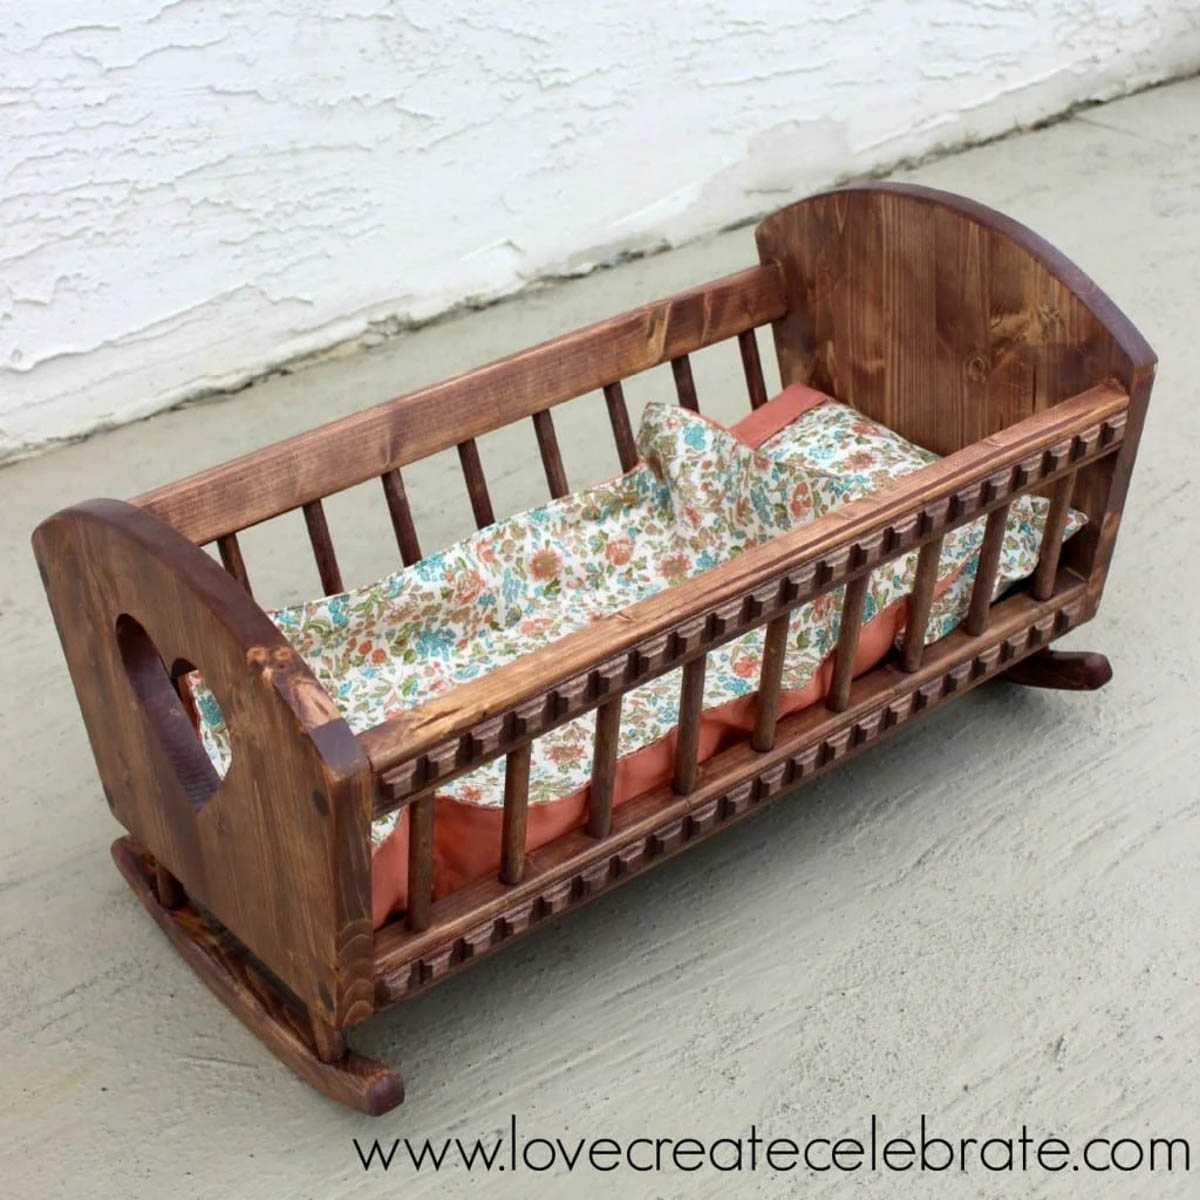
The final crib!
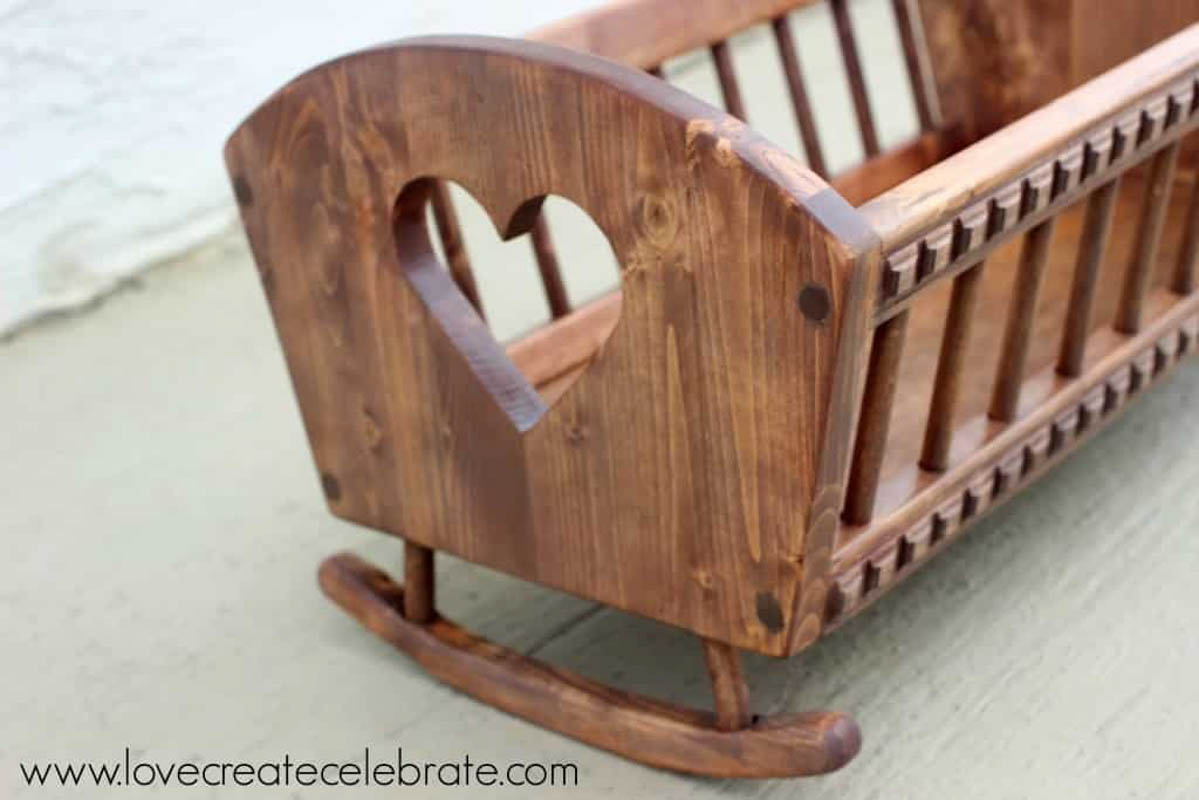
We cut this heart shape out of the footboard of the baby doll's crib, which I LOVE!
Check out THIS POST if you want to make your own Doll Crib Bedding!
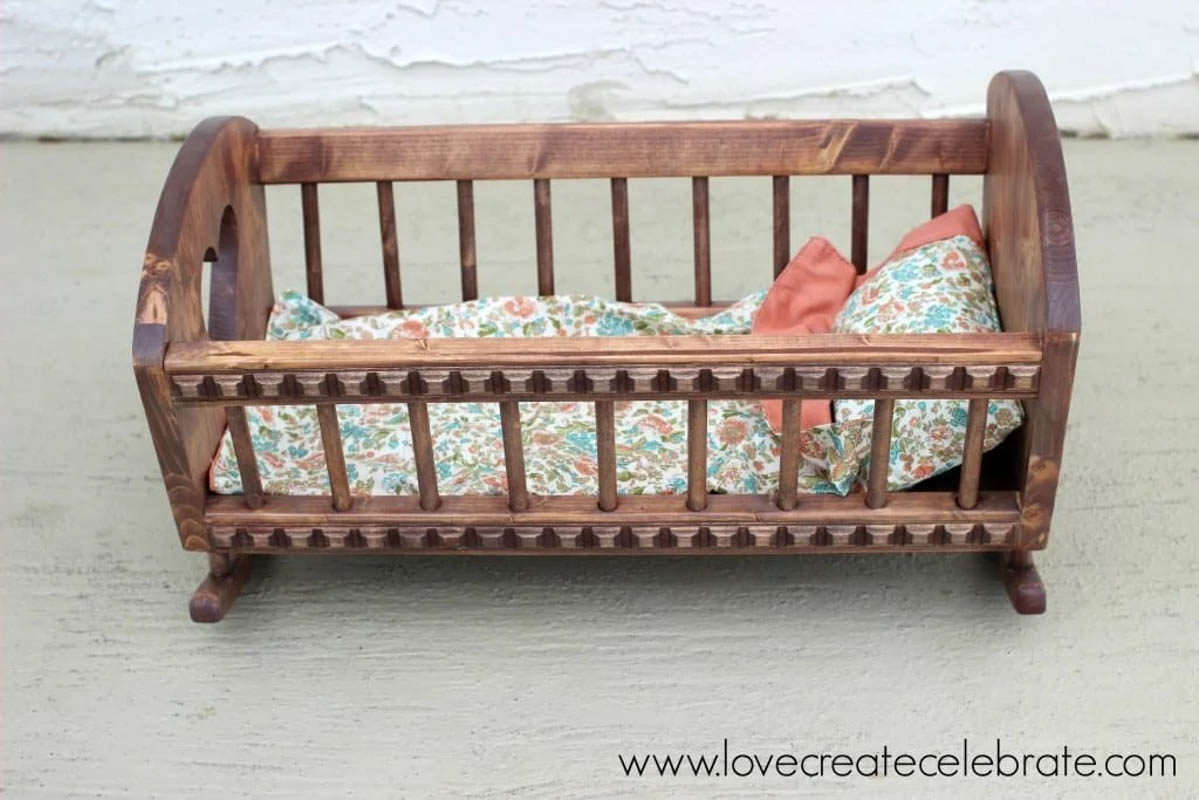
She may be a bit young for it now, but I'm sure our friends' daughter will have a lot of fun with her baby doll's crib over the years :) There is something so special about building DIY baby doll furniture, like this baby doll's crib, for kids!
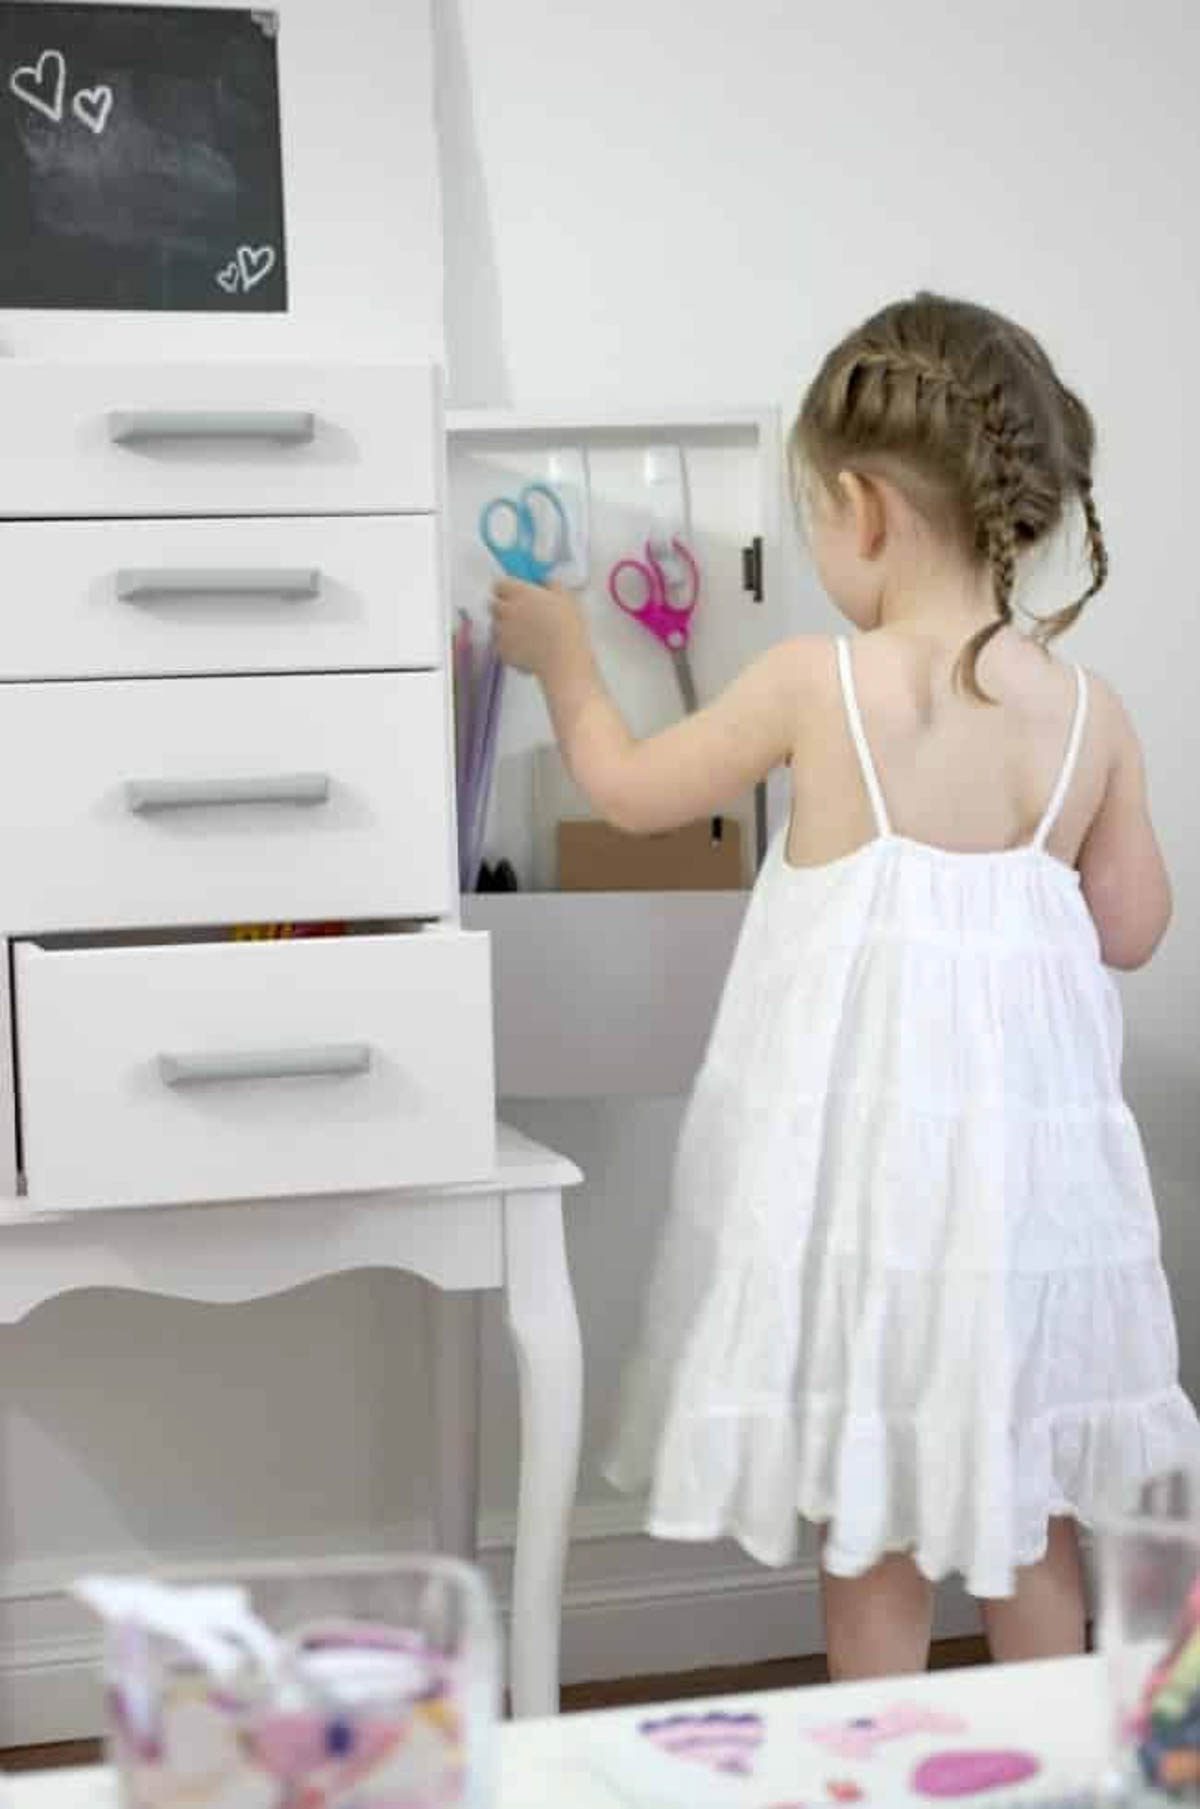
We also made this beautiful DIY Craft Station for our girls an they LOVE it!
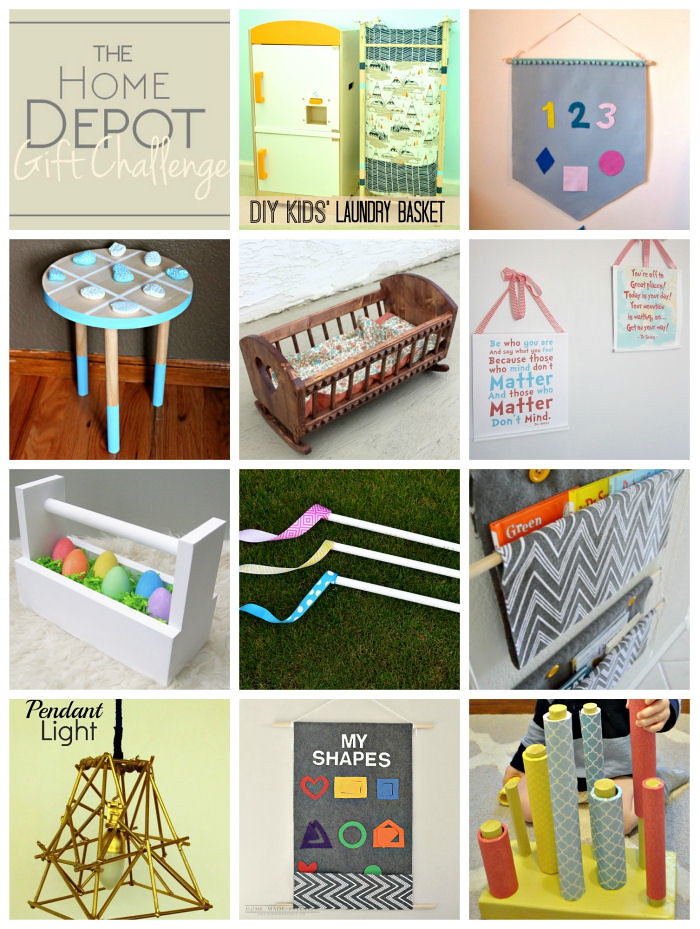
I'm not the only one that had fun with wooden dowels this month. Check out these other AMAZING projects! I'm SO blown away by the creativity in this group!
Click the pictures below to find out how they made each project!
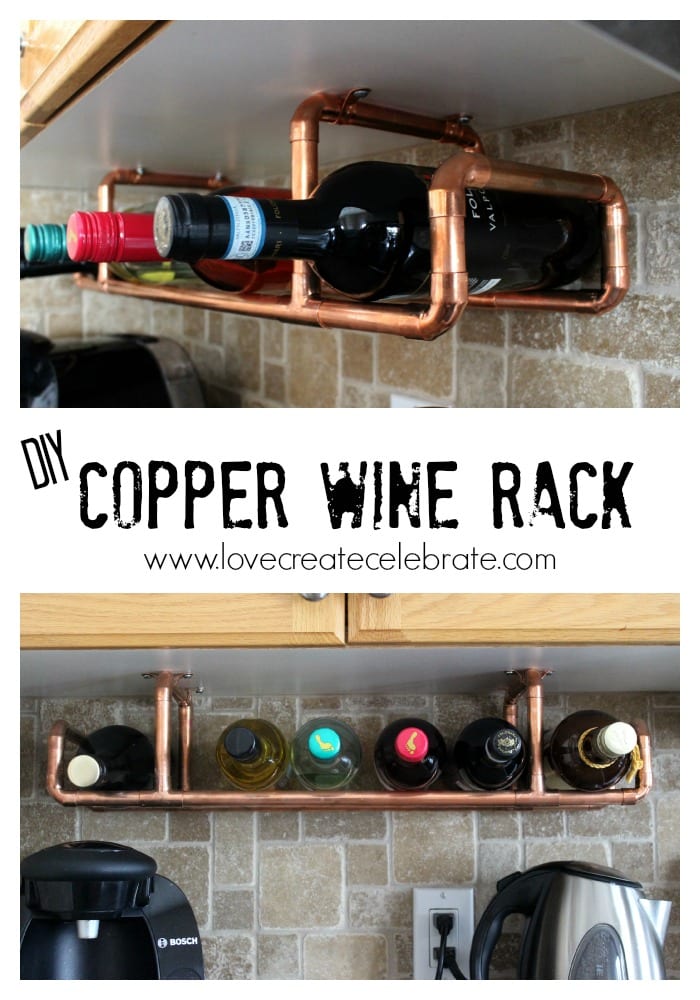
Check out this Copper Wine Rack that I made for our last DIY challenge!
And follow the links for more great projects :)


I am blown away with you with your wood working skills. It is a very lucky little girl to receive such a beautiful doll crib.
Thank you SO much!! It was lots of work but it was SO worth it!
OH my goodness Lindi, I can't believe you made that! It's gorgeous! Awesome job!
Thank you!! Yes, with MUCH help from my husband, we made it!
Holy carpentry skills Lindi! Such awesome work, I'm so impressed!! And the crib is so adorable! I bet your little one is love it.:)
My husband is slowly teaching me his skills... Including why sanding (which I hate! Lol) is so important. I'm glad you liked the piece!
Holy Wow! This is amazing, Lindi! Your friend's daughter will definitely cherish this gift and get tons of use out of it!
I'm really hoping she does!! Thank you Erin :)
This is ABSOLUTELY GORGEOUS. Your projects always blow me away.
Awww.... Thank you Cat!! So glad you liked it :)
HOLY COW, Lindi!! This is amazing!! It looks like you bought it out of a catalog! Such a cute gift for little girl. You are so talented!
Thank you!! I was SOOO excited to give it to her!!
I am totally jealous of your woodworking skills! This really came out beautiful! And the gift wrapping was very creative!
Thanks Roxanne :) My husband is teaching me everything he knows :)
Lindi! I can't believe you guys made this!! Etsy shop...seriously. I had a similar doll's crib when I was little made by my great uncle and we still have it. I played with that thing like crazy! This is something I'm sure she'll have forever :)
Thank you!! I know! I totally could sell them, but I like making new things all the time and trying out new projects - hence the blog! lol. If I had the patience to build the same thing over and over again, I would!
This is AMAZING! I'm sure your friends' daughter will love this and treasure it forever (I know I would)! I love the gift wrap, too!
Thank you Amy :) Yes, I think the little one loves it already!
Wow! I cannot believe you DIYed that! It looks incredible!
Thank you so much!! Yes, we definitely made it with our bare hands :)
This is totally cool! I have made a cardboard baby cradle for by daughter's dolls before. I hope I can work on wood too. Thanks for linking up to the Bloggers Brags Pinterest Party. I have pinned your post to the Bloggers Brags Pinterest Board.
Such a beautiful bed! Thanks for sharing!
I'm getting ready to put the rockers on the bottom of mine (I'm making three). Wondering if you could offer any tips for assembling that part. Those opposing angles have me scratching my head.
Hey! I think the explanations I gave are the best I can do! Sorry! I hope it makes sense! The angles are always the hardest part of woodworking, lol. I'd LOVE to see the finished product when you are done! Send me an e-mail or tag me on Instagram @love_create_celebrate! Good luck!
I am a retired Carpenter, and my hobby is woodworking, The crib Plan Is very easy to do and I thank you for the Plans. Only thing I did different was that I spiraled the the dowels for the side rails. Anyway You did a Great job making the crib, no spaces in your joints everything fit tight.. again great job and thank you.... Pop
P.S in your plans you have TYP in certain areas, I am not familiar with that, what does it stand for.??
Hi Bill! Thank you so much! We are always happy to hear from people who loved building our projects! TYP stands for "typical", so for instance, only one dowel was dimensioned, but was noted as typical, meaning all the other ones have the same dimensions :)
A helpful comment: the list of material needed showed 3 - 7/18" dowel rods which should be listed as 3 - 7/16" dowel rods.
Thank you!