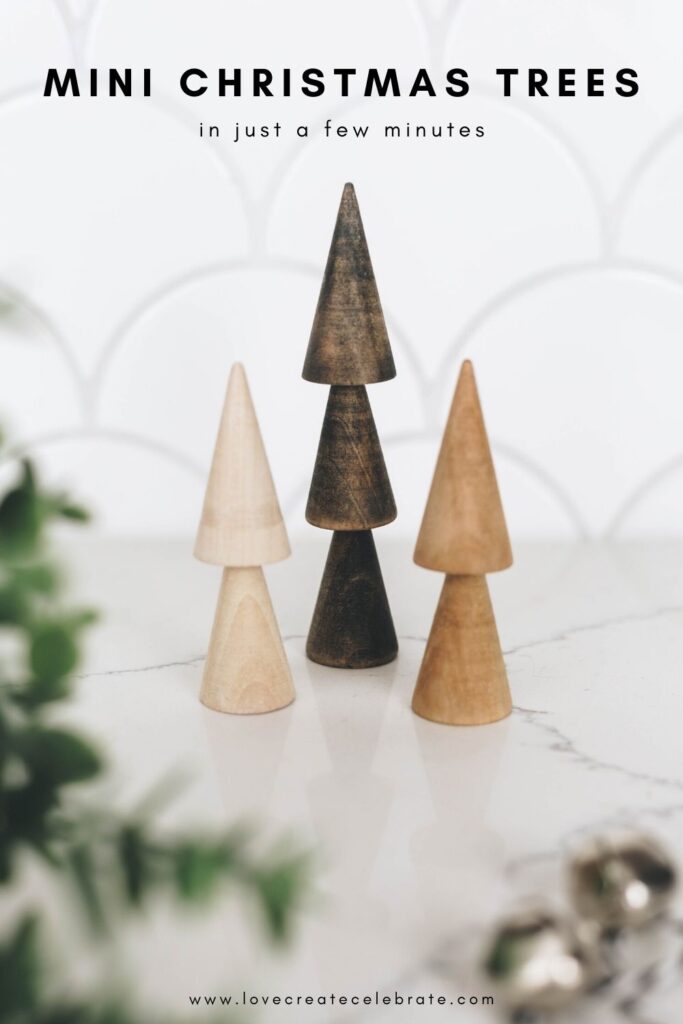
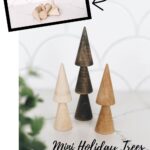
Beautiful mini wooden Christmas trees for the holiday season! Add style to your shelves with these cute DIY wooden trees!
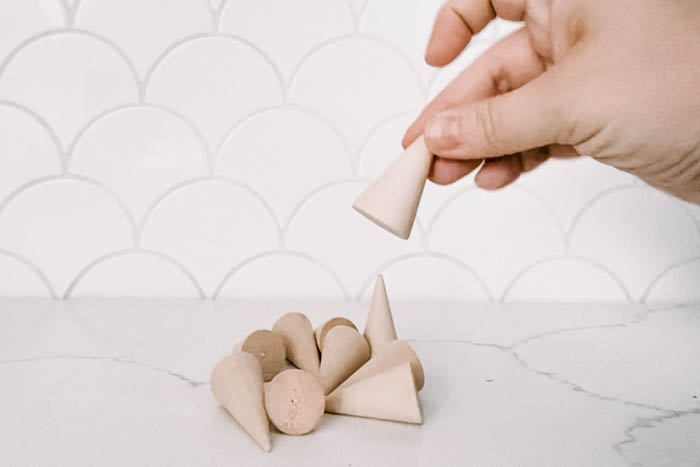
This entire project started when I saw these wooden cones! I bought these last year and had grand plans for them! But my plans fell through when I realized that I bought mini cones instead of larger ones!
These guys have been sitting in my craft stash for a year now, and when we wanted to save some money this holiday season I decided to dig through my craft stash for DIY ideas.
I found these little trees in there and saw them with fresh eyes, and a brand new idea to stack them to make them into shelf decor.
How to Make Your DIY Mini Wooden Christmas Trees
These project only involves a couple of steps and one tool (or zero tools if you’re very patient!).
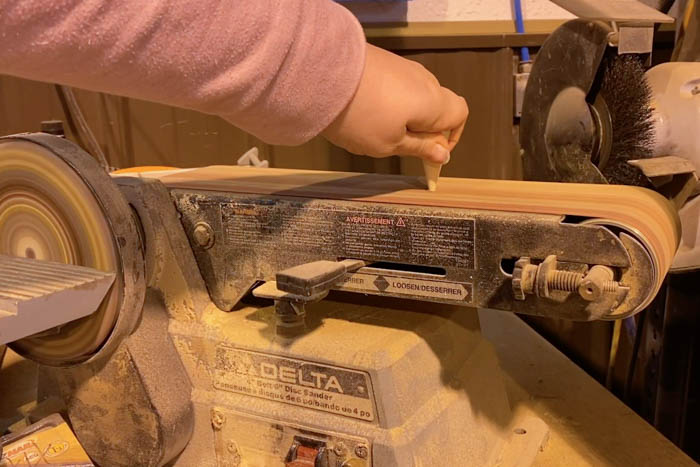
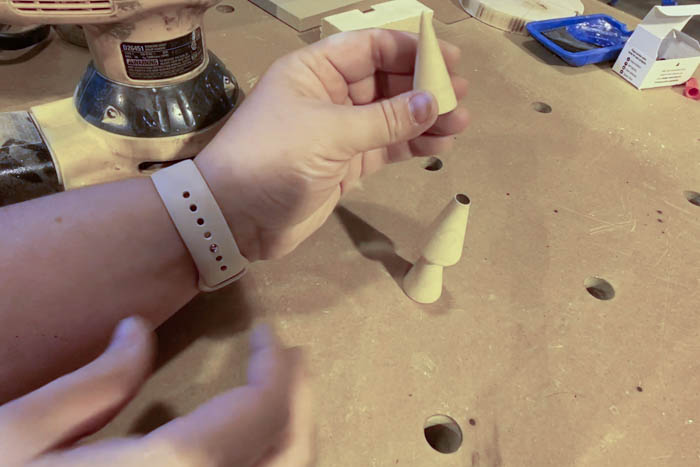
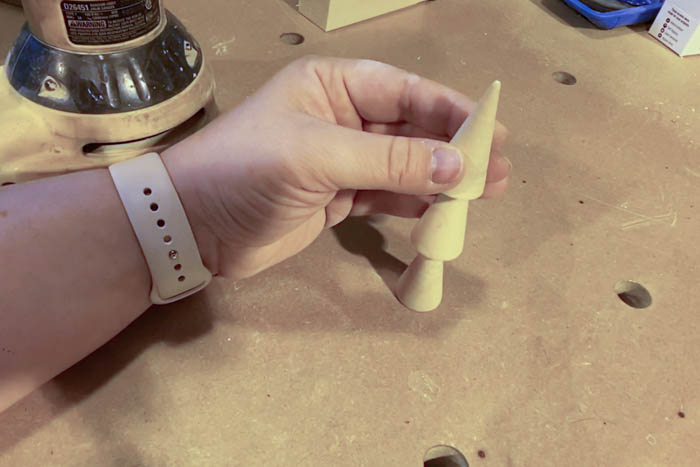
Since I wanted to stack these cones, the first step was to sand down the tops of them so that they had a flat surface on top for another cone to rest on.
We are lucky enough to have a belt sander, so I used that for my sanding, which made a very quick job of it!
If you clamp them down nicely, you can also use an orbital sander, or if you’re patient, you could even use sand paper, but that will take a lot longer!
When you’re happy with the sanding, double check that they stack nicely. When I was done mine all looked like they were sanded straight, but when I stacked them I could see right away that one of them was angled, and went back to sand it down a bit more.
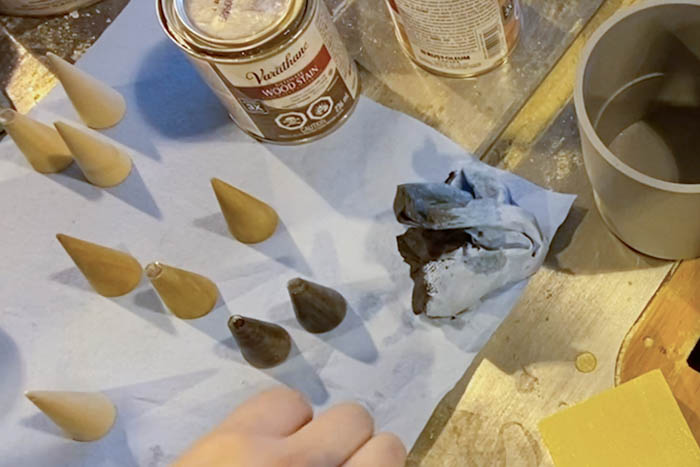
When you’re done sanding, you can stain or paint your trees. I chose to stain them so that you could still see the wood grain, and I chose to do three different colours to make a nice little grouping.
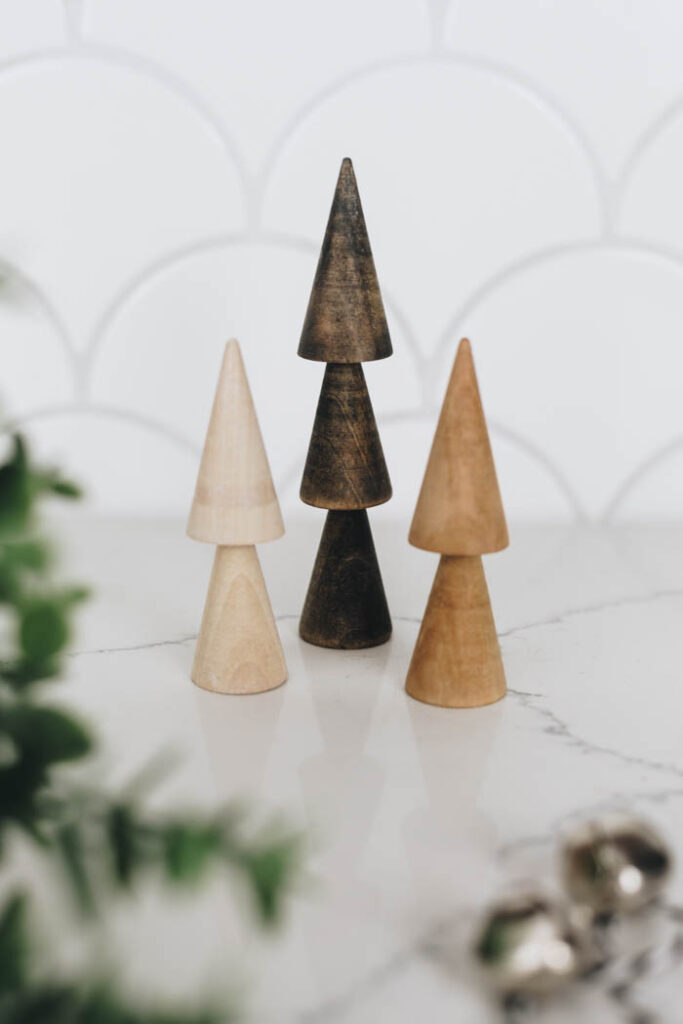
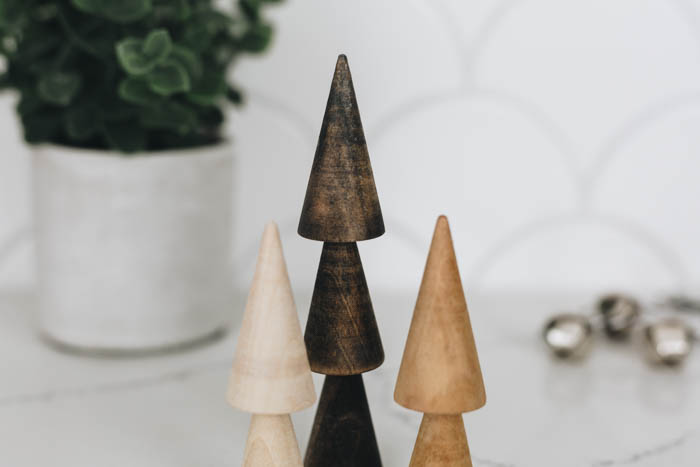
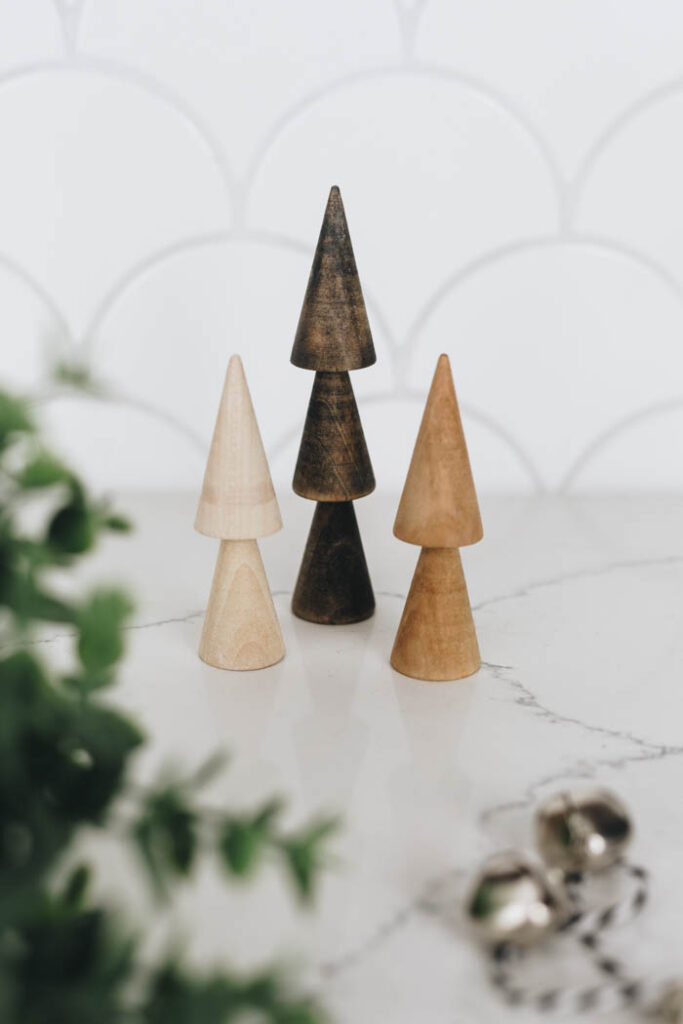
I stained one tree white, one light brown, and one dark brown/black. I think it makes for a great little grouping, and they all still have some of that natural warm wood shining through.

Finally I glued them together. I just used my favourite craft glue, which sticks virtually anything together in just a few minutes! It’s seriously unbelievable!
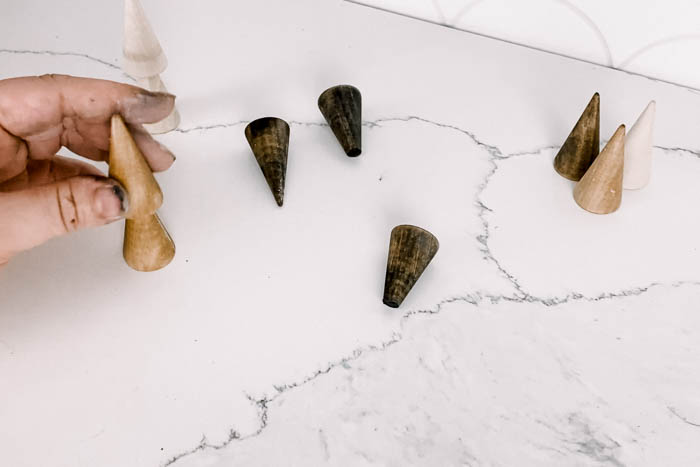
Make sure to double check them from all angles after you stack them because if the glue dries with your trees on an angle at all, it will be very noticeable later on.
How to Make Mini Wooden Christmas Trees Video
If you’re a visual learner, like I am, you’ll probably want to see exactly how we made these guys in our latest YouTube video.
Bonus, if you’re watching the video, there are 3 other super simple holiday DIYs that you might enjoy seeing too!
Our Finished Mini Wooden Trees
I’m so happy with how these turned out! You will definitely be seeing them in our upcoming Christmas home tours! Likely on a shelf beside some greenery or in a little vignette.
You could display them individually, but I really love how they look in a small clump of three, so more then likely I’ll be displaying them together when it comes time to deck the halls!
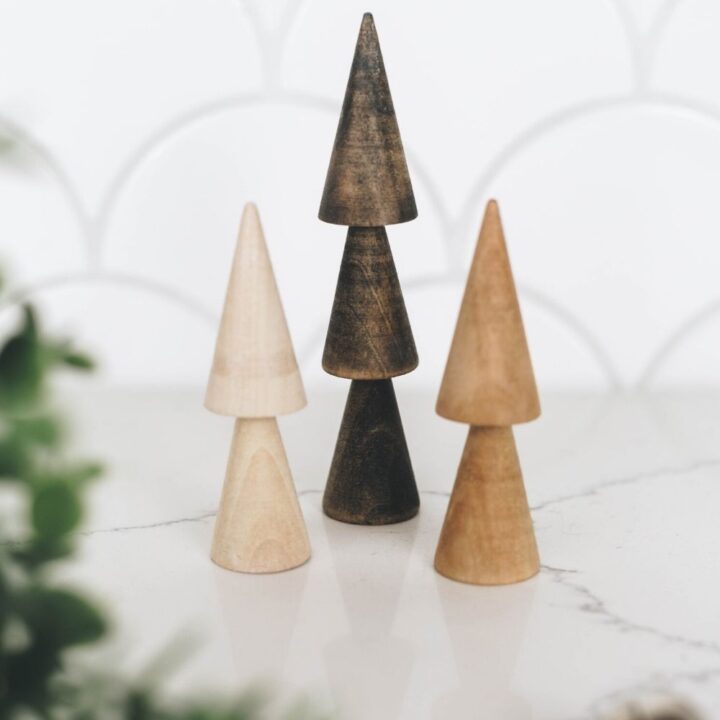
Mini Wooden Christmas Trees
Materials
- Wooden Cones
- Wood Stain of your choice
Tools
- Sander
Instructions
- Use a sander to sand down the tops of any bottom or middle wooden tree cones.
- If desired, use the sander to sand some of the bottom of the cone for the upper layers of the trees.
- Stain the cones in the stain of your choice (ours are listed below)
- Glue trees together with craft glue, making sure that they look level and upright before the glue sets
Recommended Products
As an Amazon Associate and member of other affiliate programs, I earn from qualifying purchases.
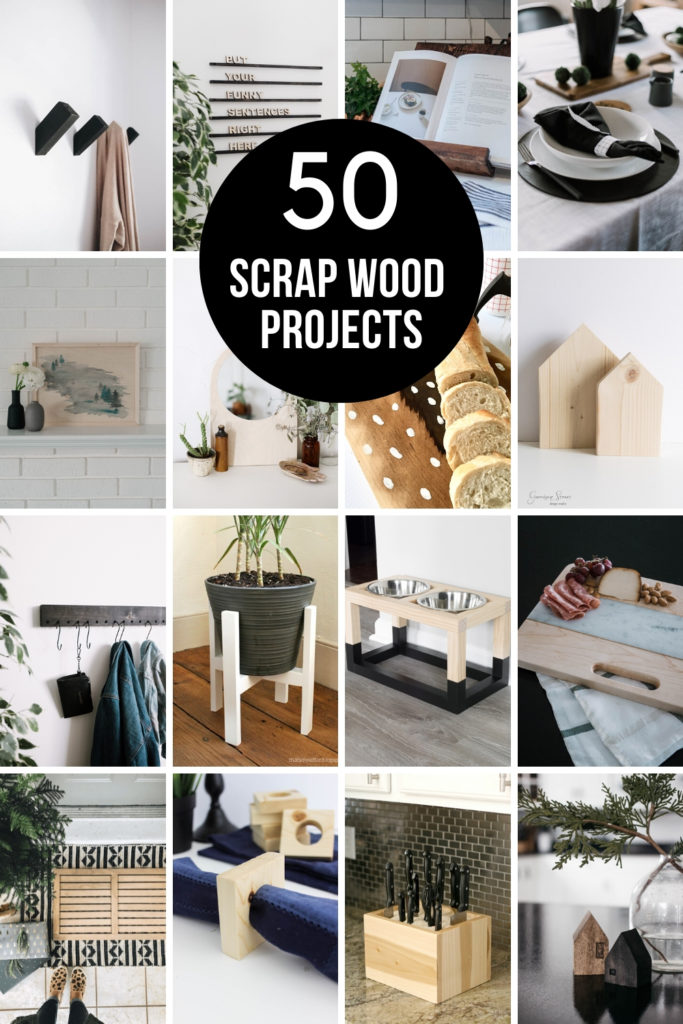
If you’re looking for more great wood products, here’s a great collection of Scrap Wood DIY Ideas!






Amy
Tuesday 17th of November 2020
Oh my goodness, these are adorable! I'm so glad you were able to use them, even though they weren't what you intended to get! I love how simple they are, and the fact that you could use them to accent just about anything. Thanks for sharing!
Lindi
Tuesday 17th of November 2020
Thank you! I loved them when they were done too!