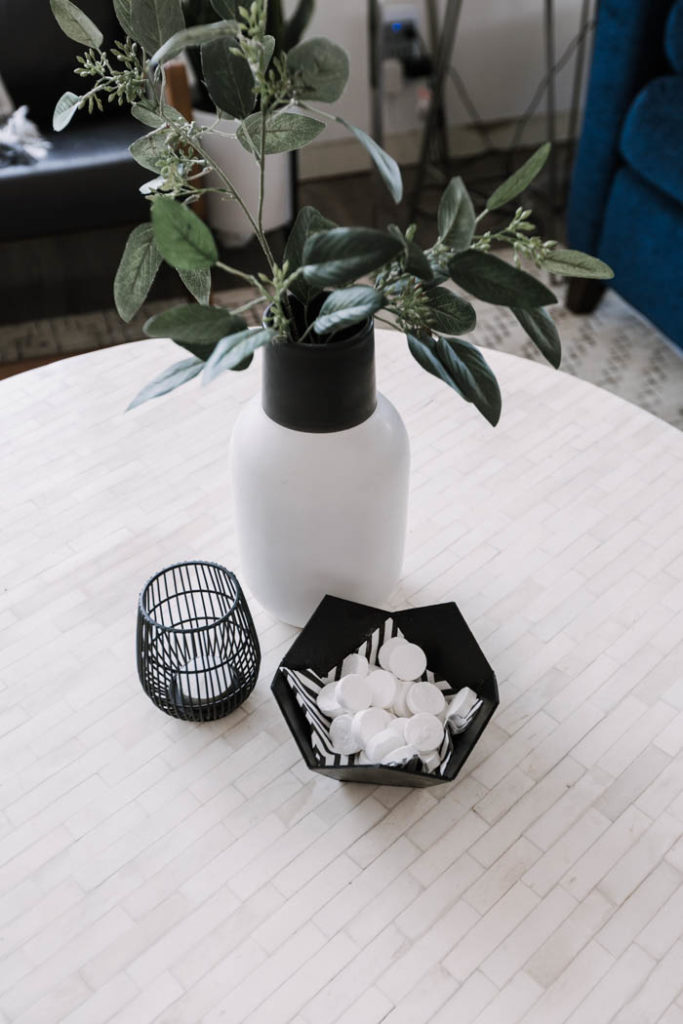
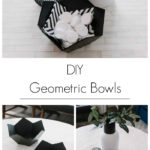
Make your own DIY Geometric Bowls! The perfect addition to any modern vignette!
I used to be a pretty crafty gal. As I child I would collect feathers, beads and foam shapes and spend hours in my room turning them into something that I thought was amazing. As an adult I still liked to “create all the things”, but I slowly became more selective. These days we spend so much time renovating, that I’m rarely crafty just for the sake of being crafty. Most of my crafts have a purpose behind them. A wall that needs some artwork, or a shelf that needs some decor. I know I’ve raved about the Cricut cutting machines before, but they are my favourite! They let me get crafty, and save a ton of money on expensive art and decor, just like these DIY Geometric Bowls.
*This post was sponsored by Cricut and may contain affiliate links. As always, opinions are 100% my own. For more information, please see my disclosure page.*
Bowls are the most versatile decor out there, aren’t they? Ok, maybe it’s vases first… but bowls are somewhere up there! They look amazing in any little vignette, as a centerpiece or on a shelf. When I envisioned this project, I actually wanted these bowls to sit on shelves in my office, or store paper clips on the desk. Unfortunately, the office renovation hasn’t even started yet, lol. But I had my Cricut Knife Blade out, and I couldn’t wait to experiment with cutting chipboard, so I decided to go ahead.
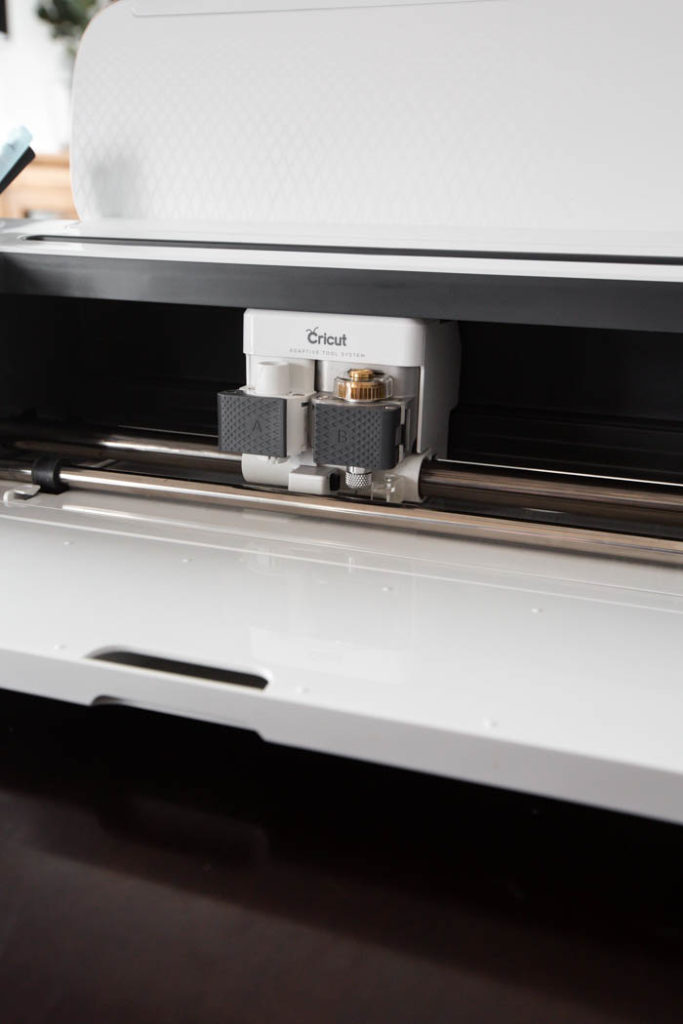
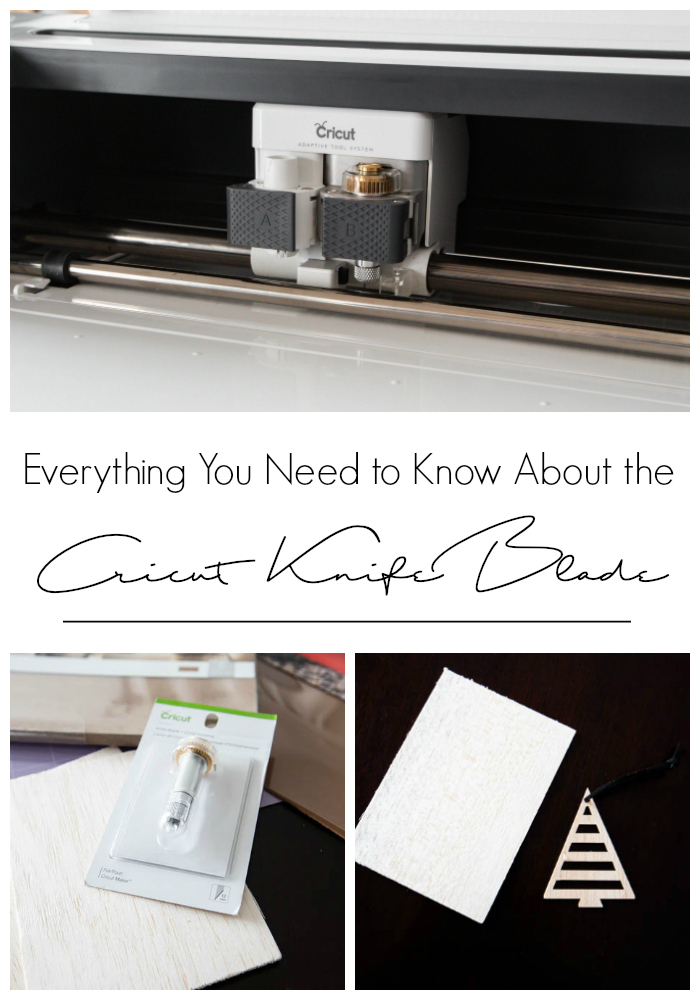
The Cricut Knife Blade was a game-changer for my modern crafting. It’s part of the Cricut Adaptive Tool System and can easily be changed in and out of the Cricut machines. Honestly it’s amazing to watch it cut out all of these materials that I love working with, like wood & leather. Chipboard is a new material for me to use, it sturdy enough to use for decor projects, but doesn’t take too much time to cut or manipulate.
Materials needed to make your geometric bowls:
- Cricut Maker
- Cricut Knife Blade
- Chipboard
- Strong Grip Mat
- Cardstock
- Scoring Blade (optional)
- 3-in-1 Glue
- Black Spray Paint
- Cricut Design Space File: Here
How to Make 3D Geometric Bowls with the Cricut Maker:
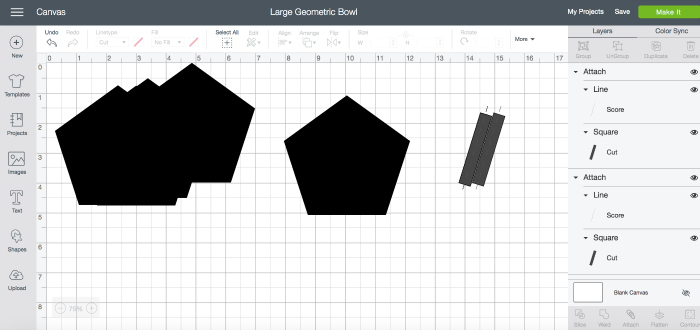
Begin by opening my Geometric Bowl design in the Cricut Design Space. This design makes 4″ high pentagons for a larger bowl. If you want a smaller one, like the one in the photos above, then highlight everything and resize your design.
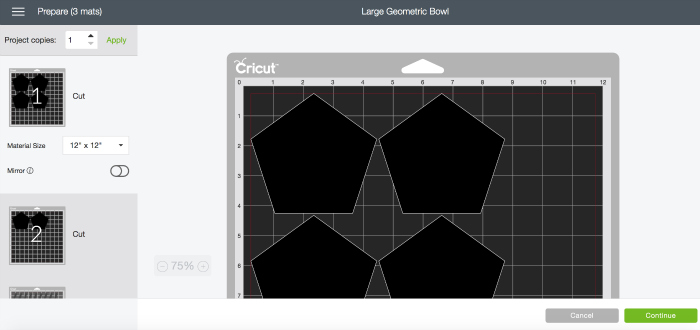
When you are ready, prepare to cut your design. Select chipboard first to cut the two chipboard mats. When the chipboard is done cutting, cancel the cut, switch your material to cardstock, and cut out the small rectangle pieces, using the scoring blade to score them down the centre if desired.
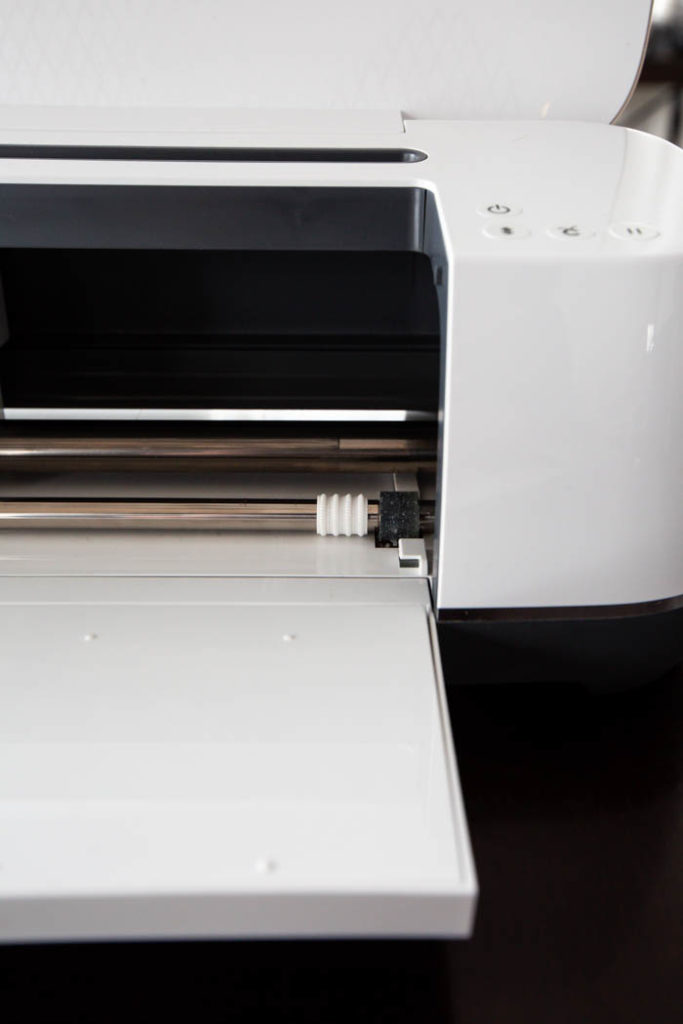
Before you cut chipboard, make sure to move all of the stars over to the far right. These will inhibit your chipboard from moving nicely through the Cricut Maker.
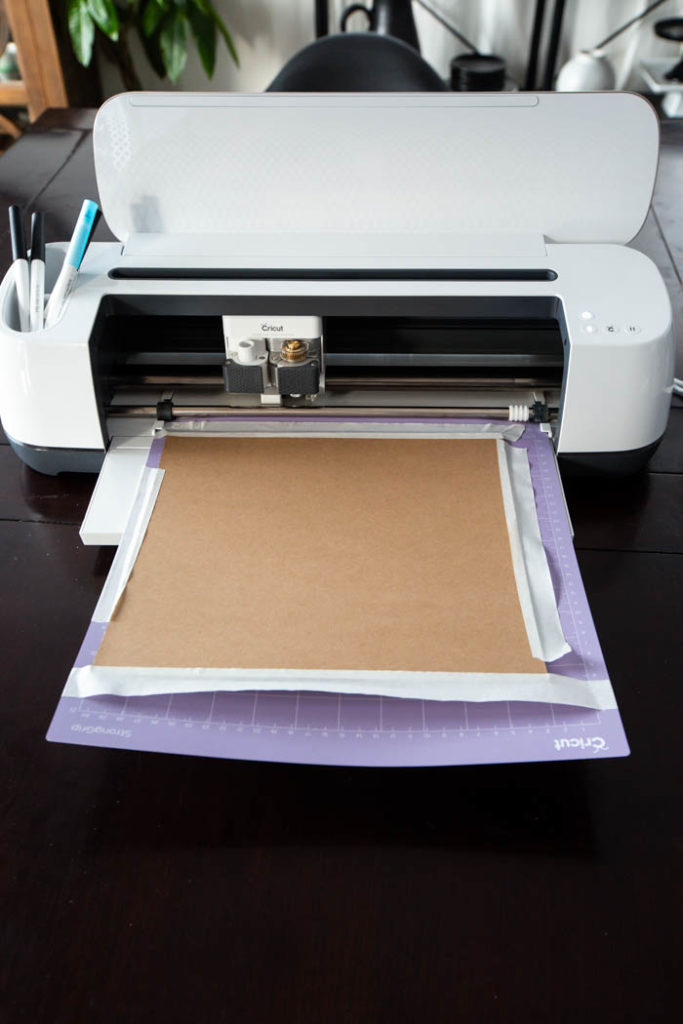
Make sure you are using the purple strong grip mat, and that your chipboard is also taped down on all sides to prevent it from shifting during cuts.
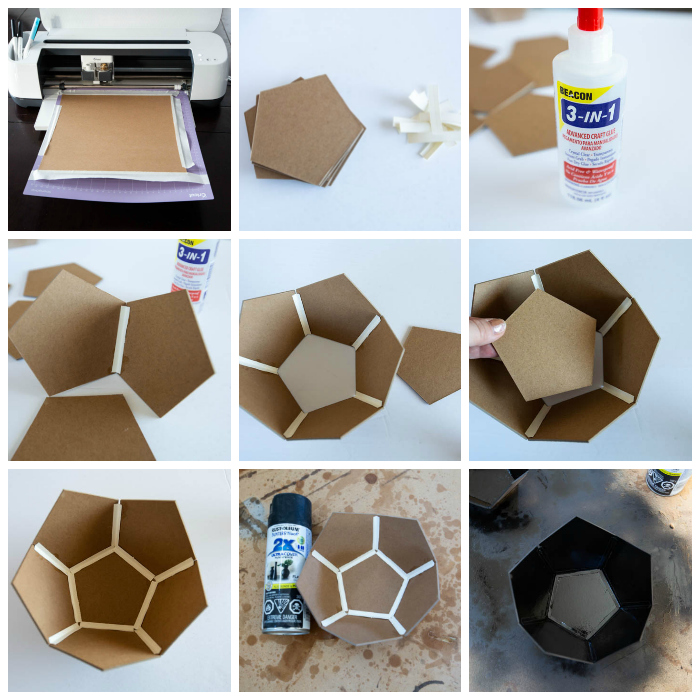
Instructions for building your bowl, from top left to bottom right:
- Cut out your chipboard using the Knife Blade, and cardstock pieces (using the scoring blade if desired) on the Cricut Maker
- Use 3-in-1 glue to glue the paper to the chipboard at the edges and attach your chipboard pieces. You will have to hold it in place for a few seconds while it sets. I recommend this glue because it’s very strong, doesn’t clump, and dries quickly.
- Assemble all of the outside pieces of your bowl, using the bottom pentagon as a guide for what your angles should be. Place the final pentagon into the bottom when ready.
- Use spray paint (with a few gentle, light coats) to spray your bowl whatever colour you would like.
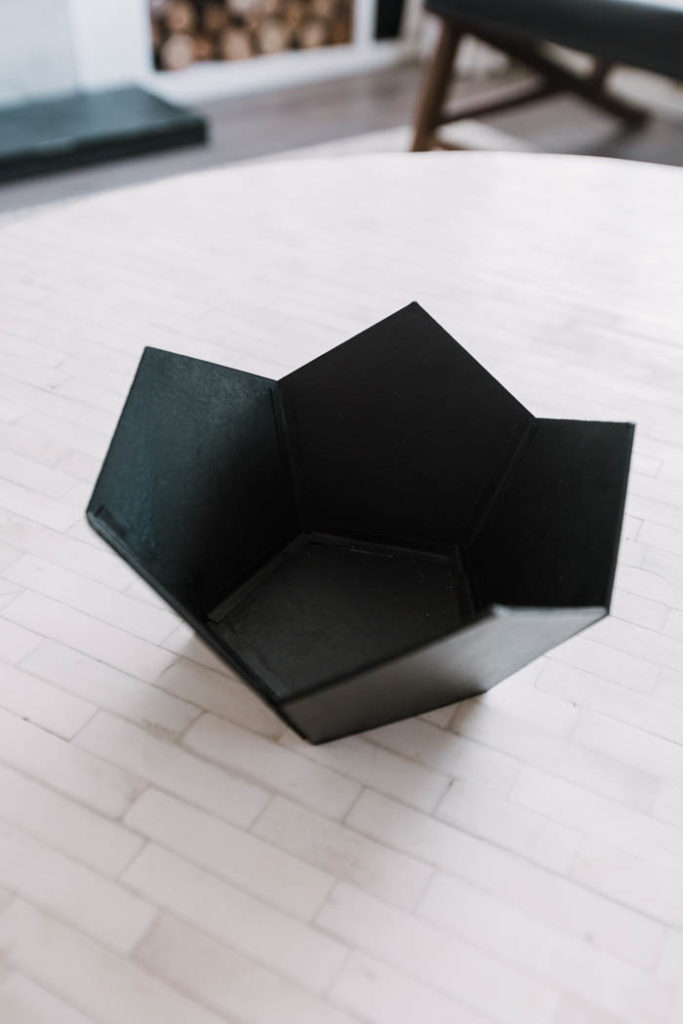
I love these bowls! I made them in a couple of different sizes, and I have a ton of ideas of where to put them!
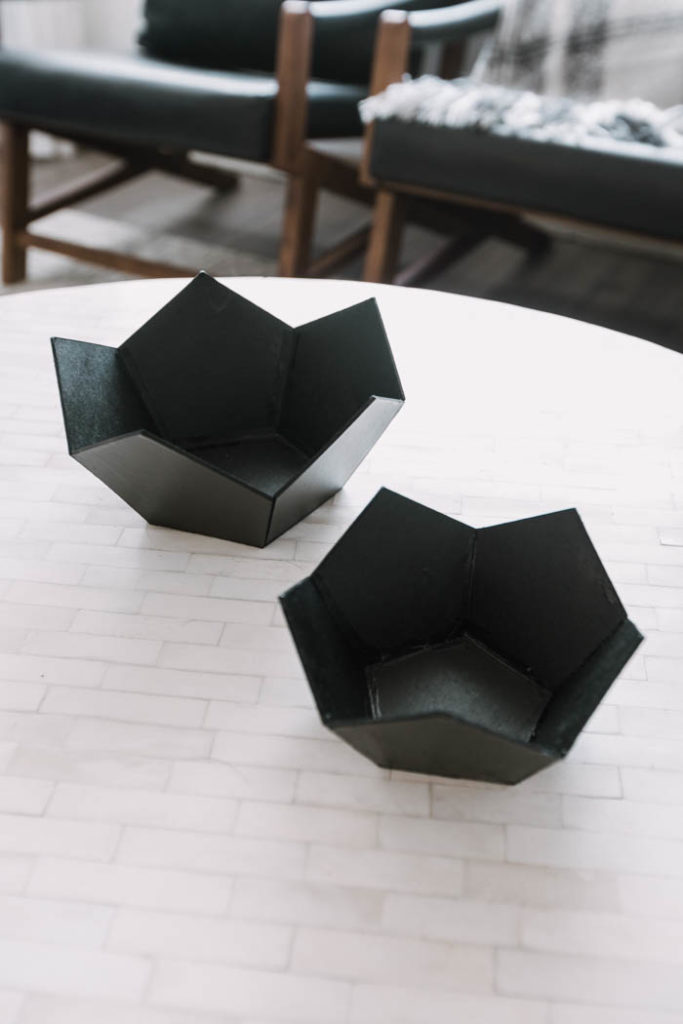
For now, they are part of a simple little spring vignette. With spring approaching, I want to DIY some Easter eggs to put in these bowls now!

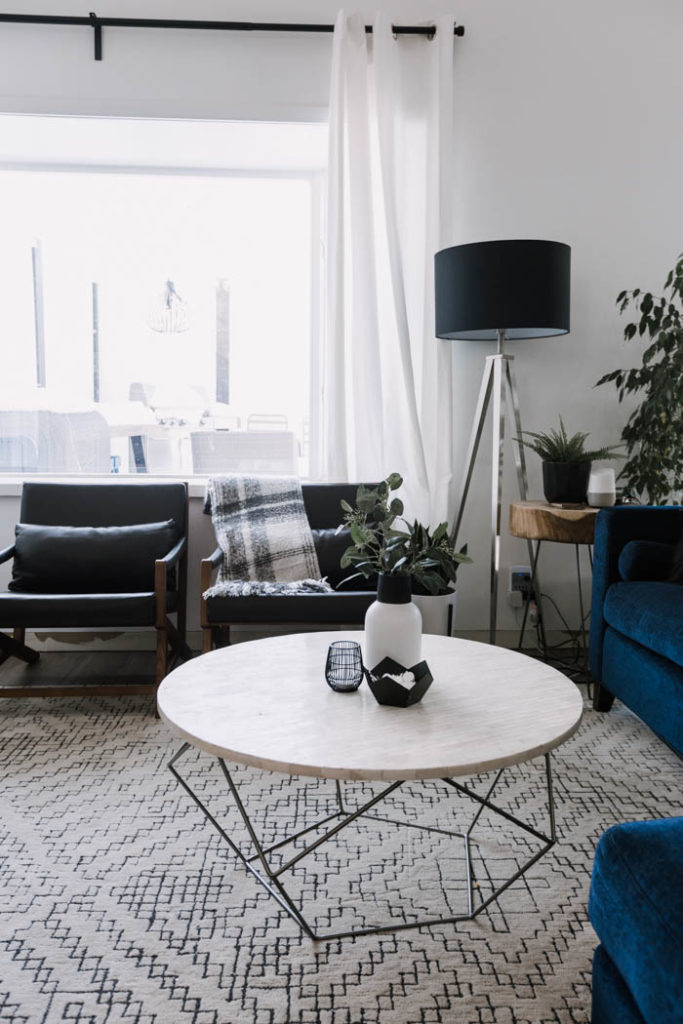
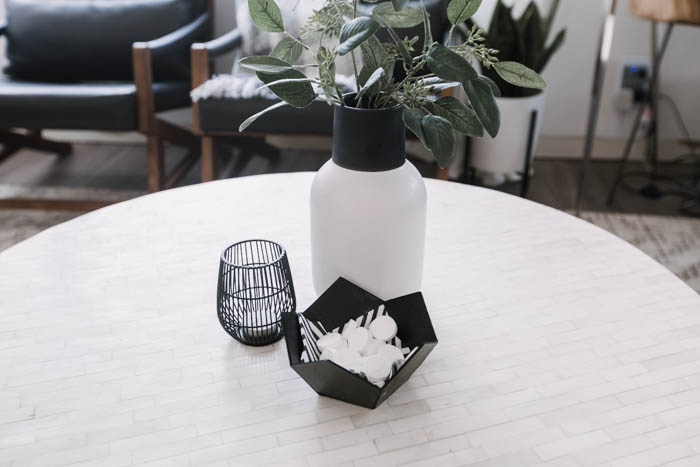
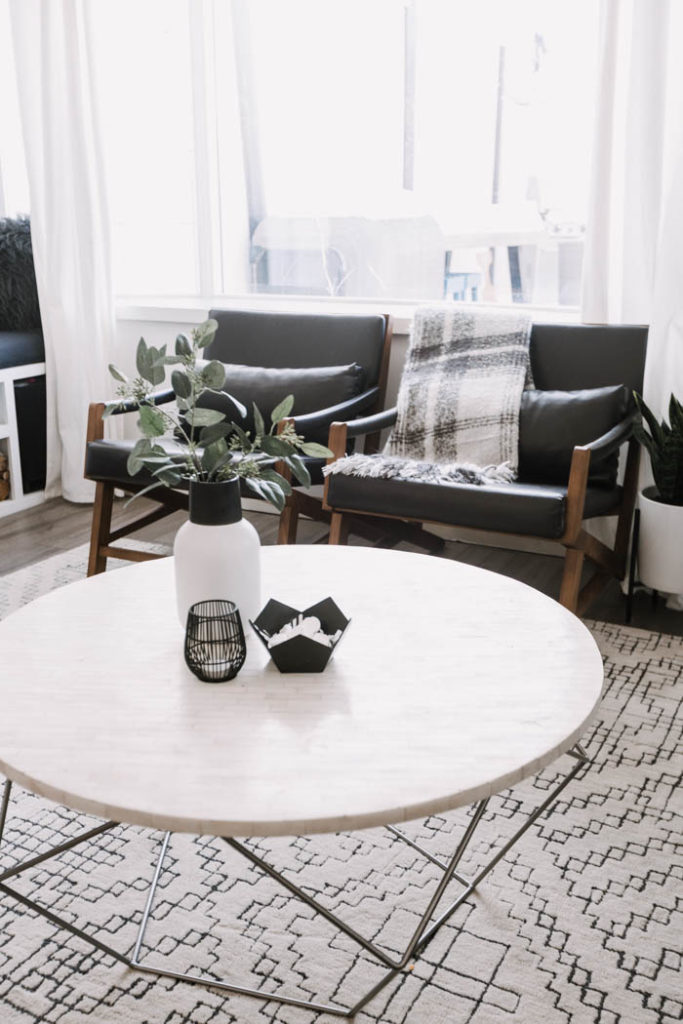
If you want to learn more about the Cricut Knife Blade, this post shares EVERYTHING you need to know!
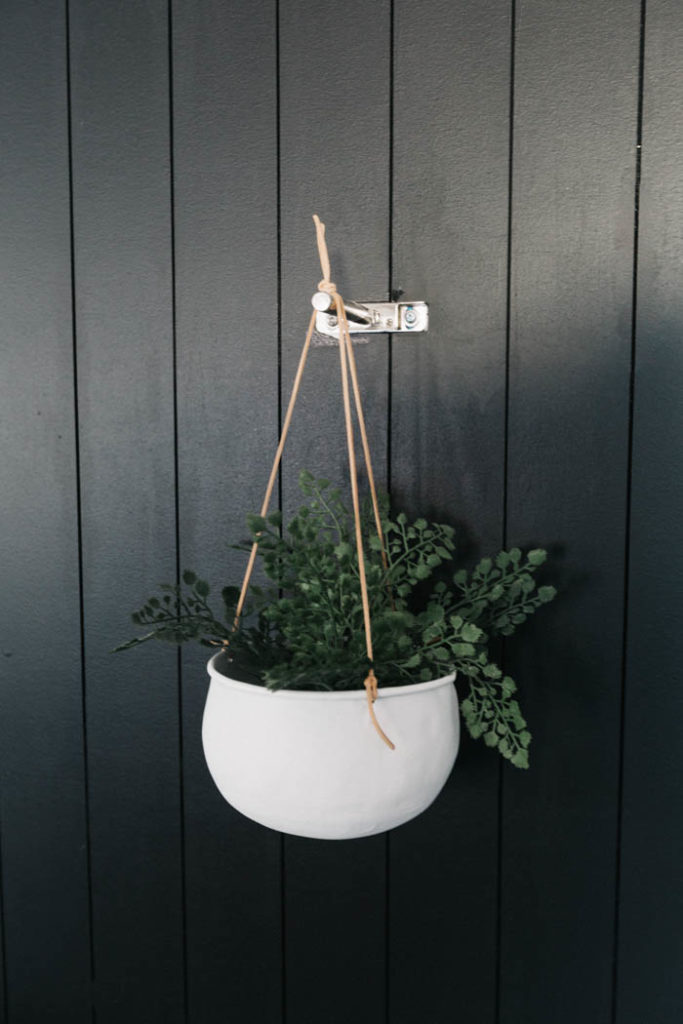
If you’re looking for another great decor idea, try this easy DIY Hanging Planter!
This is a sponsored conversation written by me on behalf of Cricut. The opinions and text are all mine.

Ariana
Sunday 31st of March 2019
Very cute! Love this!
Justin Walllen
Thursday 14th of March 2019
Hello! Justin from Indiana here... Huge fan... Cool bowl... I am actually commenting to see if you are planning to do the Spring 2019 One Room Challenge? I need to prepare myself mentally.
Please let me know. Peace.
Lindi
Thursday 14th of March 2019
Hi Justin! No, I’ll be doing renovations here this Spring, but not specifically for the ORC. Sorry! I hope you’ll still follow along with our renos!