
Leather Heart Headband

I'm hugely in love with two things right now: leather and my Cricut Explore Air 2!
This is my FIRST time joining these two loves and I couldn't be happier with how EASY it was! I made a leather heart headband as my first foray into the world of cutting "things-other-than-paper" with my Cricut.

Materials:
Cricut Explore Air 2
Scraps of leather
Elastic
E6000 glue
Matching thread
Needle

To begin, you want to cut a small piece of scrap leather, and set it in the top corner of your mat.
Next, you want to open the Cricut design space, and find the image you want to use. Below, you can see the heart image I chose. I made three of these images at 1" height, and 3 at 0.75" in height. Then I adjusted the colours (the same colours cut on the same canvas) so that I would have one small piece and one larger piece of leather cut out of each colour.

Before you cut, make sure that you choose "custom" and then select the type of leather you are using from the drop-down menu.


I was SOOO happy with how these hearts cut out! This is MUCH more perfect than my tracing and cutting by hand :)

Next, you want to measure the headband so it fits around your child's head. My 1 year old baby required a 17" elastic band. Then use your thread and needle to quickly sew the ends together.

Finally, use the E6000 to glue the leather hearts in place. I like them to be slightly off-centred. I also chose to put three hearts on each band, but you could easily add a couple more, or even have them go all the way around her head!
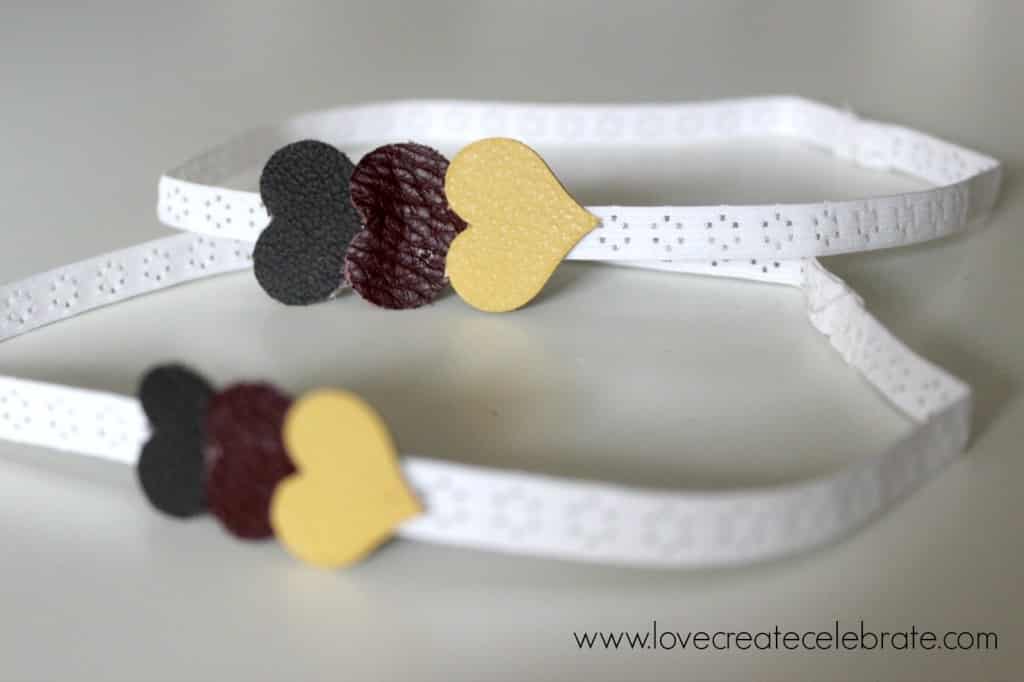


I'm thrilled with how they turned out! I hope you like them as much as I do :)
For more leather inspiration check out these posts!
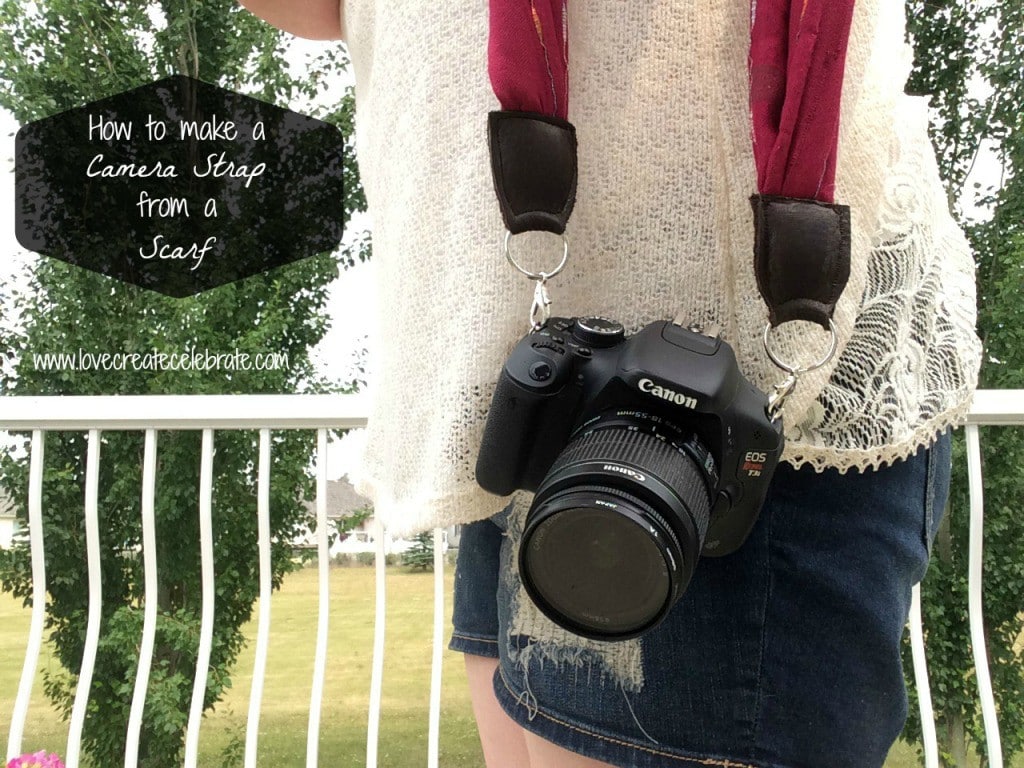
How to Make a Camera Strap from a Scarf

{xoxo}


31 Comments