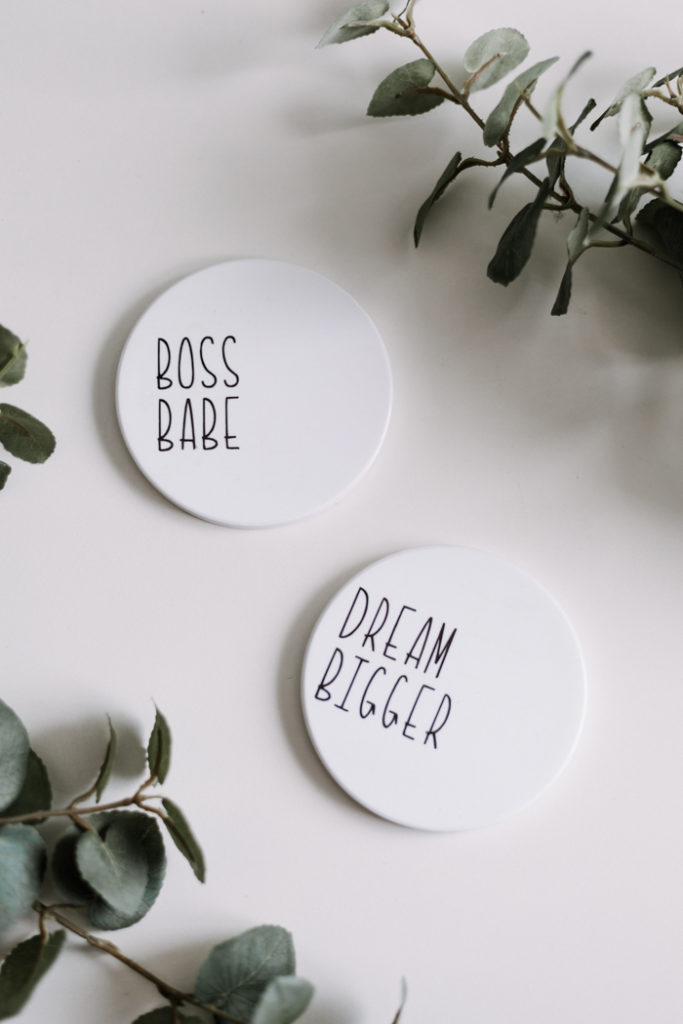
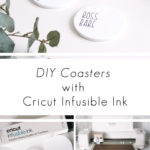
Love this modern coaster design on these DIY personalized gifts! Learn how to make your own coasters, quickly and easily using Cricut Infusible Ink!
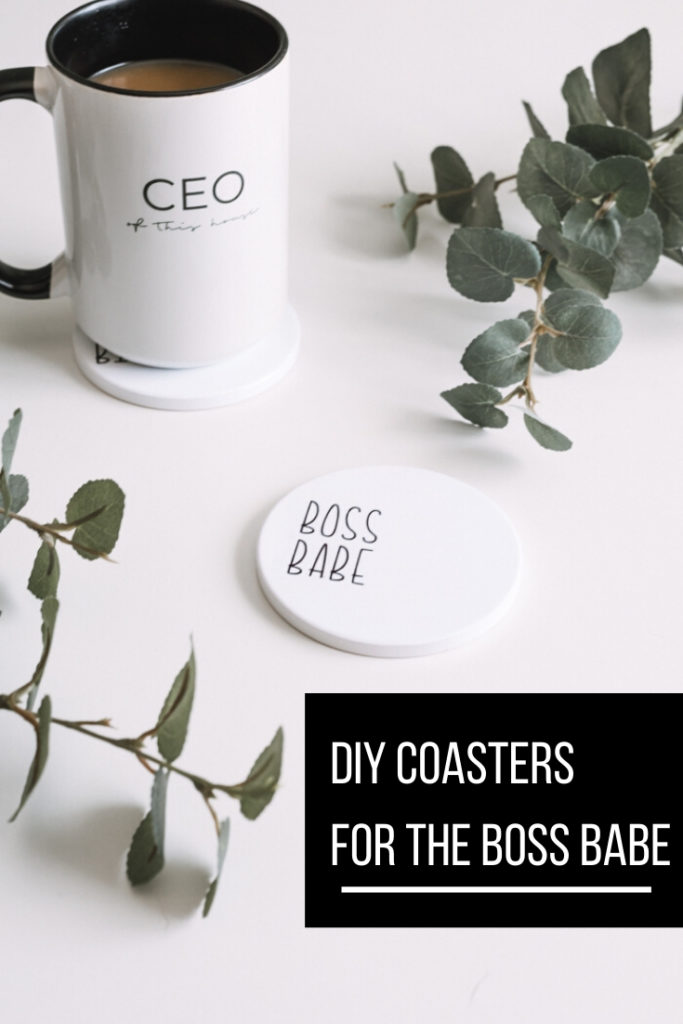
If you were to ask me a year ago what I did for a living, I might have said that I have this small “blog thing”, or brushed it off and said that I’m home with my kids instead. Many of my friends and family still have a hard time understanding what I’m doing, or believing that this is a career. But lately I’ve been surrounding myself with a tribe of business focused, entrepreneurial women, and I’m owning it! I’ll tell you a bit more about my story, and show you how to make your own DIY coasters and personalize them for the Boss Babes in your life!
*This post was sponsored by Cricut and may contain affiliate links. If you buy a product through one of our links, we get a commission at no cost to you! For more information, please see our disclosure page!*
Here’s the thing about personalized gifts – they mean more! A relative embroidered some towels for us with our initials as a wedding gift and we still have them and keep them safe, because they’re personalized, and meaningful!
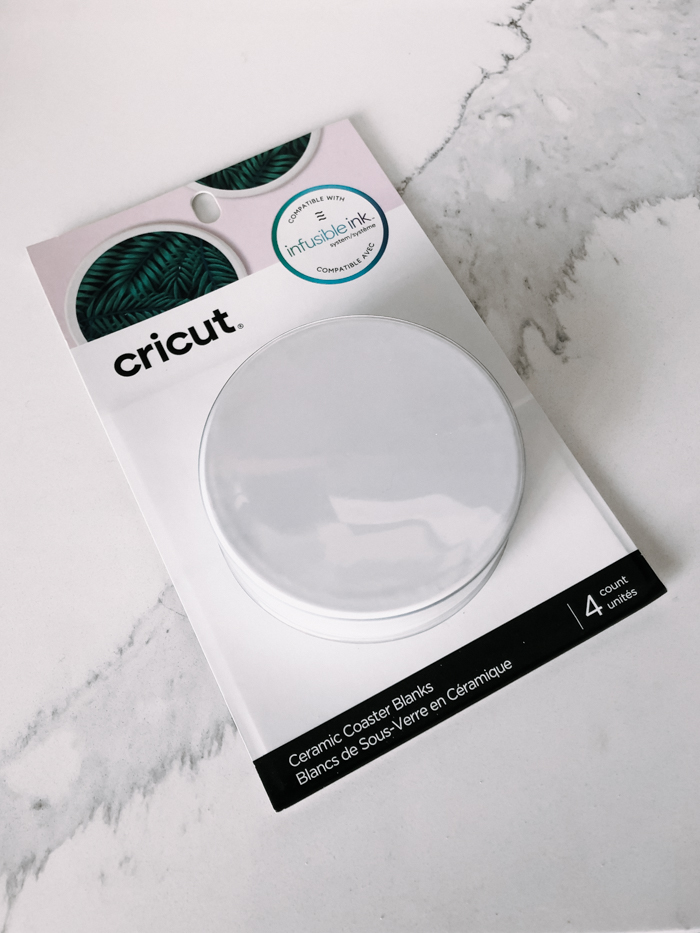
When I tell you I’ve found my tribe, I mean that for the first time, I have found women that are helping me take ownership of my business and goals. We’re lifting each other up and encouraging one another, and I’m finally answering those questions like an entrepreneur! So when Cricut came out with ceramic coasters, and a product that would actually put your design right onto the coaster (no peeling, no washing off), I knew it was the perfect way to personalize gifts for my tribe!
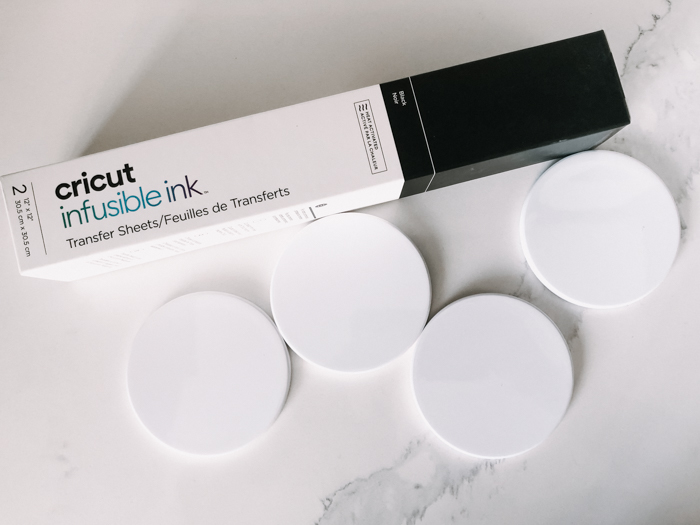
Materials Needed to Make Your Own Coasters
- Coaster Blanks
- Cricut Explore Air 2 (or another Cricut)
- EasyPress 2
- EasyPress Mat
- Infusible Ink Transfer Sheets (I used Black)
- White Cardstock
- Cricut Design Space File (optional)
How to Make Your Own Coasters
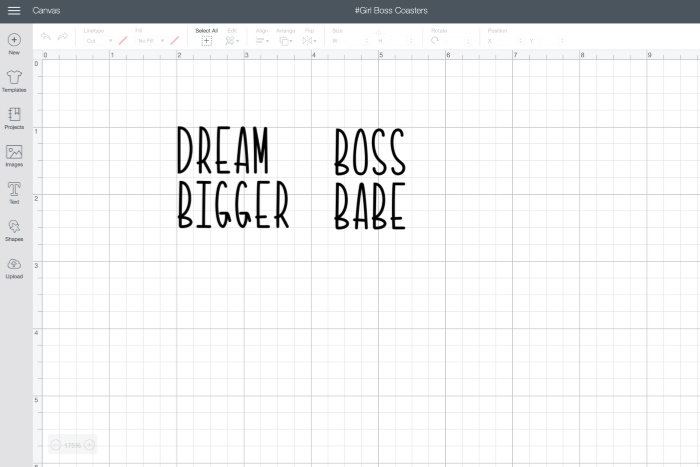
If you want to make your own Boss Babe coaster set, it’s a great gift idea! You can use my Cricut file HERE, or you can create your own designs. If you really want to get personalized, you can design something with use their logo or business name too!
For our coasters, I used the Kyden Font within the Cricut Design Space. I looked at a lot of script fonts, and even tried to cut some, but if the lines are too thin, the infusible ink transfer sheets can’t cut them easily.
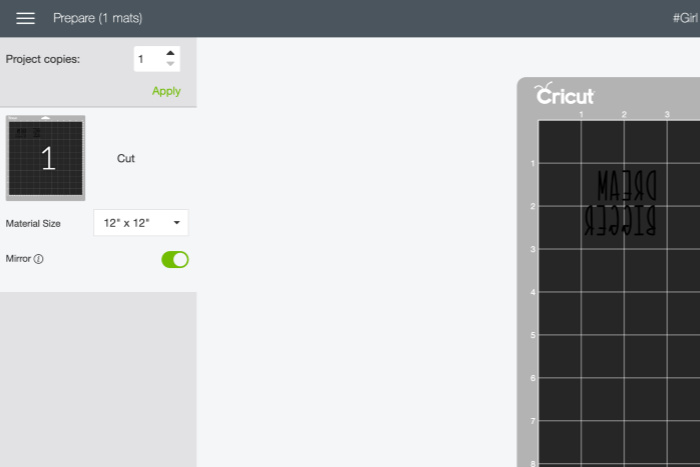
Choose “make it” to cut your design, and make sure to select “mirror” on the left-hand-side of the screen.
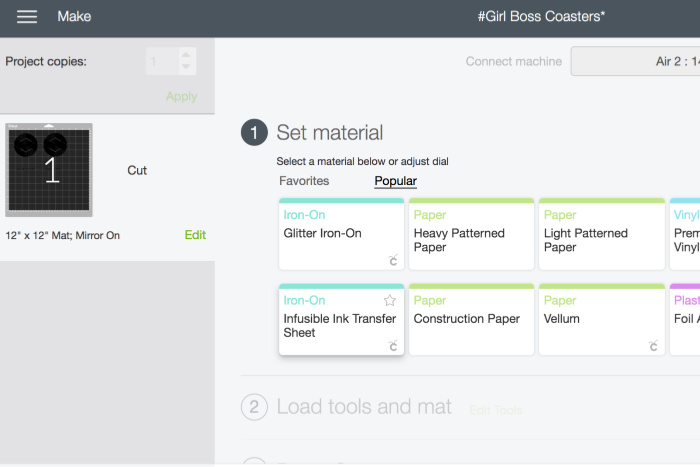
Set your material to the “Influsible Ink Transfer Sheet”, and if you are using the Explore Air 2, make sure your machine dial is on custom.
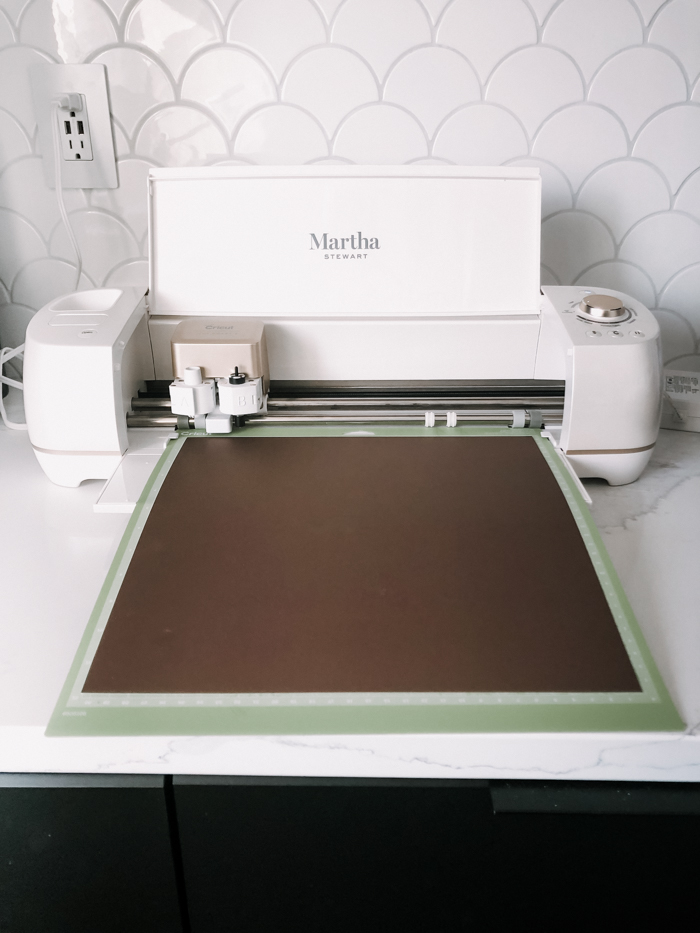
Your machine will cut out your design automatically once you load and click the GO button.
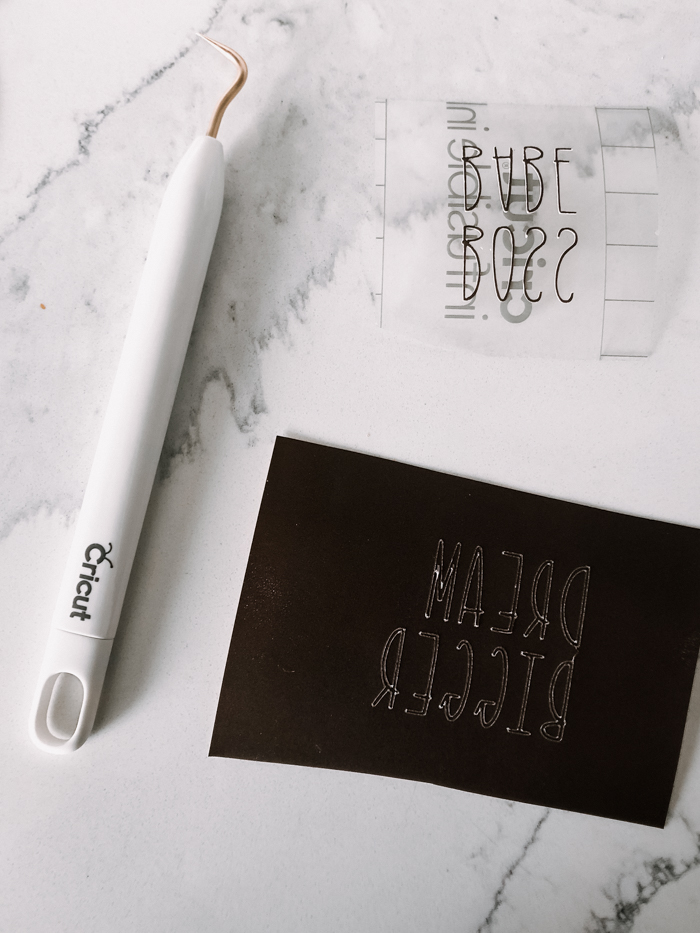
When it’s all cut, use scissors to cut out the sections you need. Next, use a weeding tool, or your fingers to gently peel away the parts of the design that are not needed. You should just be left with your words on the sticky transfer tape backing.
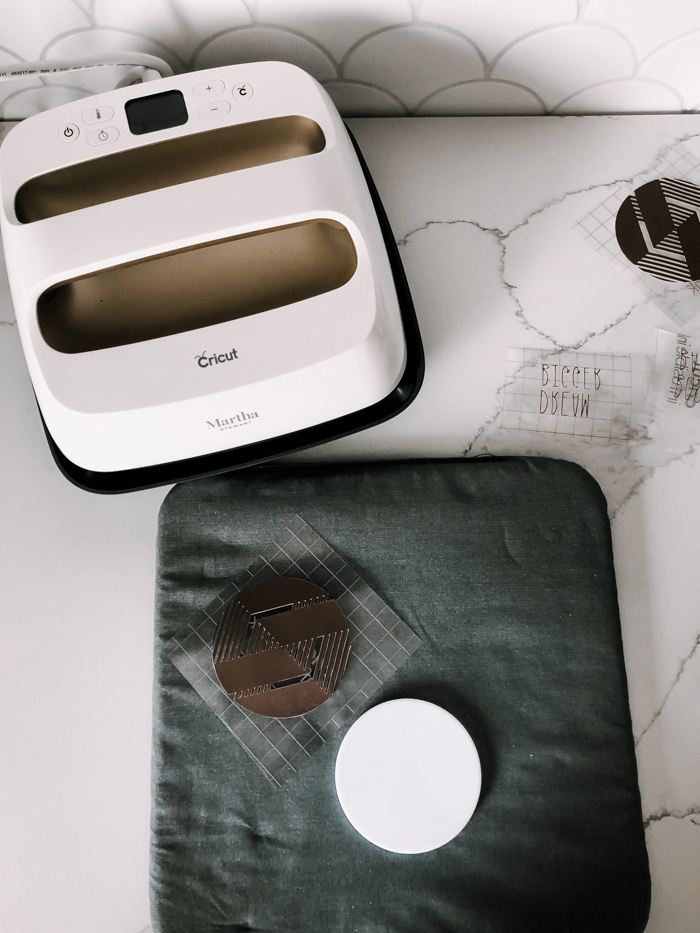
I also tried to make some circle designs to go with my boss babe coasters. These designs are already in the Cricut Design Space if you search “coaster” in the images section.
You need to get out your EasyPress and EasyPress mat for this next part.
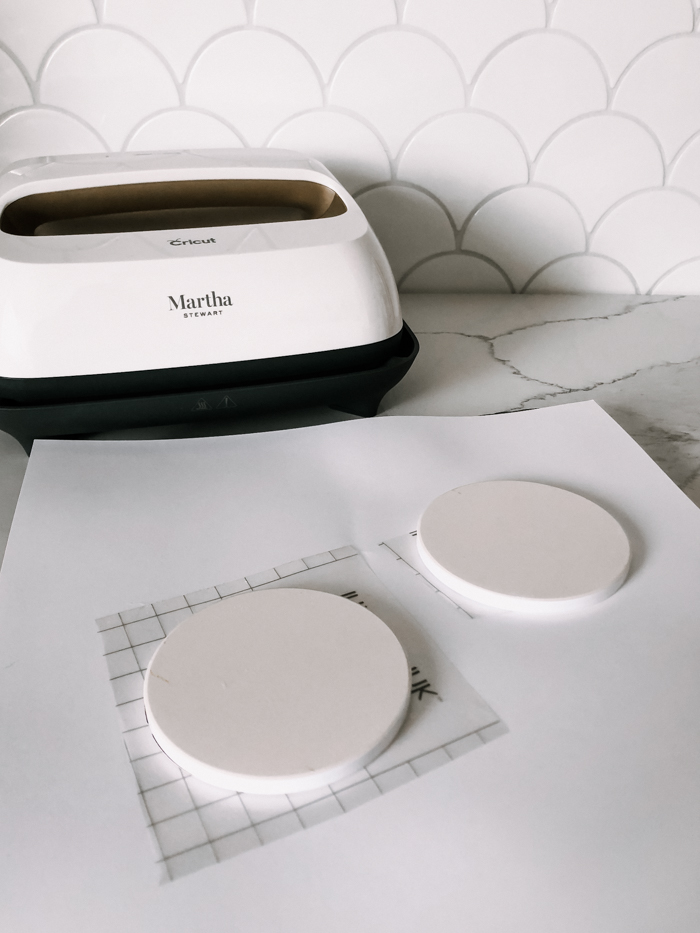
Put a piece of cardstock down on the mat to protect it. Then place your design on your coaster, carefully hold it in place, and turn it over so that the design is flat, and the bottom of the coaster is up towards you.
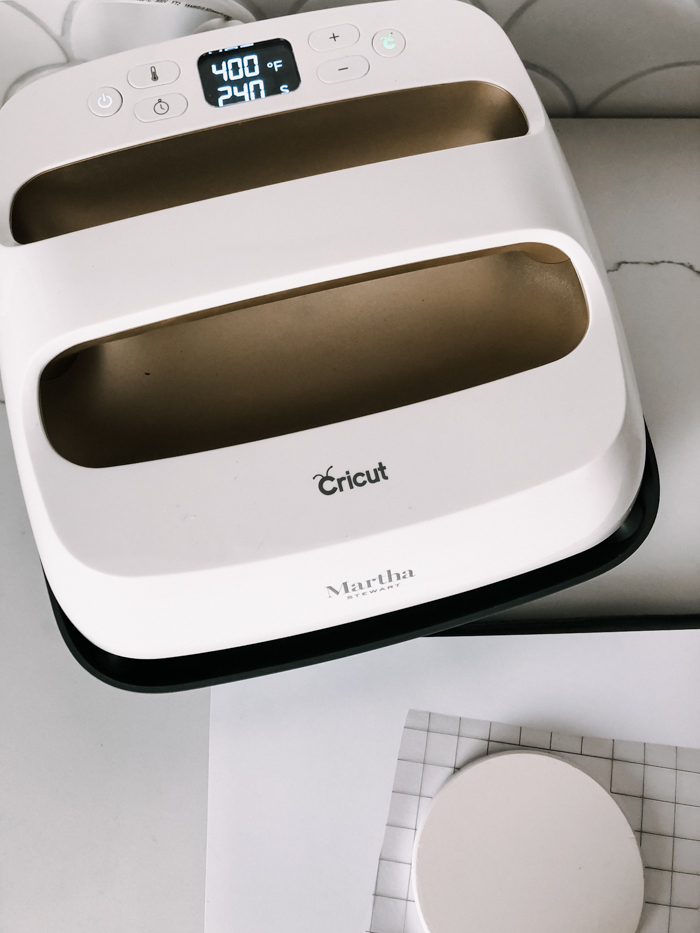
Set your EasyPress heat settings – for coasters it is always 400F for 240 seconds.
Hold the heat press on your coasters for the time recommended and remove it when done. The coasters will be very warm, so wait a few seconds before you touch them.
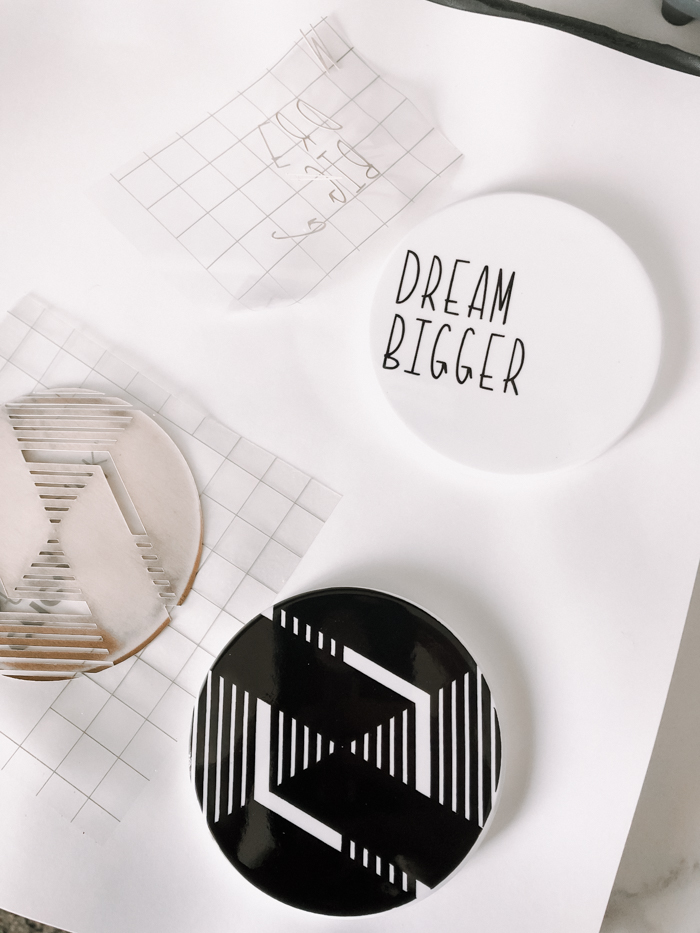
Gently remove the transfer paper, and you’ll be left with a design that is permanently inked onto your coaster!
The Finished DIY Coasters
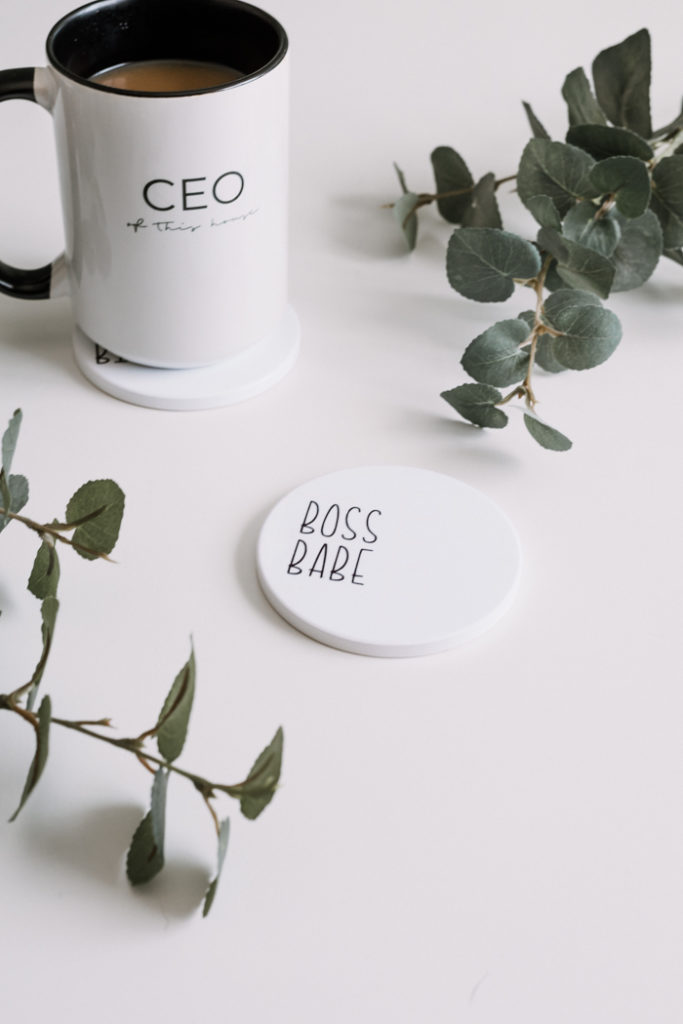
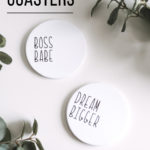
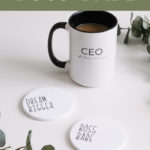
I LOVE the typography on these coasters. The infusible ink is such a creative way to add a permanent design to something.
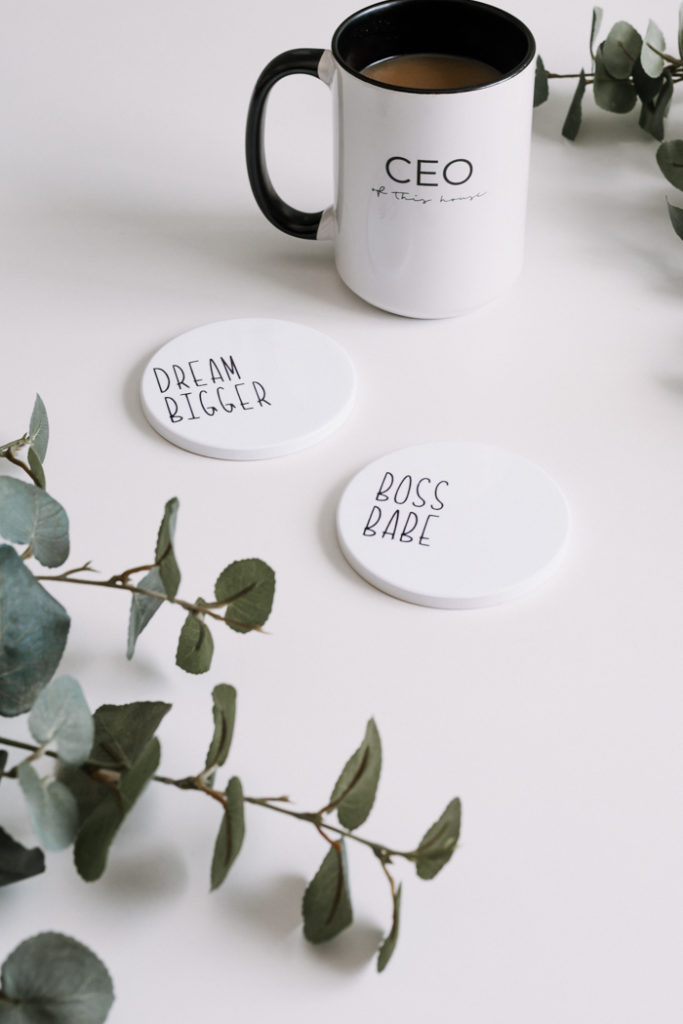
I’m so passionate about women lifting up other women these days. And I’m proud to give these personalized coasters to my entrepreneurial friends! Just as proud as I would be to have them in my own office.

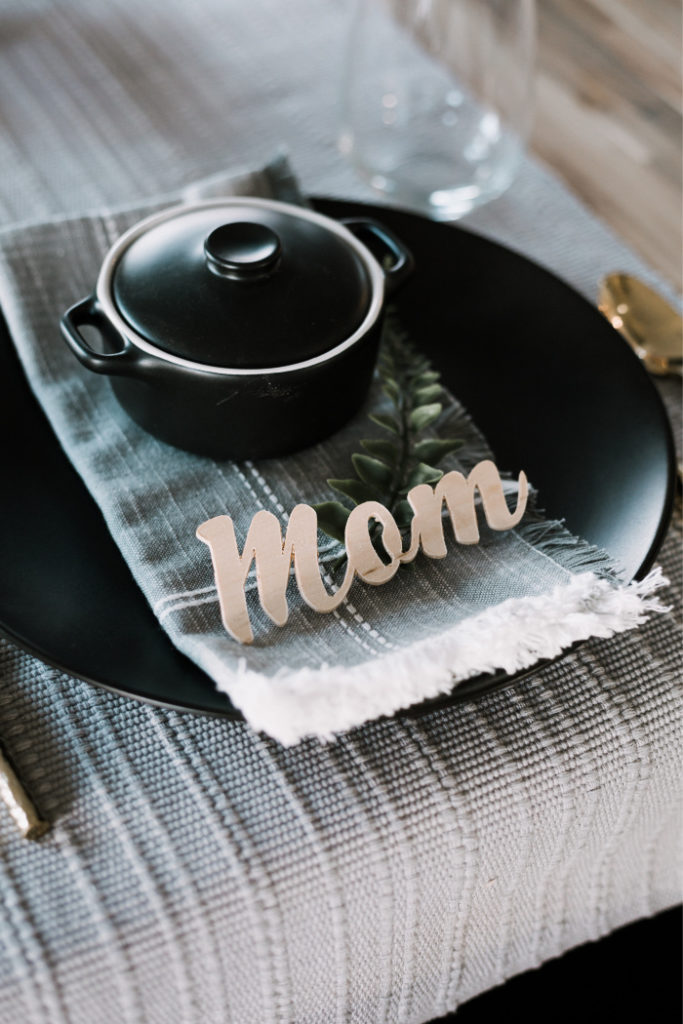
If you liked this project, you might love learning how to cut wood on the Cricut too, with these personalized wooden place settings!
This is a sponsored conversation written by me on behalf of Cricut. The opinions and text are all mine.


65 Cricut Christmas Gift Ideas For Everyone
Wednesday 4th of December 2019
[…] Personalized Boss Babe Coasters […]
25 Personalized Holiday Projects with Cricut - Everyday Party Magazine
Wednesday 4th of December 2019
[…] Personalized Coasters […]
25+ DIY Holiday Gift Ideas with your Cricut - The Cards We Drew
Sunday 24th of November 2019
[…] Love Create Celebrate […]
Pat
Friday 1st of November 2019
Thanks for sharing the steps! I love that font! Now to ask for an EasyPress for Christmas! What size is yours?
Lindi
Friday 1st of November 2019
I have the 9" x 9"! I use it for all of my iron-on vinyl, etc. too! It's great!