I love this outdoor wood side table made using scrap wood. This DIY project is quick and easy and will give you a modern piece of outdoor furniture that you can use on your porch, patio, or deck.
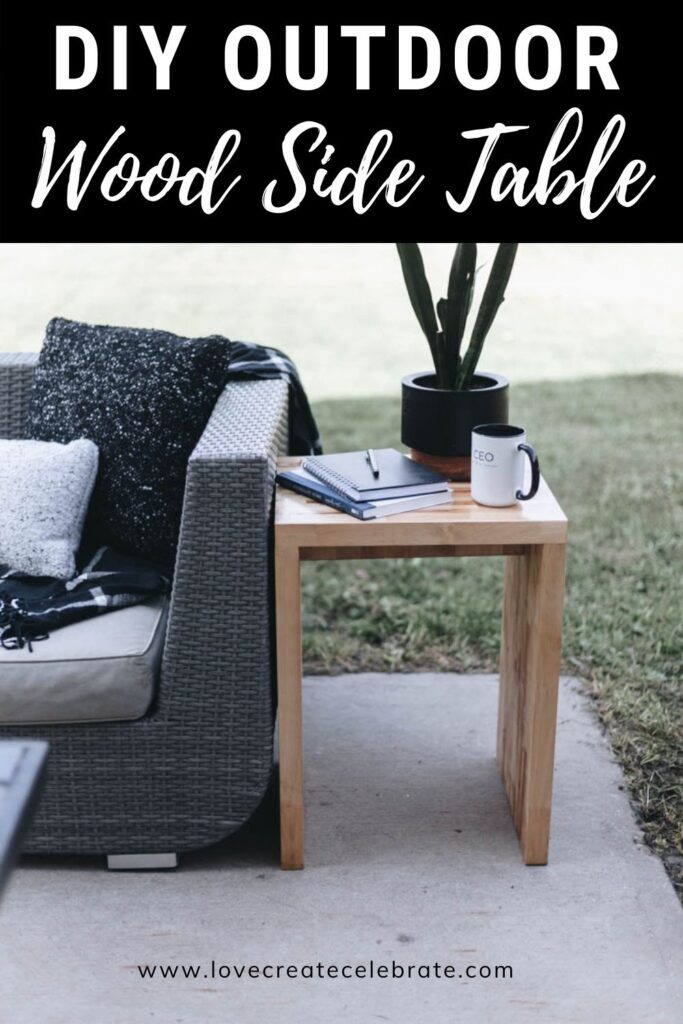
I love taking scrap wood and turning it into modern decor and furniture. This outdoor wood side table is a quick and easy project that you will be able to use on your porch, patio, or deck.
Lumber prices being what they are, scrap wood projects are getting more and more popular. They are a great way to use up your scrap wood pile and make great FREE projects.
We had some leftover countertop/tabletop wood from a client project – we had cut down huge pieces for a large custom desktop. I don’t know if it counts as scrap because there are pretty decent size pieces, but they are scrap to us so I’m going to run with it, lol.
If you had some scrap 2x4s, you could make the same project by laminating the 2x4s together first to make one slab and planing them.
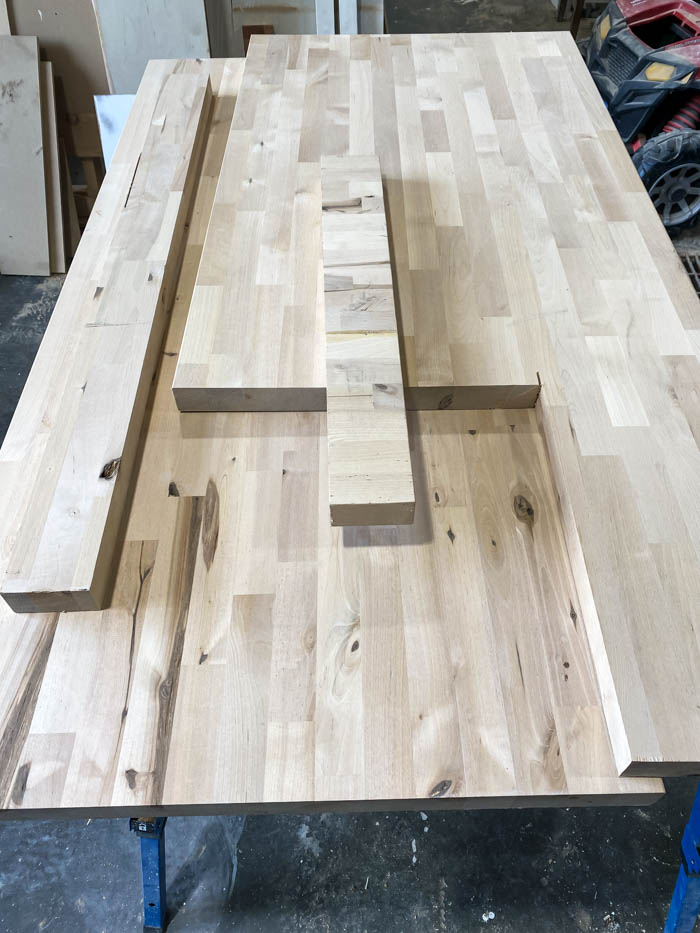
One piece of our scrap countertop already had a 16″ inch section cut out of it, so I decided to make the depth of my table 16″. I went with 2 feet high wood side table because I thought that would work perfectly with the outdoor couch we already had.
How to Make an Outdoor Wood Side Table
The overall build is actually really easy, but does require a few tools.
Supplies
- Scrap wood
- Wood glue
- Outdoor varnish
- Table saw
- Sander
- Kreg Jig
- Wood plugs (optional)
Dimensions of the Outdoor Wood Side Table
- Top – 16″ deep, 18″ wide. 1 1/2″ thick
- Legs – 22 1/2 inches tall, 16″ wide
Step-by-step Tutorial to Build Your Side Table
Cut all the large pieces to length. I started with the top and the sides, using a table saw. Then adjusted the table saw and got ready to cut the height of the legs for my table.
Since the top is going to be 1 1/2 inches thick, I cut the legs at 22 1/2 inches long (to make the total height 2ft). Finally, I cut the width of my tabletop, keeping the 16 inch depth and making it 18 inches wide. I cut one other small piece to use as a brace between the two legs.
I used pocket holes to attach them all together, including the bracing piece which is going in the center just to keep everything nice and sturdy.
Then I measured and marked the locations for my pocket holes on the legs. I made them an inch and a half from each edge and then one right in the middle of the leg.
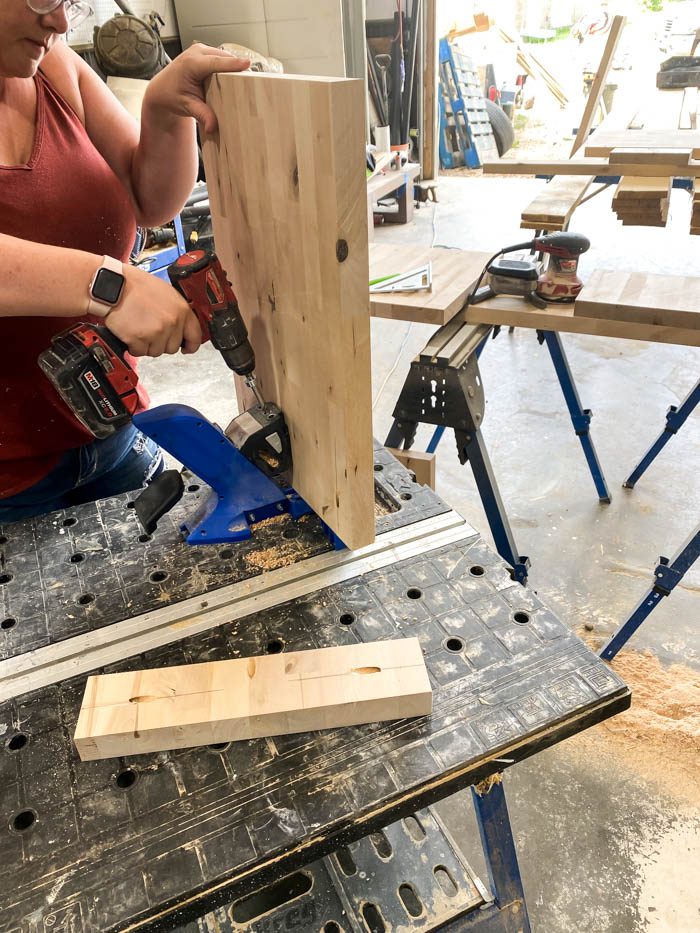
If you’ve never used pocket holes, you can use a pocket hole jig to drill a hole at an angle on one of your pieces of wood. You can easily join that to another piece of wood with a screw, where you can hide the hardware and get a nice tight fit. I also put some pocket holes in our center brace piece to attach it to the legs.
You can see how I used the pocket hole jig to do this in the video below.
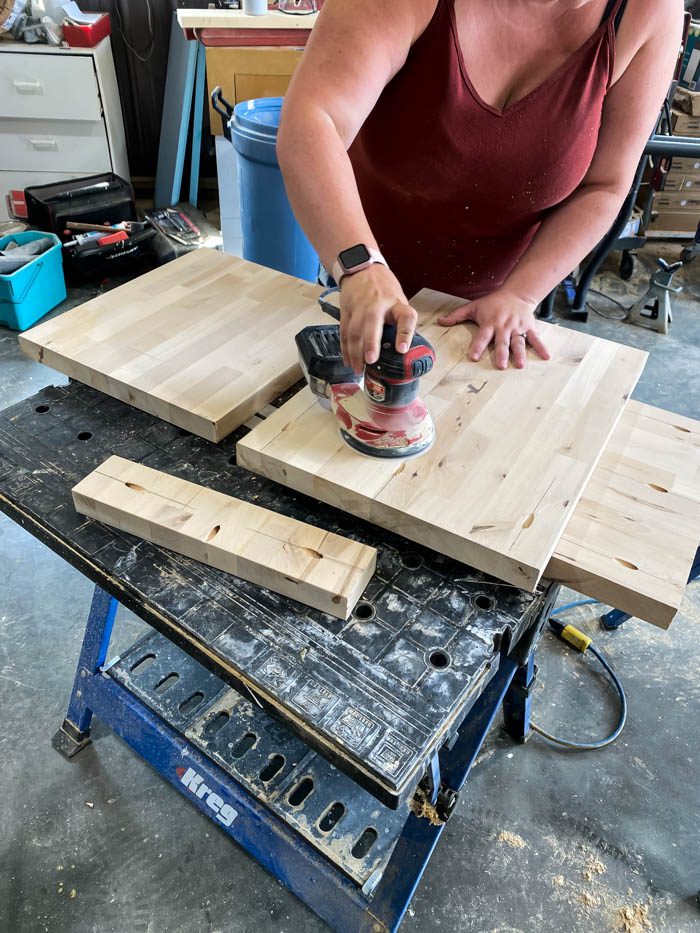
I sanded each piece before putting it together. It’s much easier to sand the inside before it’s put together.
Then when I was ready to attach those pieces, I glued and clamped the legs onto the tabletop and put some screws into those pocket holes. And finally, I used some simple wood plugs to fill those pocket holes.
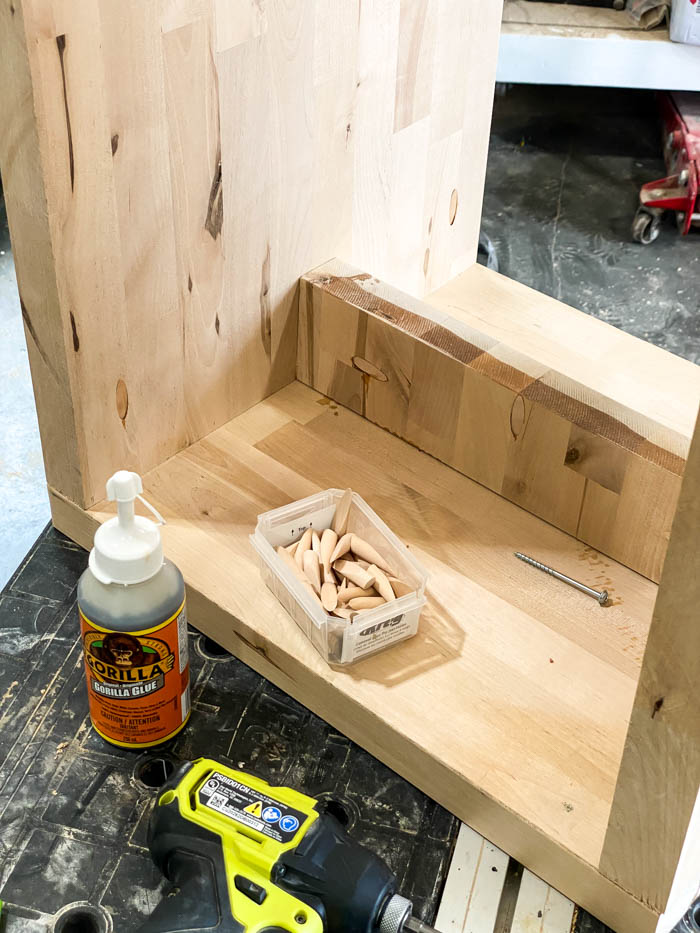
Next, I used some 120-grit sandpaper just to round all of the edges of the table while I was sanding. Then I use an Exterior Varathane to protect the entire piece and it was done. The exterior varathane will protect this outdoor wood side table from the elements.

Our Finished Outdoor Side Table
Here is how our outdoor wood side table turned out. I am so happy with this piece!
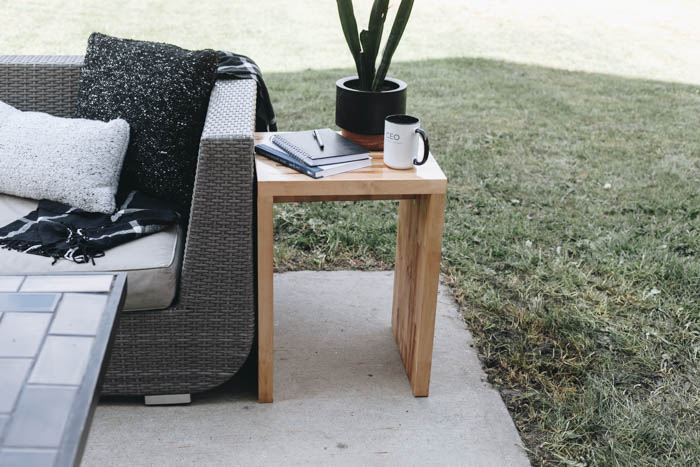
I love the style and minimalist look. It is definitely exactly what I was going for.

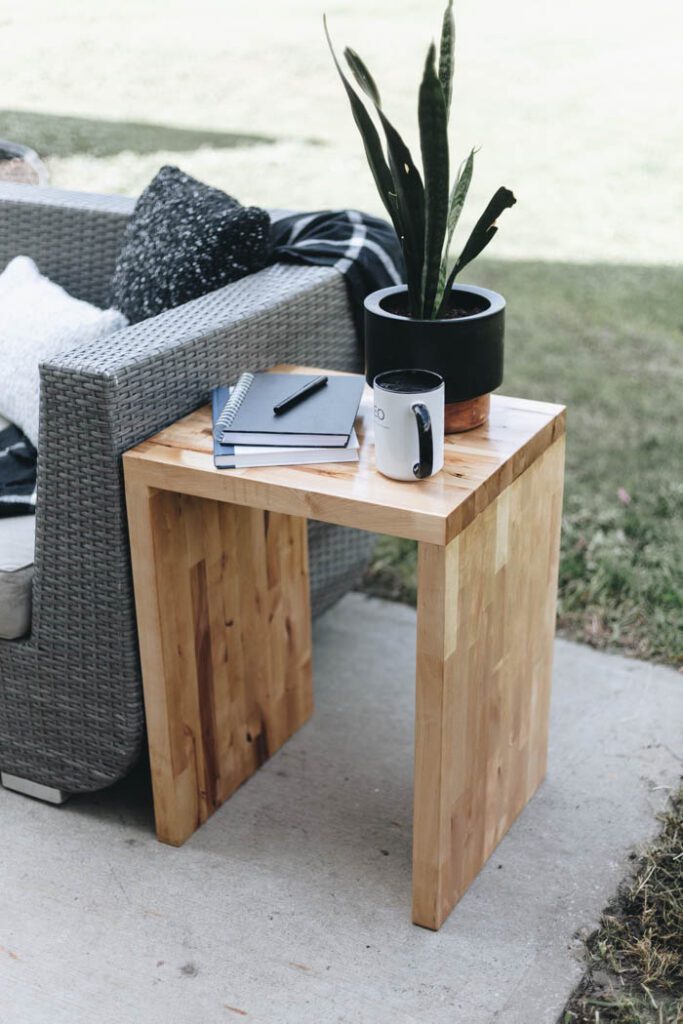
Video Tutorial for an Outdoor Wood Side Table
Watch me build this side table and our modern outdoor trellis from scrap wood in the video below. These projects are part of my Scraps Made Modern Series, where we take scrap wood and turn it into modern home decor.
If you’re looking for more amazing scrap wood inspiration, check out these Amazing Scrap Wood Ideas!

Outdoor Wood Side Table
Make your own outdoor wood side table using scrap wood. This is a modern outdoor side that you can use on your porch, patio, or deck.
Materials
- Scrap wood
- Wood glue
- Outdoor varnish
- Wood plugs (optional)
Tools
- Table saw
- Sander
- Kreg Jig
Instructions
- Cut sides and table top pieces to length
- Cut sides and top piece to width
- Cut a small bracing piece to sit underneath the tabletop
- Make pocket holes on the inside edges of the legs and on the bracing pieces to connect everything together
- Sand all of your pieces
- Assemble the table
- Fill your pocket holes with wood plugs (optional)
- Stain your outdoor wood table
- Varnish your piece well to protect it from the elements
Recommended Products
As an Amazon Associate and member of other affiliate programs, I earn from qualifying purchases.


Antonia
Thursday 30th of May 2024
I would love to have the skills to create this type of art! However, I feel that I lack the necessary patience, and my perfectionism wouldn't allow me to do something like this. It's admirable to see the craftsmanship and quality of the final result! Honestly, it looks beautiful, but I'm a fan of classic wicker. I feel it creates a cozy atmosphere for a patio. or using recyclable materials is amazing too, with the variety of designs available.